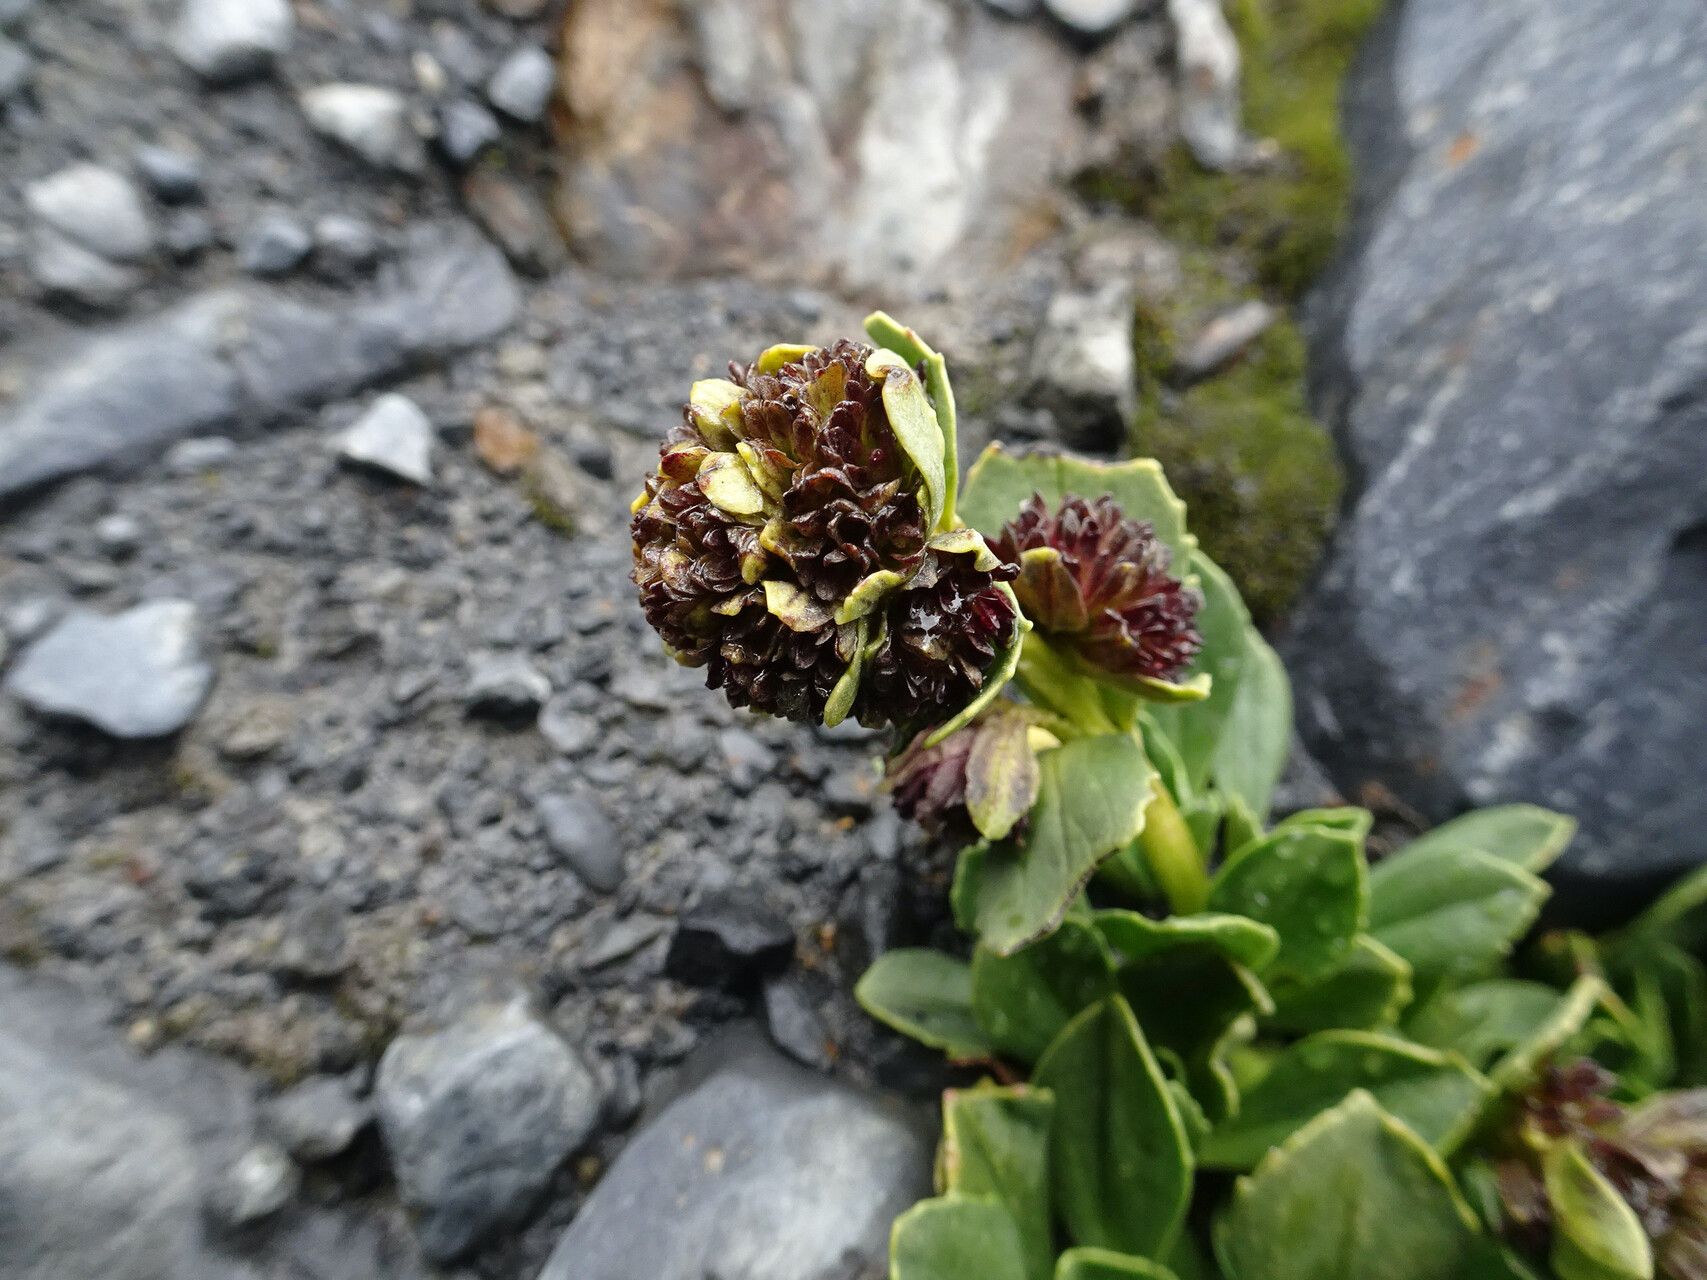
Oh, Valeriana nivalis! If you’ve ever seen this charming little plant gracing a garden, you know it’s got a certain understated magic. Its delicate blooms, often a lovely white or pale pink, unfurl with a whisper, adding a touch of ethereal beauty without demanding the spotlight. Growing it from scratch? That’s where the real joy lies. Getting a new plant to thrive from just a tiny piece of its parent is one of gardening’s most satisfying gifts. Now, is Valeriana nivalis a total beginner’s dream to propagate? Honestly, it’s moderately easy. With a little attention to detail, you’ll be well on your way to multiplying your collection.
The Best Time to Start
For Valeriana nivalis, the sweet spot for propagation is late spring to early summer. This is when the plant is actively growing and has plenty of energy to put into developing new roots. You want to work with healthy, well-established stems that aren’t flowering yet. Think of it as catching them at their peak vitality!
Supplies You’ll Need
Gathering your tools before you begin will make the whole process smoother. Here’s what I usually have on hand:
- Sharp, clean pruners or scissors: A clean cut is crucial for preventing disease.
- A good potting mix: I like a well-draining mix, often a blend of peat moss or coco coir with perlite. For Valeriana, something light is best.
- Small pots or trays: Make sure they have drainage holes!
- Rooting hormone (optional but helpful): This can give your cuttings a nice little boost.
- A watering can with a fine rose: Gentle watering is key.
- A plastic bag or dome: To create a humid environment for your cuttings.
- Labels: Trust me, you’ll forget what you planted and when!
Propagation Methods
Valeriana nivalis is most reliably propagated through stem cuttings and division. Let’s dive into how you can do both.
Stem Cuttings
This is my go-to method for increasing my Valeriana nivalis plants.
- Find a healthy stem: Look for a non-flowering stem, ideally about 4-6 inches long.
- Make the cut: Using your sharp pruners, make a clean cut just below a leaf node. This is where the magic of root formation often happens.
- Prepare the cutting: Gently remove the lower leaves, leaving just a few at the top. This prevents them from rotting when you insert them into the soil.
- Apply rooting hormone (optional): Dip the cut end into your rooting hormone powder, tapping off any excess.
- Pot up your cutting: Fill a small pot with your well-draining potting mix. Make a small hole in the center with your finger or a pencil.
- Insert the cutting: Gently place the prepared cutting into the hole, ensuring the leaf nodes you removed are below the soil line. Firm the soil gently around it.
- Water gently: Water thoroughly but carefully, so you don’t dislodge the cutting.
- Create humidity: Cover the pot with a plastic bag or use a propagator lid. Ensure the leaves do not touch the inside of the bag – this can lead to rot. Poke a few small ventilation holes in the bag if it’s sealed tight.
- Provide warmth: Place the pot in a warm spot, ideally with gentle bottom heat. A heat mat designed for seedlings is perfect for this.
Division
If you have an established Valeriana nivalis plant that’s looking a bit crowded, dividing it is a great way to get more plants and give the original a good refresh.
- Gently remove the plant: Carefully dig up your established Valeriana nivalis plant. It’s best to do this when the soil is slightly moist, not bone dry or waterlogged.
- Examine the root ball: Gently shake off excess soil to get a good look at the roots. You’re looking for distinct clumps of growth.
- Separate the divisions: Using your hands or a clean trowel, gently pull or cut the plant apart into smaller sections. Each division should have a good amount of roots and some healthy foliage.
- Replant immediately: Pot up your divisions into their own containers with fresh potting mix, just as you would a mature plant. Water them well.
The “Secret Sauce” (Pro Tips)
Here are a couple of things I’ve learned over the years that can really make a difference:
- The humidity tent is your friend, but watch for pests: While that plastic bag is crucial for keeping moisture around your cuttings, it can also create a perfect little greenhouse for fungus gnats or mildew if you’re not careful. Ensure good air circulation by lifting the bag daily for a few minutes and don’t let the soil get constantly soggy.
- Patience is paramount with Valeriana: These plants can be a bit slow to root. Don’t be discouraged if you don’t see new growth immediately. I often wait 4-6 weeks before I start gently tugging to feel for resistance – that’s your sign of roots!
Aftercare & Troubleshooting
Once your cuttings start to show signs of life – usually new leaf growth – it’s time to start weaning them off their high-humidity environment. Gradually open up the plastic bag or propagator over a week or two. Continue to keep the soil consistently moist but not waterlogged.
The most common issue you’ll encounter is rot. If your cutting turns mushy, dark, or starts to disintegrate, it’s likely rotted. This is usually due to too much moisture combined with poor air circulation. If you see this, unfortunately, it’s best to discard the cutting and start fresh. Another sign of failure can be cuttings that simply shrivel up and dry out – this typically means they aren’t getting enough moisture or humidity.
A Little Encouragement
Gardening is a journey of learning, and propagating plants is a wonderful way to connect with that process. Be patient with your Valeriana nivalis cuttings. Celebrate every little bit of success, and don’t be afraid to try again if something doesn’t work out the first time. The satisfaction of watching a new plant emerge from your efforts is truly one of life’s simple, beautiful pleasures. Happy propagating!
Resource:
https://identify.plantnet.org/k-world-flora/species/Valeriana%20nivalis%20Wedd./data