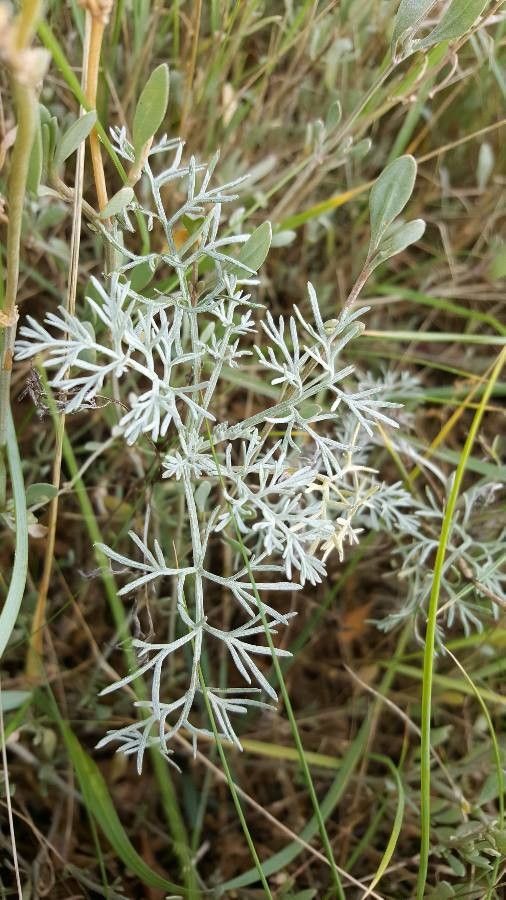
Hello fellow garden lovers! Today, we’re going to dig into a plant that brings a wonderful silvery charm to any garden: Artemisia maritima, often called sea wormwood or old man wormwood. Its feathery foliage is simply stunning, and it has this lovely, almost mystical scent. Propagating it yourself is such a rewarding endeavor, and I’m thrilled to share how we can bring more of this beauty into our lives. Don’t worry, it’s quite beginner-friendly!
The Best Time to Start
For the highest success rate with Artemisia maritima, I find that late spring to early summer is truly the sweet spot. This is when the plant is actively growing, so it has the energy to put out strong new shoots that will root beautifully. You’re looking for soft, new growth rather than woody, mature stems.
Supplies You’ll Need
Here’s what you’ll want to have on hand:
- Sharp pruning shears or a clean knife: For making precise cuts.
- Rooting hormone (optional but recommended): A powder or gel to encourage root development.
- Well-draining potting mix: A good blend of peat moss and perlite or coarse sand works wonderfully. I usually mix about a 50/50 ratio.
- Small pots or trays: Clean containers with drainage holes are essential.
- Plastic bags or a propagator: To create a humid environment for your cuttings.
- Water: For watering your cuttings.
Propagation Methods
Let’s get our hands dirty! I’ll walk you through the methods I find most effective for Artemisia maritima.
Stem Cuttings:
This is my go-to method for Artemisia.
- Take Cuttings: In late spring or early summer, use your clean shears to snip off 3-4 inch pieces of new, non-flowering growth. Look for stems that are flexible, not yet woody.
- Prepare the Cuttings: Gently remove the lower leaves from the bottom inch or so of each cutting. This prevents them from rotting once they’re in the soil.
- Apply Rooting Hormone (Optional): Dip the cut end of each stem into your rooting hormone, tapping off any excess. This step really gives your cuttings a boost.
- Plant the Cuttings: Fill your small pots with your well-draining mix. Make a small hole in the center of each pot with a pencil or your finger. Insert the prepared cuttings into the holes, ensuring the nodes where you removed the leaves are buried. Gently firm the soil around them.
- Water Gently: Water your pots thoroughly but don’t drench them. You want the soil to be moist but not waterlogged.
Division:
If you already have a happy Artemisia plant, division is a fantastic way to get more.
- When to Divide: It’s best to do this in early spring as the plant is just emerging from dormancy, or in early autumn after the main growing season.
- Excavate the Plant: Carefully dig up your Artemisia maritima plant. You might need a garden fork for this. Try to disturb the roots as little as possible.
- Separate the Divisions: Gently shake off excess soil. You should be able to see natural divisions in the root ball. Use your hands or a clean, sharp spade to separate the plant into smaller sections, making sure each section has plenty of roots and at least one or two healthy shoots.
- Replant Immediately: Replant your divisions in prepared soil, watering them in well.
The “Secret Sauce” (Pro Tips)
Here are a few things I’ve learned over the years that really make a difference:
- Humidity is Key (But Not Rot): Once your cuttings are potted, cover them with a clear plastic bag or place them in a propagator. This traps moisture and creates a humid environment, which is crucial for root formation. Make sure the leaves don’t touch the plastic, as this can encourage rot. I often use stakes to hold the bag up.
- Bottom Heat for Speedy Roots: If you’re really eager to see results, use a seedling heat mat under your pots. Artemisia roots are happiest with a bit of warmth from below, which speeds up the process significantly.
- Don’t Be Afraid to Prune: If your cuttings start to look a bit leggy or have flower buds forming, pinch them back gently. This encourages bushier growth and redirects energy into root development.
Aftercare & Troubleshooting
Once you start seeing new leafy growth appearing on your cuttings, that’s a great sign that roots are forming! Gradually acclimatize them to less humid conditions by opening the plastic bag or propagator for increasing periods each day. They’ll be ready to transplant into their own pots when they have a good network of roots.
The most common issue you might encounter is rot. If your cuttings look mushy, black, or have a foul smell, it’s usually a sign of too much moisture and not enough airflow. In this case, it’s best to discard them and start again with a well-draining mix and better watering practices.
A Encouraging Closing
Propagating plants is a journey of patience and observation. Don’t be discouraged if not every cutting takes – that’s just part of gardening! Celebrate the successes, learn from the challenges, and enjoy the simple magic of bringing more beautiful Artemisia maritima into your world. Happy gardening!
Resource:
https://identify.plantnet.org/k-world-flora/species/Artemisia%20maritima%20L./data