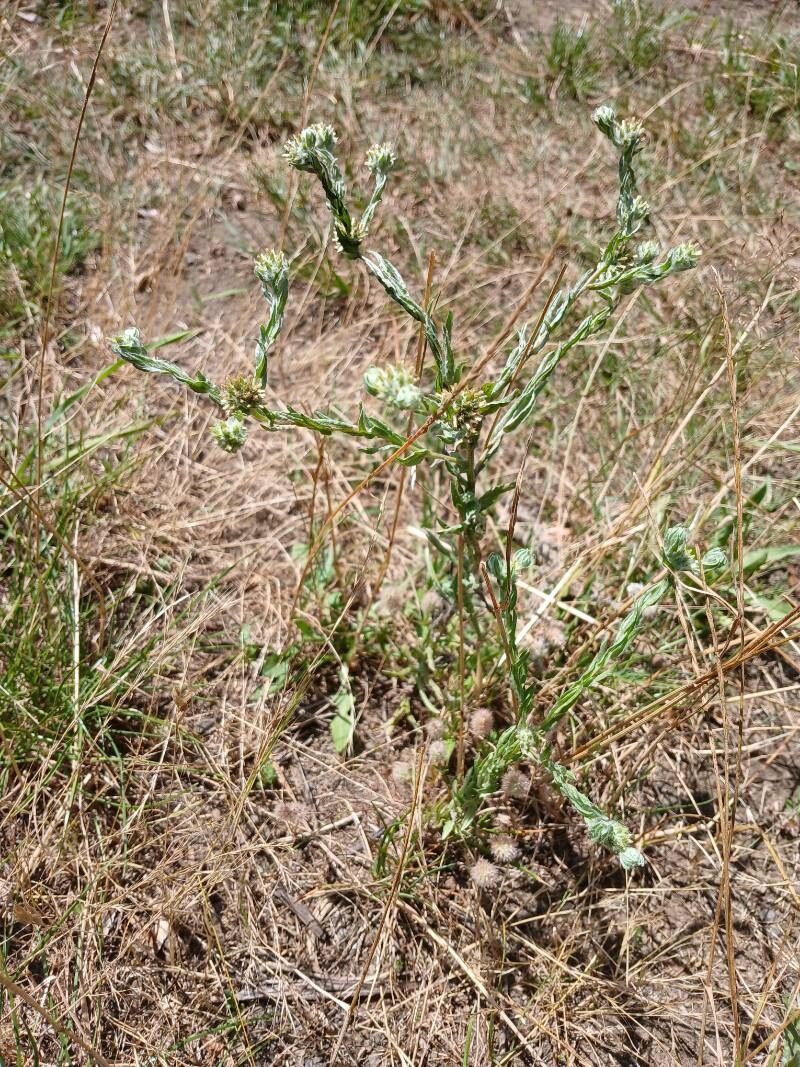
Oh, hello there! Come on in, grab a cup of tea. Let’s chat about one of my favorite little beauties: Filago germanica. You might know it as the Common Cudweed or perhaps the Crimson Cudweed for its lovely, woolly, silver-grey foliage that catches the light so beautifully. It’s got this wonderfully understated charm, perfect for a more naturalistic garden style or even a sunny rockery.
Propagating it feels like a little bit of magic, and honestly, it’s a fantastic way to fill in spaces or share these charming plants with friends. For those just starting out, I’d say Filago germanica is moderately easy to propagate. It’s not as fiddly as some fussy orchids, but it does appreciate a bit of know-how. Think of it as a rewarding challenge that will boost your confidence!
The Best Time to Start
For Filago germanica, I find the late spring to early summer is the sweet spot. You want to be working with young, vigorous growth. Think of it as taking cuttings from a plant that’s just getting into its stride for the season. The days are longer, the light is good, and there’s plenty of energy for those little snippets to root.
Supplies You’ll Need
Here’s what you should gather before we get our hands dirty:
- Sharp pruning shears or a clean knife: For taking your cuttings. Sterilize them first to prevent disease – a quick wipe with rubbing alcohol does the trick.
- Rooting hormone (optional but recommended): A little dip in rooting powder can give your cuttings a helpful boost.
- Light, well-draining potting mix: A good blend of perlite, vermiculite, and a standard seedling mix works wonders. You want something that doesn’t hold too much moisture.
- Small pots or trays: For your cuttings. Clean ones, please!
- A watering can with a fine rose or a mister: To gently water your cuttings.
- A clear plastic bag or propagator lid: To create a humid environment.
Propagation Methods
The most successful way I’ve found to propagate Filago germanica is through stem cuttings. It’s straightforward and yields great results.
- Take Your Cuttings: On a bright morning, select healthy, non-flowering stems. Look for pieces that are about 3-4 inches long. Make a clean cut just below a leaf node (where a leaf attaches to the stem).
- Prepare the Cuttings: Gently remove the lower leaves, leaving just a few at the very top. This prevents them from rotting when buried in the soil.
- Dip in Rooting Hormone (Optional): If you’re using rooting hormone, lightly dip the cut end into the powder. Tap off any excess.
- Plant Your Cuttings: Fill your clean pots with your well-draining mix. Make a small hole with your finger or a pencil, and insert the prepared cuttings. Gently firm the soil around them.
- Water Gently: Water thoroughly but gently, ensuring the soil is moist but not waterlogged.
- Create Humidity: Cover the pots with a clear plastic bag or a propagator lid. This traps moisture and helps the cuttings stay hydrated until they develop roots. Place them in a bright spot, but out of direct, harsh sunlight.
The “Secret Sauce” (Pro Tips)
Now, for a couple of things I’ve learned over the years that can really make a difference:
- Don’t Skimp on Airflow: While humidity is key, you don’t want stagnant air, which can lead to rot. I like to lift the plastic bag for a few minutes each day to allow for some air circulation. It’s a small step, but it really helps prevent fungal issues.
- Consider Bottom Heat: If you’re propagating in a cooler part of spring, placing your pots on a gentle heat mat can really speed things up. It mimics the warmth of the soil in summer and encourages root development. Just make sure it’s set to a low temperature; you don’t want to cook those precious cuttings!
Aftercare & Troubleshooting
Once your cuttings have been in their humid haven for a few weeks, you might start to see signs of new growth at the top, or even resistance when you gently tug on a stem. That’s your signal that roots are forming!
When you see good root development, it’s time for them to transition. Gradually remove the plastic covering over a few days to acclimate them to normal humidity. Water them whenever the top inch of soil feels dry.
Now, what if things go wrong? The most common culprit is rot. If your cuttings turn mushy or black at the base, it’s usually a sign of too much moisture or poor air circulation. Sadly, these are usually beyond saving. The best thing to do is discard them and try again, perhaps with drier soil or better airflow next time. It’s all part of the learning curve!
A Encouraging Closing
Don’t be discouraged if your first few attempts aren’t perfect. Gardening is all about patience and learning from every sprout, and every failed cutting. Take your time, enjoy the process of nurturing these little bits of life, and celebrate the successes. Soon enough, you’ll have a whole delightful collection of Filago germanica to grace your garden. Happy propagating!
Resource:
https://identify.plantnet.org/k-world-flora/species/Filago%20germanica%20(L.)%20Huds./data