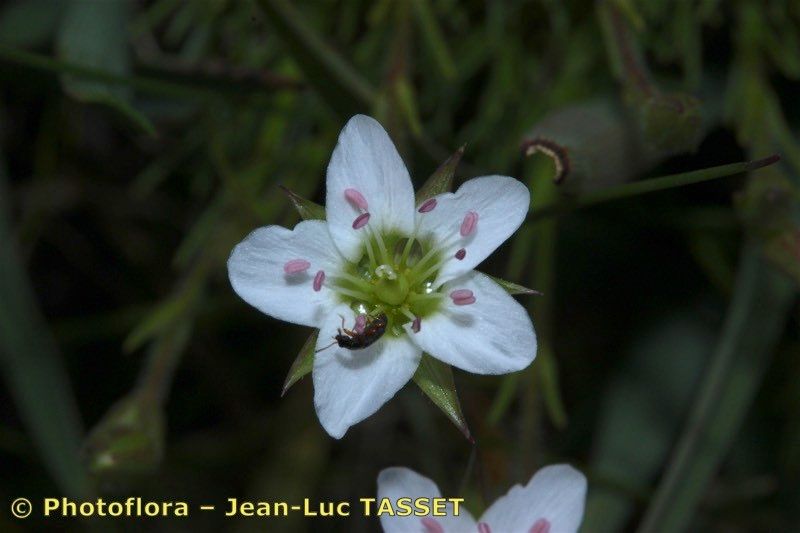
Hello there, fellow garden enthusiasts! Today, I want to chat about a little gem that often flies under the radar: Minuartia recurva. If you’re looking for a delicate, starry-flowered plant that brings a touch of alpine charm to your garden, you’ll absolutely adore Minuartia recurva. Its tiny white blooms, like scattered stardust, are a delight. And while I love seeing them in their full glory, there’s a special kind of joy that comes from coaxing new life from an existing plant. Propagating this beauty is a wonderfully rewarding endeavor, and honestly, it’s not as tricky as you might think – even for those of you just dipping your toes into the world of plant propagation.
The Best Time to Start
For Minuartia recurva, the sweet spot for propagating is undeniably late spring to early summer. This is when the plant is in its active growth phase. The stems are firming up but still pliable enough to root well. Trying to take cuttings too early in the spring, or when the plant is stressed by heat or drought, can lead to disappointing results. Patience is key here!
Supplies You’ll Need
Before we dive in, let’s gather our tools. Think of it as getting your workstation ready.
- Sharp, clean pruning shears or a sharp knife: We want to make clean cuts, not mangle our precious plant. Sterilize them with rubbing alcohol!
- Rooting hormone (optional, but helpful): A gentle dip in this powder can give your cuttings a real boost.
- A well-draining potting mix: I personally love a mix of equal parts peat moss or coir, perlite, and coarse sand. Avoid dense, heavy soils altogether.
- Small pots or trays: Clean and with drainage holes, of course.
- A spray bottle: For gentle misting.
- Clear plastic bags or a propagation dome: To create a little greenhouse effect.
- A small trowel or dibber: For gently placing cuttings.
Propagation Methods: Making More Minuartia Magic
The most reliable way to get more Minuartia recurva is through stem cuttings. This is where we get to be a bit like plant midwives!
- Select your parent plant: Choose a healthy, vigorous specimen that’s showing good growth.
- Take the cuttings: With your clean shears, snip off healthy, non-flowering shoots that are about 3-4 inches long. The best ones are usually from the current season’s growth. Right at a leaf node (where a leaf meets the stem) is ideal.
- Prepare the cuttings: Gently remove the lower leaves from the bottom inch or so of the cutting. This prevents them from rotting in the soil.
- Apply rooting hormone (optional): If you’re using it, dip the cut end of the stem into the rooting hormone, tapping off any excess.
- Plant your cuttings: Make small holes in your prepared, moistened potting mix using a small trowel or dibber. Gently insert the cuttings into the holes, ensuring the leaf nodes are buried, and firm the soil around them.
- Water gently: Give them a light watering to settle the soil.
- Create a humid environment: Cover the pots or trays with a clear plastic bag or a propagation dome. This traps moisture, which is crucial for rooting. Make sure the leaves aren’t touching the plastic if possible.
The “Secret Sauce” (Pro Tips)
Now, for a couple of little tricks that I’ve picked up over the years.
- The ‘Bend Test’ for readiness: Before you even think about taking cuttings, gently try bending a stem. If it snaps easily, it’s too soft (likely too early). If it’s tough and woody, it might be too old. You want that perfect, slightly firm snap.
- Don’t crowd your cuttings: Give them a little breathing room in the pot. Overcrowding leads to poor air circulation and can increase the risk of rot. Space them out so each cutting has a chance to thrive.
- Bottom heat is your friend (if you have it): If you have an old seedling heat mat lying around, a gentle warmth from below can significantly speed up root formation. It’s like giving your cuttings a warm little hug!
Aftercare & Troubleshooting
Once your cuttings are planted, the real waiting game begins! Keep the soil consistently moist but not waterlogged. You’ll want to open the plastic bag or dome for about 15-30 minutes daily to allow for air circulation. This also helps prevent fungal diseases.
You’ll know your cuttings have rooted when you see new growth appearing, or when you gently give a little tug and feel resistance. This can take anywhere from several weeks to a couple of months.
The most common issue you might encounter is rot. If you see stems turning black and mushy, it’s usually a sign of too much moisture and not enough air. In this case, you might have to discard those cuttings and reassess your watering and ventilation. Sometimes, it’s just a matter of trial and error!
A Little Bit of Patience Goes a Long Way
So there you have it – a simple guide to propagating your very own Minuartia recurva. Remember, gardening is a journey, and propagation is a wonderful way to grow your collection and share your love of plants with others. Be patient, observe your cuttings, and most importantly, enjoy the process. Happy planting!
Resource: