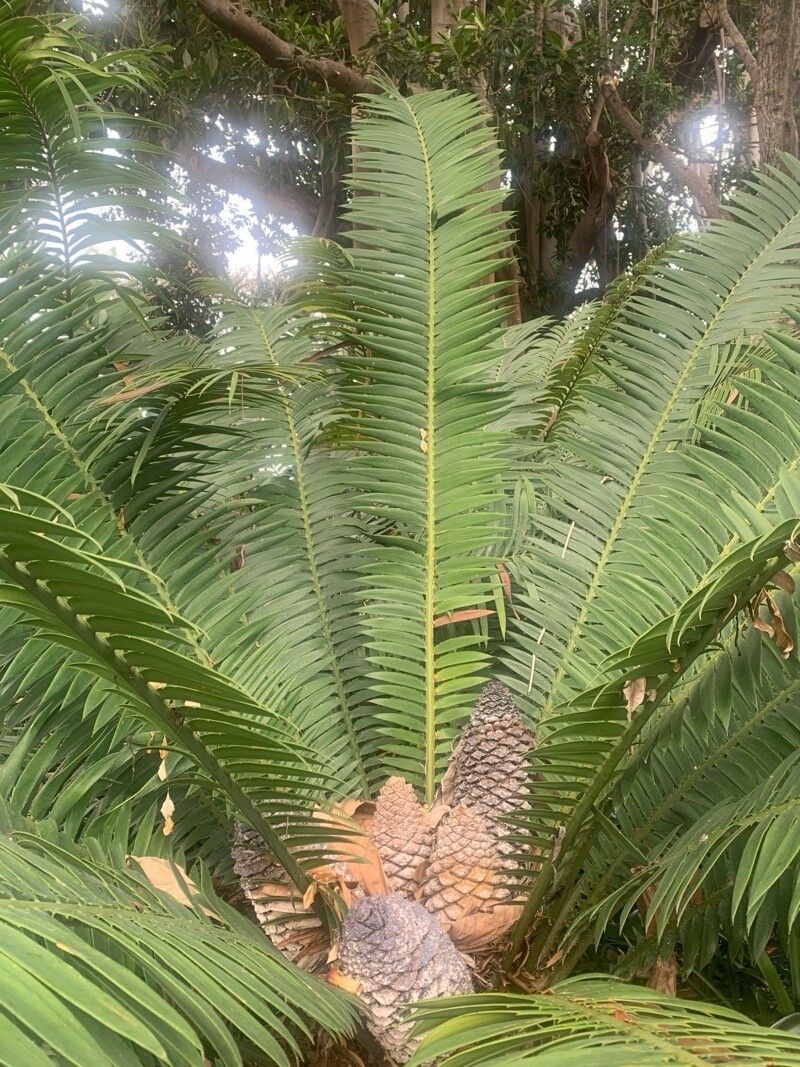
Oh, hello there! Come on in, grab a mug. I’m so glad you’re interested in Encephalartos kisambo. It’s a truly spectacular cycad, with those deep green, leathery leaves that unfurl in such a prehistoric sort of way. Seeing a new one sprout from a tiny bit of your own plant? That’s a special kind of magic, and I promise, it’s a journey worth taking. This isn’t a plant for the absolute beginner, mind you, but with a little patience and a good dose of care, you can definitely master it.
The Best Time to Start
When it comes to propagating Encephalartos kisambo, spring and early summer are your best friends. This is when the plant is actively growing and has the energy reserves to put into developing roots. You want to catch it in its vigorous phase, not when it’s slowing down for cooler weather. Look for new growth emerging from the base or from a healthy stem.
Supplies You’ll Need
Here’s what I like to have on hand before I get started:
- Sharp, sterile pruning shears or a clean knife: Cleanliness is key to preventing disease.
- Rooting hormone: A powdered type is usually easy to work with for stem cuttings and divisions.
- Well-draining potting mix: I often use a mix of coarse sand, perlite, and a good quality potting soil. About a 1:1:1 ratio is a good starting point, but I sometimes lean more heavily on the sand and perlite for cycads.
- Small pots or seed trays: With good drainage holes, of course.
- Optional: Bottom heat mat: This can really speed things up, especially if your home is on the cooler side.
- Optional: Clear plastic bags or dome: To create a humid environment for cuttings.
Propagation Methods
For Encephalartos kisambo, we’re primarily looking at two successful avenues: taking stem cuttings and dividing offsets or pups.
1. Stem Cuttings:
This method is a bit more involved but can yield great results.
- First, select a healthy, mature stem that has at least a few leaves.
- Using your sharp, sterile tool, carefully cut the stem from the main plant. Try to get a piece that’s at least 6-8 inches long.
- Gently remove the lower leaves to expose a few inches of bare stem.
- Let the cut end callus over for a few days in a dry, shaded spot. This is really important to prevent rot. You want to see a dry, hardened surface before you proceed.
- Once callused, dip the callused end into rooting hormone, tapping off any excess.
- Plant the cutting into your well-draining potting mix, ensuring it’s firm enough to stand on its own. About a third of the cutting should be buried.
- Water lightly, just enough to moisten the soil.
- Cover the pot with a clear plastic bag or dome to create a humid environment, but make sure the leaves don’t touch the sides of the bag.
2. Dividing Offsets (Pups):
This is often the easiest way if your plant is lucky enough to produce them.
- You’ll see these little plantlets emerging from the base of your mature Encephalartos kisambo.
- Gently excavate around the base of the plant you want to take. You want to get a clean break.
- Using a sharp knife or spade, carefully cut the offset away from the mother plant, ensuring it has some of its own roots attached if possible.
- Remove any lower leaves that might be in contact with the soil.
- Allow the cut surface of the pup to callus over for a few days, just like with stem cuttings.
- Once callused, plant the offset in its own pot with your well-draining mix.
- Water sparingly at first.
The “Secret Sauce” (Pro Tips)
Here are a couple of little things that make a big difference:
First, for those stem cuttings, don’t let the leaves touch the soil or the water. If you’re bottom-watering, this is especially important. Any leaves sitting in dampness are just inviting rot. I like to elevate the cutting slightly if I can, or ensure the pot is deep enough that the leaves are well clear of the soil surface.
Second, consider using bottom heat. A gentle warmth from below can be a game-changer for encouraging root development, especially in cooler propagation environments. It mimics that nice, warm soil feel the plant loves. Just a gentle, consistent heat is all you need.
Aftercare & Troubleshooting
Once you see new growth emerging, that’s a fantastic sign that roots are forming! Keep the soil lightly moist, but never soggy. If you’ve used a humidity dome, gradually introduce more air over a week or two to help the new plant acclimate.
The biggest enemy here is rot. If your cutting or pup starts to look mushy, dark, or just generally unhealthy, it’s a bad sign. Often, this is due to too much moisture, poor drainage, or a lack of air circulation. If you spot it early, you might be able to salvage it by cutting away the rotten parts and allowing the remaining healthy tissue to callus again before repotting in fresh, dry mix. Sometimes, unfortunately, it’s a lost cause, and that’s just part of the learning curve.
A Encouraging Closing
Don’t get discouraged if your first attempt doesn’t go exactly as planned. Propagation is a dance with nature, and it requires patience. Celebrate the successes, learn from the setbacks, and most importantly, enjoy the process of nurturing new life. Happy propagating!
Resource: