Hey there, fellow plant lovers! Grab a cup of your favorite brew, because today we’re diving into the wonderful world of propagating Acrocomia aculeata, also known as the Bottle Palm or Coquito Palm.
Why You’ll Love Growing More Bottle Palms
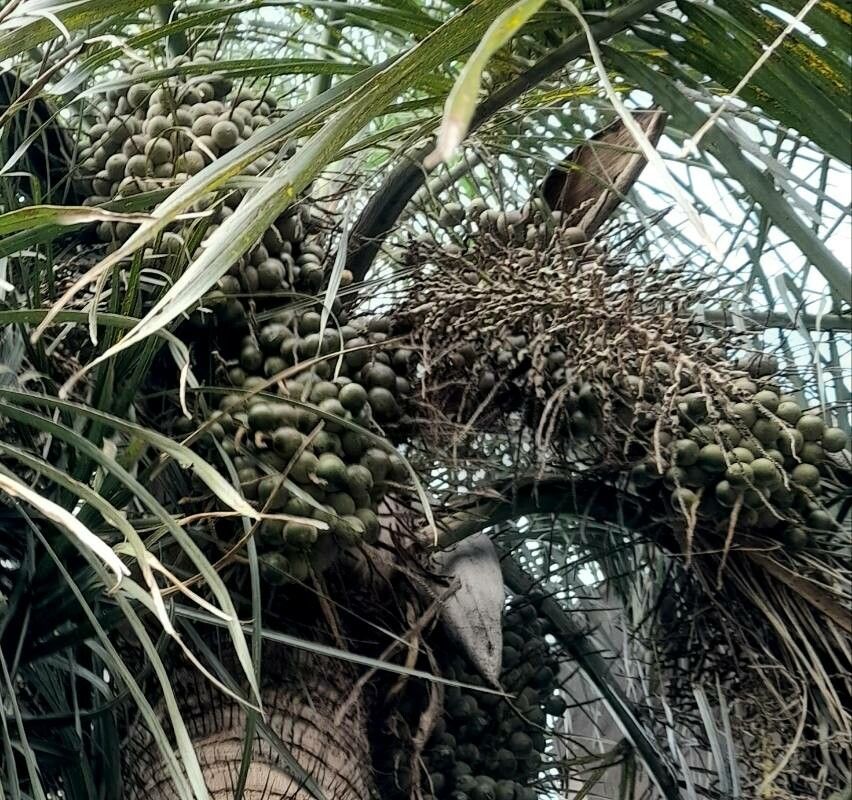
These beauties are just stunning. With their distinctive swollen trunks and elegant, arching fronds, they bring a touch of the tropics right into your garden or home. And the best part? They produce tiny, date-like fruits! Propagating them yourself is incredibly satisfying. It’s a fantastic way to share your passion with friends, or just to fill your space with more of these gorgeous palms.
Now, for the honest truth: propagating Acrocomia aculeata isn’t exactly a walk in the park for a complete beginner. It requires a bit more patience and attention than, say, a spider plant. But don’t let that discourage you! With a little knowledge and a good dose of persistence, you absolutely can succeed. Think of it as a rewarding challenge that will make your successes all the sweeter.
When to Get Your Hands Dirty
The absolute best time to start propagating your Bottle Palms is during their active growing season. For most of us, this means late spring through summer. This is when the plant has the most energy to dedicate to producing new roots and shoots. Waiting until the weather warms up and the days are longer really gives your efforts the best chance of taking hold.
Your Propagation Toolkit
Here’s what you’ll want to gather before you begin. Having everything ready makes the whole process much smoother:
- Sharp, clean pruning shears or a sterile knife: Essential for making clean cuts to prevent disease.
- Well-draining potting mix: A blend of compost, perlite, and coarse sand works wonders. You want something that won’t hold excess moisture.
- Small pots or propagation trays: Make sure they have drainage holes!
- Rooting hormone (optional but recommended): This can give your cuttings a helpful boost. Look for one formulated for woody plants or palms.
- Clear plastic bags or a humidity dome: To maintain high humidity around your cuttings.
- Labels and a waterproof marker: To keep track of what you’ve planted and when!
- A watering can with a fine rose: For gentle watering.
Let’s Propagate! Methods to Try
Acrocomia aculeata is primarily propagated through seed germination and by offsets. Seeds can be a bit slow and sometimes erratic, but offsets (baby plants that grow from the base of the parent) are generally quite reliable.
Method 1: Working with Offsets (The Easiest Approach)
This is your best bet for a more beginner-friendly experience. Your mature Bottle Palm might naturally produce little baby palms around its base.
- Gently unearth the base: Carefully dig around the parent plant, exposing the base where the offsets are growing. You might need to clear away some soil.
- Identify a healthy offset: Look for a well-formed baby palm that has its own roots already.
- Separate with care: Using your sharp knife or pruning shears, carefully cut the offset away from the parent plant at its point of connection. Try to get as many of the offset’s own roots as possible.
- Let it callous: Set the separated offset aside in a dry, airy spot for a day or two. This allows the cut surface to dry and form a protective callous, which helps prevent rot.
- Pot it up: Plant the offset in a small pot filled with your well-draining potting mix. Make sure the base is slightly below the soil surface.
- Water lightly: Give it a gentle drink.
Method 2: Starting from Seed (For the Patient Gardener)
This method requires a bit more patience, as germination can take several months.
- Source fresh seeds: The fresher the seeds, the better your germination rates will be. If you can source them from a local, healthy plant, even better!
- Prepare the seeds: Some sources suggest soaking the seeds in warm water for 24-48 hours to help soften the seed coat.
- Planting: Fill small pots or seed trays with your well-draining mix. Plant each seed about an inch deep.
- Water and cover: Water thoroughly. Then, cover the pots with a clear plastic bag or a humidity dome to keep the soil consistently moist and humid.
- Provide warmth: Place the pots in a warm location. A heat mat is ideal for this.
The “Secret Sauce” – My Insider Tips
Here are a few things I’ve learned over the years that can really make a difference:
- Don’t overwater offsets initially: While they need moisture, they are susceptible to rot if kept too soggy, especially before they’ve established new roots. Let the top inch of soil dry out slightly between waterings.
- Bottom heat is your friend: For both seed germination and rooting offsets, consistent bottom heat (around 70-80°F) is a game-changer. It encourages root development much faster than ambient room temperature alone. A seedling heat mat is a fantastic investment for this.
- Air circulation is key, even with humidity: While you need humidity, stagnant air can lead to fungal issues. If you’re using a plastic bag, occasionally open it for a few hours to allow for some air exchange.
Aftercare and When Things Go Wrong
Once your offset is potted or your seeds have germinated, the real nurturing begins!
- For offsets: Keep the soil consistently lightly moist. Place the pot in a bright, indirect light location. Avoid direct, harsh sunlight, which can scorch the delicate new growth. Once you see new fronds unfurling, you know you’re on the right track! You can gradually introduce it to more light as it matures.
- For seeds: Continue to maintain humidity and warmth. Be patient; germination can take a while. Once you see a sprout, remove the plastic cover gradually, allowing the seedling to acclimate to lower humidity.
Signs of Trouble (and what to do):
- Rotting: This is the most common problem, often caused by overwatering. If you notice the base of your offset turning mushy and dark, it’s likely rot. Unfortunately, it’s often hard to save at this stage. The best prevention is excellent drainage and careful watering.
- Wilting: This could be underwatering, or it could be transplant shock. Check the soil moisture. If it’s dry, give it a gentle drink. If the soil is moist and it’s still wilting, it might be struggling to establish roots. Keep it in a stable, humid environment and don’t disturb it.
Happy Gardening!
Propagating Acrocomia aculeata is a journey, and like all gardening endeavors, it comes with its own learning curve. Don’t get discouraged if your first attempts aren’t perfect. Every seed sown and every offset separated is an opportunity to learn and grow. Be patient, keep your tools clean, and enjoy the process. Soon enough, you’ll have a whole grove of these magnificent palms to admire! Happy propagating!
Resource: