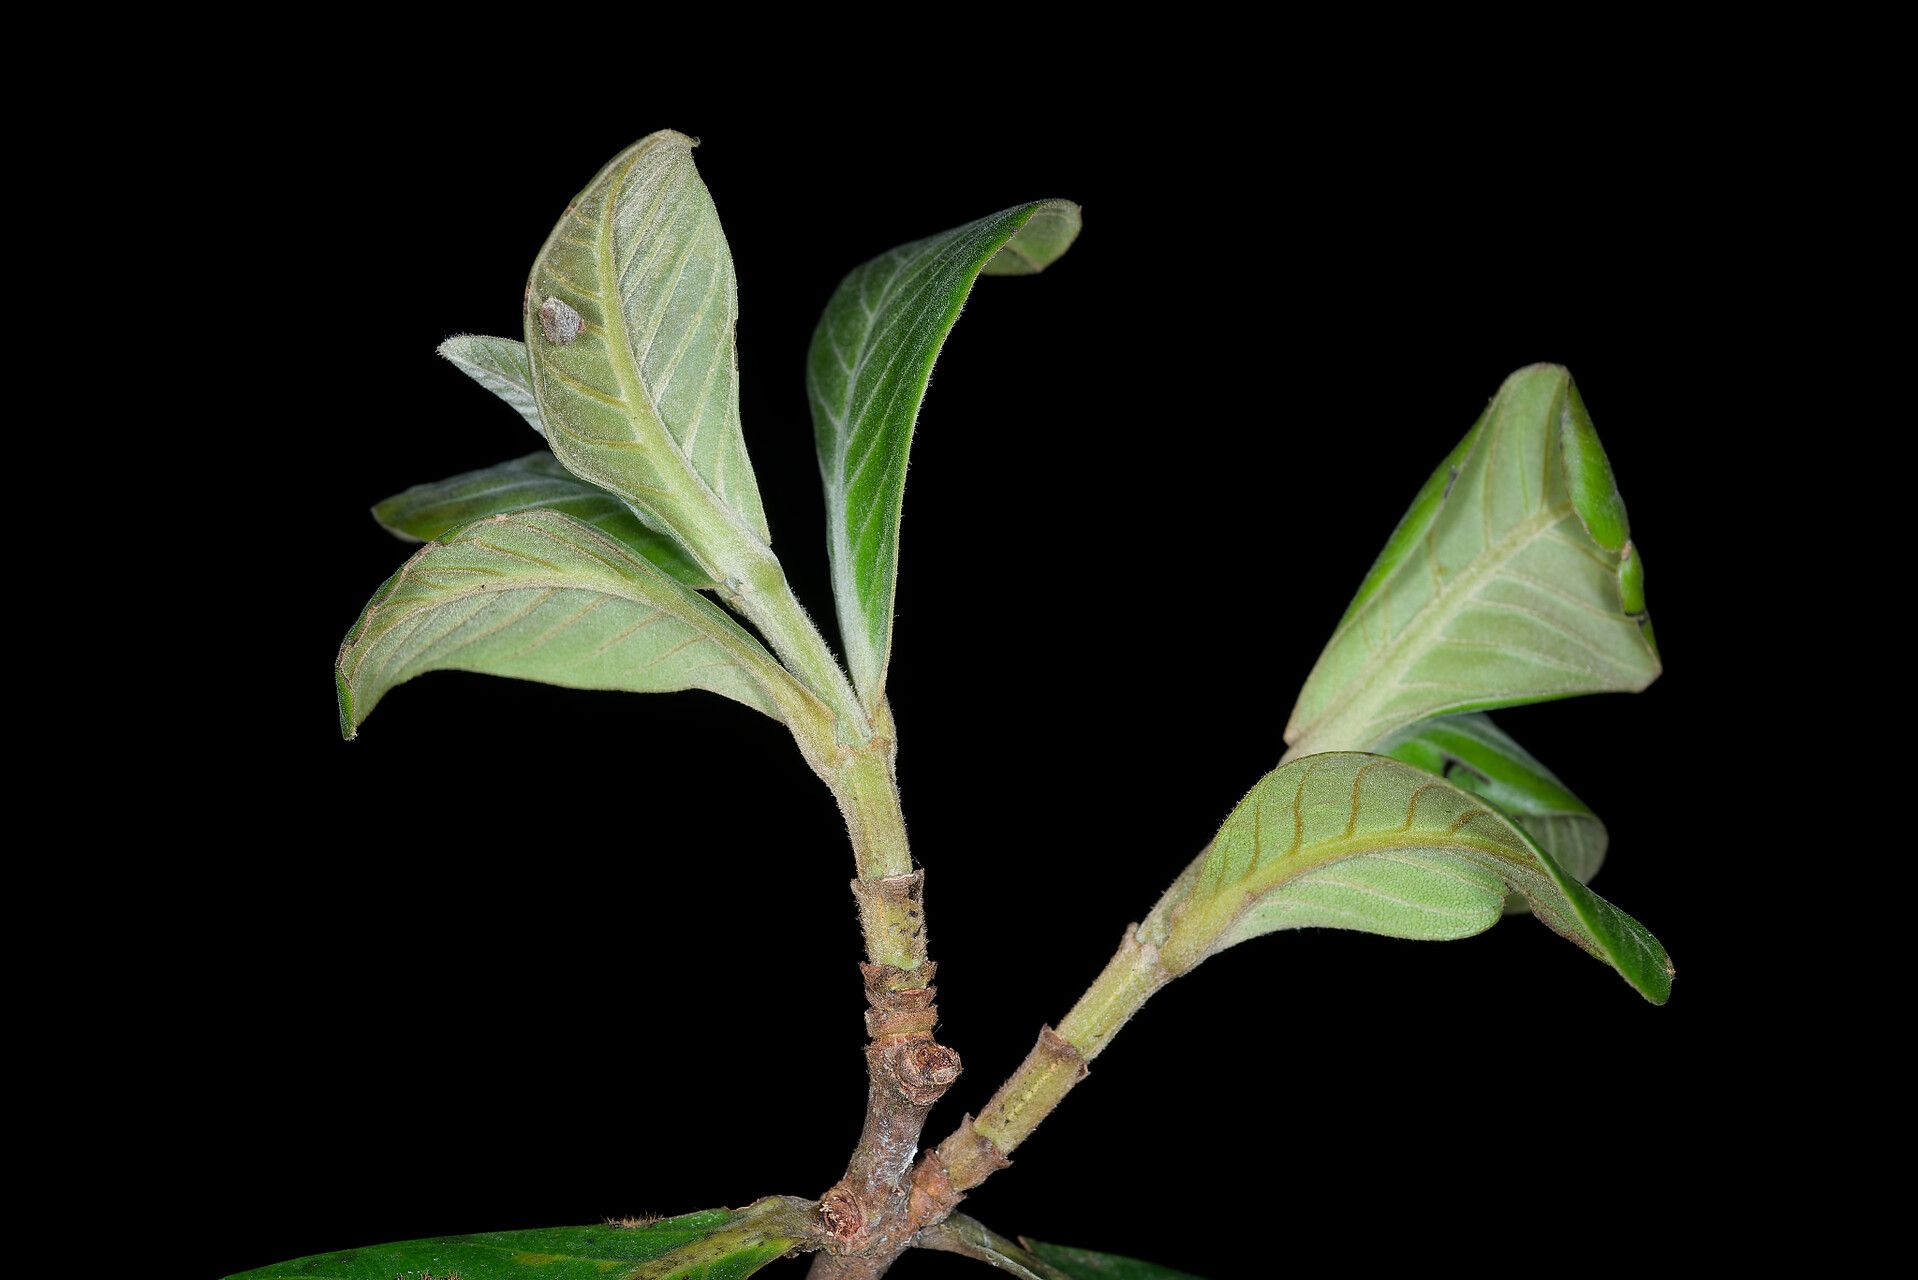
Hello, fellow garden lovers! Today, I want to talk about a plant that has truly captured my heart over the years: Erismadelphus exsul. You might know it by its common name, the “Sparkler Plant” for its showy, star-like blooms. Not only is it a stunning addition to any garden or indoor collection, but propagating it is also incredibly rewarding. Watching a tiny cutting transform into a mature plant is a magical feeling, and the good news? It’s not as daunting as it might seem. While I wouldn’t call it the absolute easiest plant to propagate for a complete beginner, with a little care and attention, you can absolutely be successful!
The Best Time to Start
For Erismadelphus exsul, the sweet spot for propagation is typically the late spring to early summer. This is when the plant is actively growing and has plenty of energy to put into developing new roots. You’ll want to select stems that are firm but not woody. Think of them as being mature enough to hold their shape, but still with a bit of youthful vigor. Avoid the very soft, new growth or old, hard, woody stems.
Supplies You’ll Need
Before we dive in, let’s gather our essentials. Having everything ready will make the process so much smoother!
- Sharp Pruning Shears or a Craft Knife: Cleanliness is key to prevent disease.
- Rooting Hormone (Optional but Recommended): Especially helpful for encouraging faster root development.
- Well-Draining Potting Mix: A good mix of peat moss, perlite, and a little bit of compost works wonderfully. You can also buy a pre-made succulent or cactus mix.
- Small Pots or Seedling Trays: Make sure they have drainage holes!
- Clear Plastic Bag or Dome: To create a humid environment for cuttings.
- Watering Can or Spray Bottle: For gentle watering.
- Label and Pen: To keep track of your projects!
Propagation Methods
There are a couple of excellent ways to get more Erismadelphus exsul from your existing plant. I’ve found the most success with stem cuttings, and sometimes, if you’re lucky, a bit of accidental water propagation.
Stem Cuttings
This is my go-to method for Erismadelphus exsul.
- Take Your Cuttings: Using your clean pruning shears or craft knife, select a healthy stem. Make a cut just below a leaf node (where a leaf attaches to the stem). Aim for cuttings that are about 4-6 inches long.
- Prepare the Cuttings: Gently remove any lower leaves. You want to expose at least one or two leaf nodes that will be buried in the soil.
- Apply Rooting Hormone (Optional): If you’re using rooting hormone, dip the cut end of the stem into the powder or gel. Tap off any excess.
- Plant Your Cuttings: Fill your small pots or trays with your well-draining potting mix. Make a small hole in the center with your finger or a pencil. Carefully insert the cut end of the Erismadelphus exsul cutting into the hole, ensuring the leaf nodes are buried. Gently firm the soil around the base of the cutting.
- Water Gently: Water the soil lightly. You don’t want to saturate it, just make it evenly moist.
- Create a Humid Environment: Cover the pot or tray with a clear plastic bag or propagation dome. This traps moisture and helps the cuttings stay hydrated while they develop roots. Make sure the leaves don’t touch the sides of the bag if possible, as this can lead to rot.
- Place in Bright, Indirect Light: Find a spot that receives bright, indirect sunlight. Avoid direct sun, which can scorch the delicate cuttings.
Water Propagation (A Happy Accident!)
Sometimes, a stem cutting or even a fallen leaf can sprout roots in a glass of water. If this happens, don’t discard it!
- Place in Water: Ensure only the leaf nodes are submerged in clean water. Crucially, don’t let the leaves themselves touch the water. This is a quick way to invite rot.
- Change Water Regularly: Refresh the water every few days to keep it clean and oxygenated.
- Wait for Roots: You’ll start to see tiny white roots emerge from the leaf nodes. Once the roots are about an inch long, you can carefully transplant them into well-draining soil, following the same steps as for stem cuttings.
The “Secret Sauce” (Pro Tips)
Now for a little insider knowledge! These small touches can make a big difference.
- Bottom Heat is Your Friend: If you have the option, placing your pots on a gentle heating mat designed for seedlings can significantly speed up root development. Roots love warmth, and this extra boost can be a game-changer.
- Don’t Be Afraid of a “Wound”: When you take stem cuttings, some gardeners even lightly wound the sides of the stem just above the lowest leaf node. Don’t go crazy, but a tiny scrape can sometimes encourage more root formation.
- Rooting Hormone: Less is More: When using rooting hormone, a light dusting or a thin coating is all you need. Too much can actually hinder root development.
Aftercare & Troubleshooting
Once you start seeing roots appearing (you can gently tug on the cutting; if it resists, roots are forming!), it’s time to adjust your care.
- Gradual Acclimation: Slowly remove the plastic bag or dome over a week or so. This allows the new plant to adjust to the ambient humidity.
- Continue Bright, Indirect Light: Keep it in a similar bright spot.
- Watering: Water when the top inch of soil feels dry. Avoid overwatering, as this is the most common cause of problems.
Now, what if things go awry? The most common culprit is rot. If your cutting turns black, mushy, or develops soft, brown spots, it’s likely succumbing to rot. This usually means you’ve had too much moisture and not enough air circulation. If you catch it early, you might be able to salvage a healthy section and try again! Another sign of failure is wilting that doesn’t improve with watering. This could indicate a lack of root development or a too-dry environment.
A Little Patience Goes A Long Way
Propagating Erismadelphus exsul is a journey, not a race. There will be times when things take off beautifully, and other times when you might have a few duds. Don’t get discouraged! Every attempt teaches you something new. Enjoy the process of nurturing these little life forms, and soon enough, you’ll have a whole clan of your own Sparkler Plants to admire and share. Happy propagating!
Resource:
https://identify.plantnet.org/k-world-flora/species/Erismadelphus%20exsul%20Mildbr./data