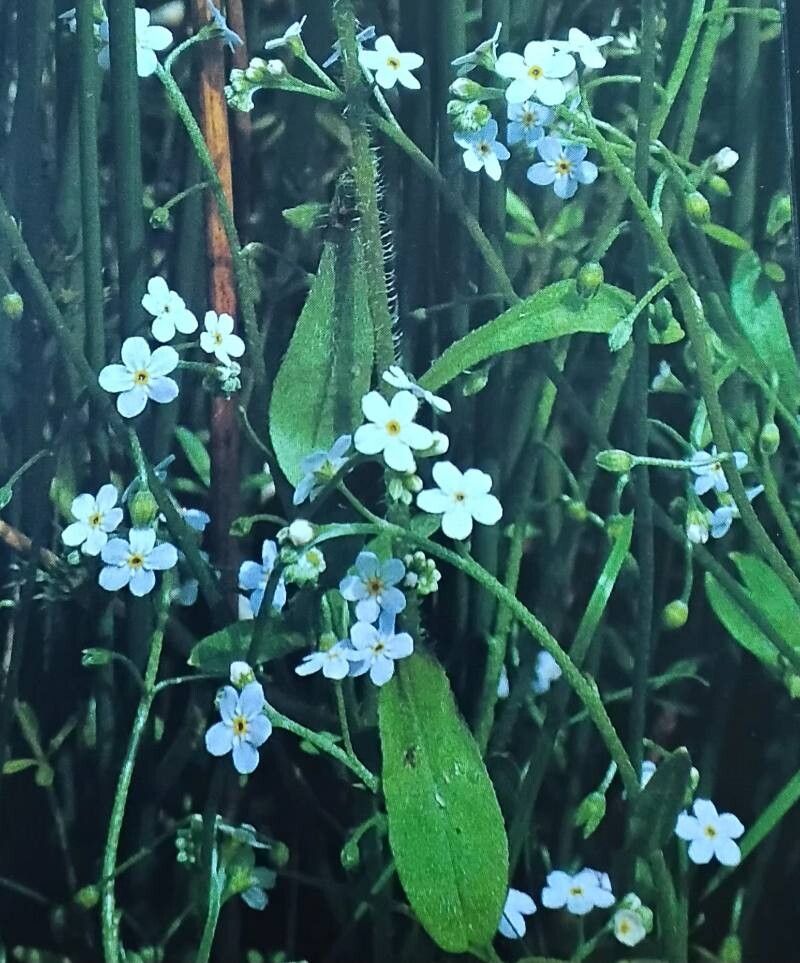
Oh, hello there! Pull up a chair, let’s chat about Myosotis secunda, often called Chilean Forget-Me-Not. If you’ve ever seen its charming, sky-blue blooms tumbling over a garden wall or peeking out from a rockery, you know exactly why we’re so drawn to it. They’re just pure, unadulterated garden joy, little bits of sky fallen to earth. And the best part? These beauties are surprisingly easy to share! If you’re new to the gardening game, bringing more of this delicate magic into your life through propagation is a fantastic place to start. It’s a wonderfully rewarding way to expand your garden without spending a dime.
The Best Time to Start
For Myosotis secunda, the sweet spot for propagation is really when the plant is in its active growing phase. That means late spring to early summer is usually your best bet. You want to catch it after it’s finished its main flush of blooms but before the really intense heat of mid-summer sets in. This gives the new cuttings or divisions plenty of time to establish themselves before cooler weather arrives.
Supplies You’ll Need
Gathering your supplies beforehand makes the whole process so much smoother. Here’s what I always have on hand:
- Sharp pruning shears or a clean knife: For making clean cuts.
- Small pots or seed trays: With drainage holes, of course!
- A good quality potting mix: I prefer a mix that drains well, something like a blend of peat moss, perlite, and a bit of compost.
- Rooting hormone (optional but helpful): Especially for stem cuttings.
- A watering can with a fine rose attachment: For gentle watering.
- Plastic bags or a propagation dome: To keep humidity high.
Propagation Methods
Myosotis secunda is a pretty forgiving plant, and you’ve got a couple of ways to get more of it.
Stem Cuttings
This is my go-to method for Myosotis secunda. It’s quite effective and lets you create quite a few new plants from one mature specimen.
- Take the cuttings: Look for healthy, non-flowering shoots. With your sharp shears, snip off pieces about 3-4 inches long. It’s best to take them from the softer, newer growth.
- Prepare the cuttings: Gently remove the lower leaves from the cutting, leaving just a few at the top. If you’re using rooting hormone, dip the cut end into it now.
- Plant the cuttings: Fill your small pots or trays with your potting mix. Make a small hole with a pencil or your finger and insert the cutting, burying the leafless part. Gently firm the soil around it.
- Water and cover: Water the soil gently until it’s moist but not soggy. Then, cover the pots with a plastic bag or a propagation dome. This creates a mini-greenhouse effect, keeping the humidity nice and high, which is crucial for cuttings to root.
Division
This is the simplest method, especially if your Myosotis secunda has grown into a nice clump.
- Gently lift the plant: In the spring or early fall, carefully dig around the base of the plant and lift the entire clump out of the ground.
- Separate the sections: You can often tease apart the root ball with your hands. If it’s a bit stubborn, use a clean trowel or knife to divide the plant into smaller sections. Make sure each section has some healthy roots and shoots.
- Replant immediately: Plant the divisions back into the ground or into pots with fresh potting mix, watering them in well.
The “Secret Sauce” (Pro Tips)
You know, it’s these little things that really make a difference.
- Don’t let the leaves touch the water in your cuttings, if you happen to be using water propagation for other plants (though I prefer soil for Myosotis). If lower leaves dip into the water, they’ll just rot and can take the whole cutting down with them. Keep them high and dry!
- Bottom heat can be a game-changer. If you have a heat mat designed for seedlings, placing your cutting pots on it can really speed up root development. It mimics the warmth of spring soil and gives those roots a little nudge.
Aftercare & Troubleshooting
Once your cuttings have rooted (you’ll know because you’ll see new leaf growth!), or your divisions are replanted, it’s time for gentle care.
- Gradually introduce them to the light: If they’ve been under cover, slowly remove the plastic bag or dome over a few days to let them acclimatize.
- Keep the soil consistently moist but not waterlogged: This is probably the most important thing. Overwatering is the quickest way to invite rot. Check the soil moisture by sticking your finger in about an inch deep. If it feels dry, it’s time for a gentle watering.
- Watch out for rot: Soggy soil and poor air circulation are the culprits. If you see stems turning mushy or black, or the whole cutting wilting limply, it’s a sign of rot. Sadly, it’s often lights out for that particular cutting, but don’t get discouraged! Learn from it and try again with better drainage or less water.
A Encouraging Closing
And there you have it! Propagating Myosotis secunda is a journey of patience and observation. Don’t be discouraged if your first few attempts aren’t perfect – that’s part of the learning process that makes us all better gardeners. Just remember to enjoy the magic of watching something new grow from a tiny piece of what you already love. Happy propagating!
Resource:
https://identify.plantnet.org/k-world-flora/species/Myosotis%20secunda%20Al.Murray/data