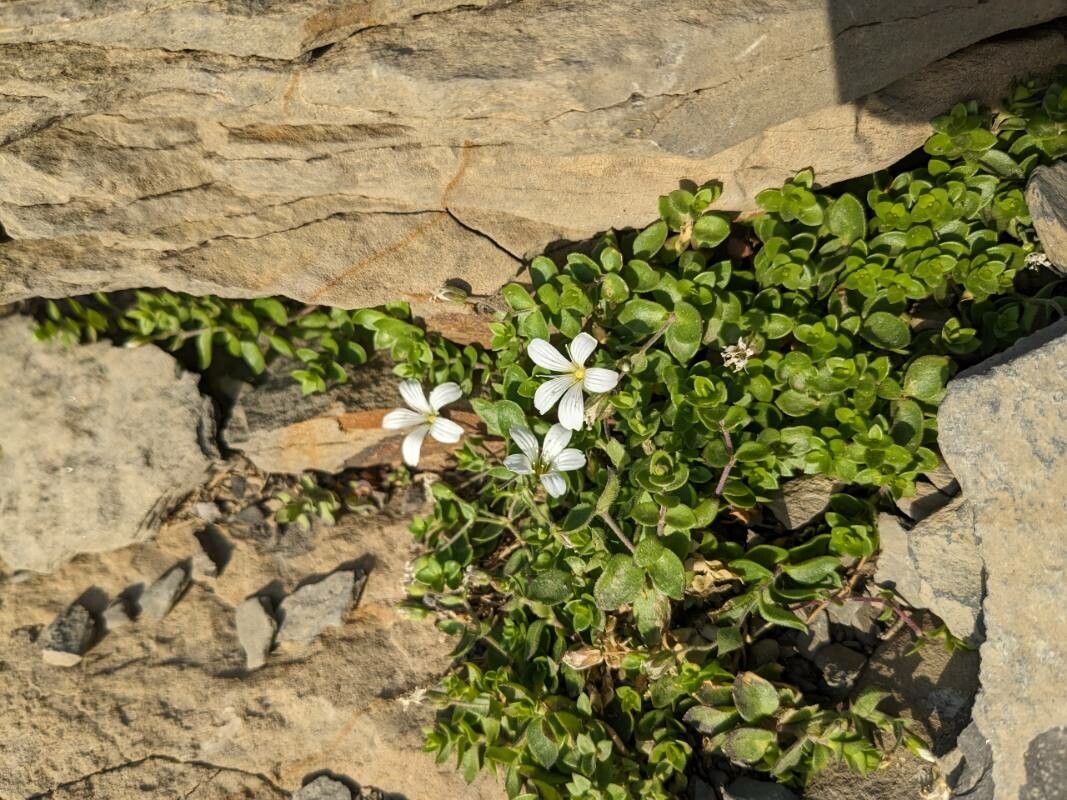
Hello fellow garden enthusiasts! Today, I’m thrilled to share my experiences with a truly delightful little plant: Arenaria bertolonii. If you’ve ever admired those incredibly dense, cushiony mounds of foliage, studded with delicate white flowers, you know exactly what I’m talking about. Propagating these beauties can be incredibly rewarding, and happily, it’s not as daunting as you might think. Even if you’re just starting your plant journey, you’ll find this process quite achievable with a little guidance.
The Best Time to Start
For Arenaria bertolonii, I’ve found the late spring to early summer to be your sweet spot. This is when the plant is actively growing, which means it’s full of energy and ready to put those efforts into creating new roots. Waiting until after the main flush of flowering is also a good idea, as the plant will have plenty of healthy, non-woody stems to work with.
Supplies You’ll Need
Gathering your tools before you begin always makes things smoother. Here’s what I typically have on hand:
- Sharp pruning shears or a clean razor blade
- A well-draining potting mix. I usually blend equal parts perlite, coarse sand, and a good quality potting soil.
- Small pots or seed trays with drainage holes.
- Optional: Rooting hormone powder or gel. I find it helpful for an extra boost, though not always strictly necessary.
- A spray bottle filled with clean water.
- A clear plastic bag or dome for creating a humid environment.
Propagation Methods
We’ll focus on stem cuttings for Arenaria bertolonii, as it’s usually the most successful and straightforward method for this plant.
Stem Cuttings
- Select your cuttings: Look for healthy, non-flowering stems that are about 3-4 inches long. You want semi-hardwood cuttings – not too soft and leafy, but not woody either. This gives them the best balance of flexibility and structure.
- Make the cut: Using your sharp pruning shears or razor, make a clean cut just below a leaf node (where a leaf sprouts from the stem).
- Prepare the cutting: Gently remove the lower leaves from the bottom inch of the stem. You want a clean section to immerse or plant. If your cutting has a lot of leaves, you can pinch off about half of them to reduce water loss.
- Apply rooting hormone (optional): Dip the cut end into your rooting hormone, tapping off any excess.
- Plant your cuttings: Fill your small pots with your prepared, well-draining mix. Make a small hole with your finger or a pencil. Gently insert the cut end of your Arenaria cutting into the hole, firming the soil gently around it.
- Water gently: Water the soil thoroughly until it’s evenly moist, but not waterlogged.
- Create humidity: Place the potted cuttings in a bright spot that receives indirect sunlight. Cover the pot with a clear plastic bag or a dome to create a humid environment. This is crucial as it prevents the cuttings from drying out before they can develop roots.
The “Secret Sauce”
Here are a couple of small tricks that have made a big difference for me over the years:
- Don’t let the leaves touch the water: If you ever decide to try water propagation (though cuttings in soil are usually best for Arenaria), make absolutely sure no leaves are submerged. Any foliage below the water line will rot and can infect the entire cutting.
- Bottom heat is your friend: If you have a heat mat designed for propagation, using it under your pots can significantly speed up root development. It mimics the warmth of the soil in a greenhouse and gives those tiny root cells a real boost.
Aftercare & Troubleshooting
Once your cuttings have roots (this can take anywhere from 3 to 6 weeks, so be patient!), you’ll notice new growth. You can gently tug on a cutting; if there’s resistance, roots have formed!
- Gradually acclimate: Slowly reduce the humidity by opening the plastic bag or dome a little more each day over a week. This helps your new plants adjust to normal room conditions.
- Continue bright, indirect light: Keep them in a bright spot, but away from direct, scorching sun.
- Water consistently: Keep the soil consistently moist but not soggy. Let the top inch of soil dry out before watering again.
The most common issue you’ll face is rot. If a cutting turns black and mushy, it’s likely due to overwatering or lack of air circulation. If you see this happening, remove the affected cutting immediately to prevent it from spreading.
A Little Patience Goes a Long Way
Propagating plants is a wonderfully tactile and rewarding experience. It’s a chance to connect with nature and multiply the beauty in your garden. Don’t get discouraged if not every cutting succeeds – that’s part of the learning process! Just keep trying, pay attention to what your plants are telling you, and before you know it, you’ll have a whole new collection of these gorgeous cushions to enjoy. Happy gardening!
Resource:
https://identify.plantnet.org/k-world-flora/species/Arenaria%20bertolonii%20Fiori%20&%20Paol./data