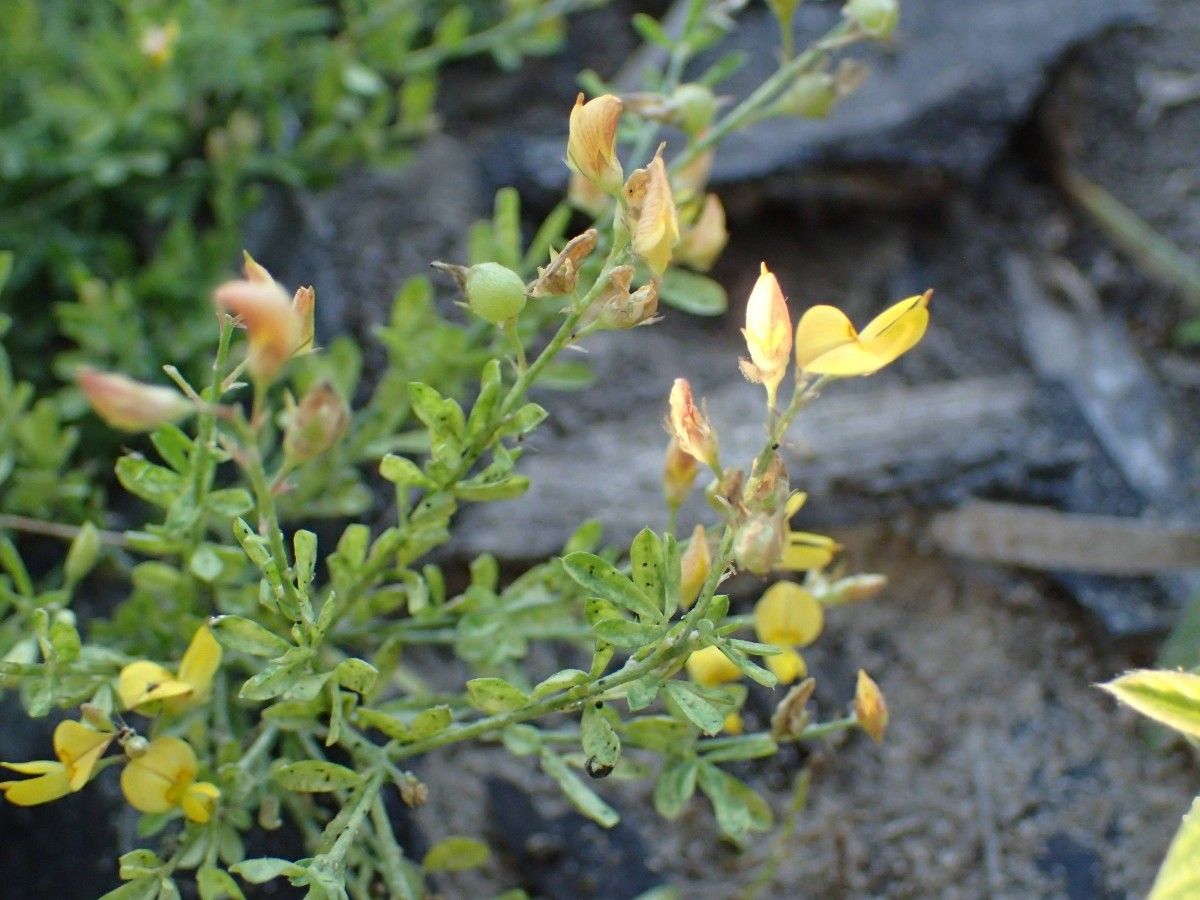
Hey there, fellow plant lovers! I’m so excited to talk to you today about a plant that’s stolen a little piece of my heart: Crotalaria hyssopifolia, often called Rattlepod or Green Dewdrop. It’s got this beautiful, almost airy cascade of green leaves and delicate, pea-like yellow flowers that are just a delight. Plus, it’s generally quite cheerful in the garden or on the porch. If you’ve ever admired one and thought, “I wish I had more of those!” then you’re in the right place. Propagating them is a wonderfully rewarding experience, and I’d sayCrotalaria hyssopifolia is a pretty beginner-friendly plant to try your hand at. You’ll be sharing these beauties in no time!
The Best Time to Start
When it comes to getting the most bang for your buck in propagation, late spring through early summer is your golden window. This is when the plant is in its most vigorous growth phase. We want to catch it when it’s actively producing new, healthy stems – that’s where the magic happens for cuttings. Think of it as taking a cutting from a teenager full of energy, rather than an older, slower-moving individual!
Supplies You’ll Need
Gathering your tools beforehand makes the whole process smooth sailing. Here’s what I always have on hand:
- Sharp, clean pruning shears or a sharp knife: For making neat cuts.
- A well-draining potting mix: I like a blend of peat, perlite, and a bit of compost. You can also buy specific seed-starting mixes.
- Small pots or propagation trays: Clean ones, please!
- Rooting hormone (optional but helpful): A powder or gel formulation works well.
- Watering can or spray bottle: For gentle watering.
- Plastic bag or propagator lid: To create a humid environment.
- Coarse sand or perlite: For improving drainage in the potting mix.
Propagation Methods
There are a couple of ways we can get more Crotalaria hyssopifolia plants, but my favorite for this one is taking stem cuttings. It’s reliable and gives you a head start.
-
Take Stem Cuttings:
- Find a healthy, non-flowering stem on your mature plant. Look for growth that’s a bit woody at the base but still somewhat green and flexible at the tip.
- Using your clean shears, make a cut just below a leaf node. A leaf node is where a leaf meets the stem. This is usually where new roots will form.
- Aim for cuttings that are about 4-6 inches long.
- Gently remove the lower leaves from the cutting, leaving just a few at the very top. This prevents them from rotting in the soil.
-
Prepare the Cutting:
- If you’re using rooting hormone, that’s the time to dip the cut end of the stem into it. Swirl it around to get good coverage. Don’t be shy!
-
Plant Your Cuttings:
- Fill your small pots or propagation tray with your well-draining potting mix.
- Make a hole in the soil with your finger or a pencil. This prevents rubbing off the rooting hormone.
- Gently insert the cut end of the stem into the hole, about an inch or two deep.
- Firm the soil gently around the cutting to make sure it has good contact.
- Water thoroughly but gently, allowing the excess water to drain away.
-
Create a Humid Environment:
- To keep the humidity high and prevent the cuttings from drying out, cover the pots with a clear plastic bag or place them in a propagator with a lid. Make sure the leaves aren’t touching the plastic; you might need to prop it up slightly.
-
Provide the Right Conditions:
- Place your pots in a bright spot with indirect light. Avoid direct sun, which can scorch the delicate cuttings.
- Keep the soil consistently moist but not waterlogged. Check the moisture level regularly.
The “Secret Sauce” (Pro Tips)
After many years of trial and error, I’ve picked up a few tricks that really make a difference:
- My absolute favorite tip for cuttings is to use bottom heat. You can buy simple heating mats specifically for propagators. This gentle warmth encourages root development from the base of the cutting and significantly boosts your success rate. It’s like giving your cuttings a little spa treatment!
- When watering, always aim to water the soil, not the leaves. Excess moisture sitting on the leaves can encourage fungal issues, and we want healthy, happy plants. A gentle watering can or a spray bottle set to a coarse mist works best.
- Don’t be tempted to mess with your cuttings too much! Resist the urge to pull them out to check for roots too early. You’ll know they’re ready when you see new leaf growth or a gentle tug reveals resistance. Patience is truly a gardener’s virtue here!
Aftercare & Troubleshooting
Once your cuttings have developed a good root system – usually after 3-6 weeks – you’ll start to see new growth. This is a sign they’ve rooted!
- Gradually Acclimate Them: If you’ve used a plastic bag, start by opening it for a few hours each day to get them used to lower humidity. Once they seem settled, remove the bag entirely.
- Repotting: When the roots are well-established and filling the pot, you can carefully transplant them into slightly larger pots with your regular potting mix.
- Ongoing Care: Treat them much like your mature Crotalaria hyssopifolia – bright, indirect light and consistent watering.
Now, what if things go wrong? The most common issue is rot. This usually happens if the soil is too wet, the air circulation is poor, or you’re using a mix that doesn’t drain well enough. If a cutting looks leggy and yellow, or the base turns mushy and black, it’s probably succumbed to rot. Don’t be discouraged! Just discard the failed cutting, check your watering and soil drainage, and try again with fresh material.
A Encouraging Closing
Propagating plants is a journey, and it’s always a thrill to watch a tiny cutting transform into a thriving new plant. Be patient with your Crotalaria hyssopifolia, give it the right conditions, and enjoy the process. Soon you’ll have a lovely collection of these charming plants to enjoy yourself or share with friends. Happy gardening!
Resource:
https://identify.plantnet.org/k-world-flora/species/Crotalaria%20hyssopifolia%20Klotzsch/data