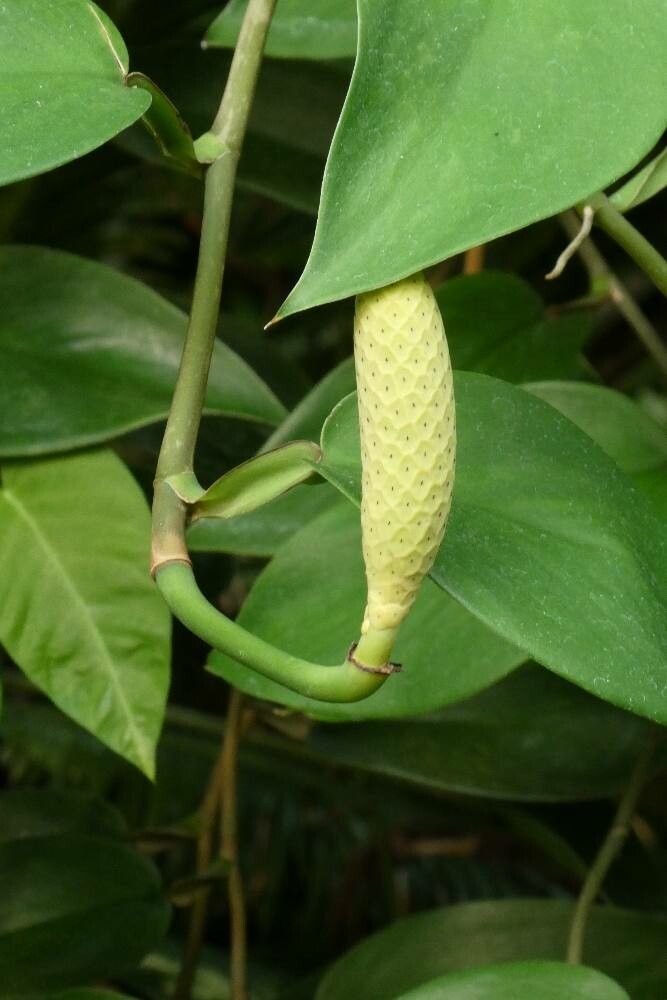
Oh, Monstera pittieri! Isn’t it just a dream? That cascade of deeply lobed, shield-shaped leaves just beckons you to run your fingers through them. It’s one of those plants that makes a statement without shouting, a truly elegant addition to any indoor jungle. Propagating this beauty can feel a little daunting at first, but trust me, it’s a wonderfully rewarding journey, and you’ll feel an immense sense of accomplishment when you see those first tiny roots emerge. While it’s not the absolute easiest plant for a complete novice, it’s certainly achievable with a little care and attention.
The Best Time to Start
For the highest chance of success with your Monstera pittieri cuttings, your best bet is to start in the spring or early summer. This is when the plant is actively growing, pushing out new leaves and generally full of vigor. Think of it as the plant’s prime time for regeneration. You can also have success in late summer, but the earlier you can get started, the more time your new babies will have to establish before the cooler, darker days of autumn and winter set in.
Supplies You’ll Need
Before we get our hands dirty, let’s gather our tools. Having everything ready makes the process so much smoother:
- Sharp Pruning Shears or Knife: Cleanliness is key here!
- Rooting Hormone (Optional, but Recommended): A powdered or gel rooting hormone can give your cuttings a helpful boost.
- Potting Mix: A well-draining aroid mix is ideal. I like to use a blend of coco coir, perlite, and a bit of orchid bark.
- Small Pots or Propagation Cups: Anything that can hold your cutting and substrate.
- Clear Plastic Bag or Propagator: To create a humid environment.
- Water: For water propagation methods.
- Small Spray Bottle: For misting.
Propagation Methods
Monstera pittieri is happily propagated through stem cuttings, and there are a couple of ways to go about it.
Stem Cuttings
This is my go-to method. It’s straightforward and very effective.
- Identify Your Cutting: Look for a healthy stem on your mother plant. You want a piece that has at least one node. A node is that little bump on the stem where a leaf emerges (or has emerged). This is where the roots will form. Ideally, try to get a cutting with a leaf attached, but it’s not strictly necessary if the node is healthy.
- Make the Cut: Using your very clean pruning shears or knife, make a clean cut just below a node. Aim for a cutting that’s about 4-6 inches long. You can include a leaf or two on your cutting, but remove any aerial roots that might be dangling.
- Prepare the Cutting: If you’re using rooting hormone, dip the cut end into the hormone and tap off any excess.
- Potting Up: Fill your small pot with your prepared, damp potting mix. Make a small hole in the center with your finger or a pencil.
- Planting the Cutting: Gently push the cut end of the stem into the hole, ensuring the node is buried in the soil. If your cutting has leaves, try to keep them from touching the soil surface too much.
- Create Humidity: Water the soil lightly. Then, cover the pot with a clear plastic bag or place it in a propagator. You want to trap moisture around the cutting. You can prop the bag up with a couple of stakes so it doesn’t touch the leaves.
- Placement: Place the pot in a warm spot with bright, indirect light. Avoid direct sun, which can scorch the young leaves.
Water Propagation
If you prefer to watch your roots grow, water propagation is a lovely option.
- Prepare Your Cutting: Follow steps 1 and 2 from the stem cuttings method.
- Place in Water: Find a clean glass or jar and fill it with room-temperature water.
- Submerge the Node: Place the cutting in the water, making sure at least one node is submerged. The leaves should be above the water level.
- Change Water Regularly: Change the water every few days to keep it fresh and prevent bacterial growth.
- Placement: Again, place it in bright, indirect light.
The “Secret Sauce” (Pro Tips)
Here are a few little tricks I’ve learned over the years that can really give your cuttings an edge:
- The “Leaf Suspension Trick”: When you’re water propagating, if your cutting has a large leaf that might dip into the water, you can sometimes use a small piece of tape to gently hold the leaf edge to the side of the glass. This prevents the leaf from rotting, which can then affect the stem.
- Bottom Heat is Your Friend: If your home tends to be a bit on the cooler side, consider placing your potted cuttings on a seedling heat mat. This gentle warmth from below encourages root development much faster. Just make sure the mat isn’t too hot – you don’t want to cook your baby plants!
- Don’t Over-Mist: While humidity is vital, frequent over-misting can sometimes encourage fungal issues on the leaves. Instead of constantly spraying the leaves, focus on keeping the soil consistently moist but not soggy, and rely on your plastic bag or propagator for that ambient humidity.
Aftercare & Troubleshooting
Once you see new root growth – either poking out the drainage holes of your pot or stretching out nicely in your water jar – you’re well on your way!
- For Potted Cuttings: Once you have a decent root system, begin slowly acclimating your new plant to normal humidity by opening the plastic bag a little more each day for a week. Then, remove the bag entirely. Continue to water just like your mature Monstera, allowing the top inch or so of soil to dry out between waterings.
- For Water-Propagated Cuttings: When the roots are a few inches long and have a few smaller feeder roots emerging, it’s time to pot them up into your well-draining potting mix. Treat them gently.
- Troubleshooting: The most common problem you’ll encounter is rot. This usually happens when the cutting is kept too wet or has been in stagnant water. If you see a stem turning mushy or black, it’s likely rot. You might be able to save it by cutting away the rotted part and trying again (perhaps with rooting hormone or a different method), but often it’s a sign that the cutting isn’t viable. Another sign of trouble is wilting leaves that don’t perk up even with adequate moisture; this can indicate a lack of roots.
A Little Patience Goes a Long Way
Remember, propagating plants is a process that requires a good dose of patience. Don’t get discouraged if your first attempt doesn’t yield immediate results. Nature has its own timeline! Celebrate the small victories – a new leaf unfurling, a stronger stem, and especially those first brave roots. Enjoy the journey of nurturing new life, and soon you’ll have new Monstera pittieri babies to admire! Happy propagating!
Resource:
https://identify.plantnet.org/k-world-flora/species/Monstera%20pittieri%20Engl./data