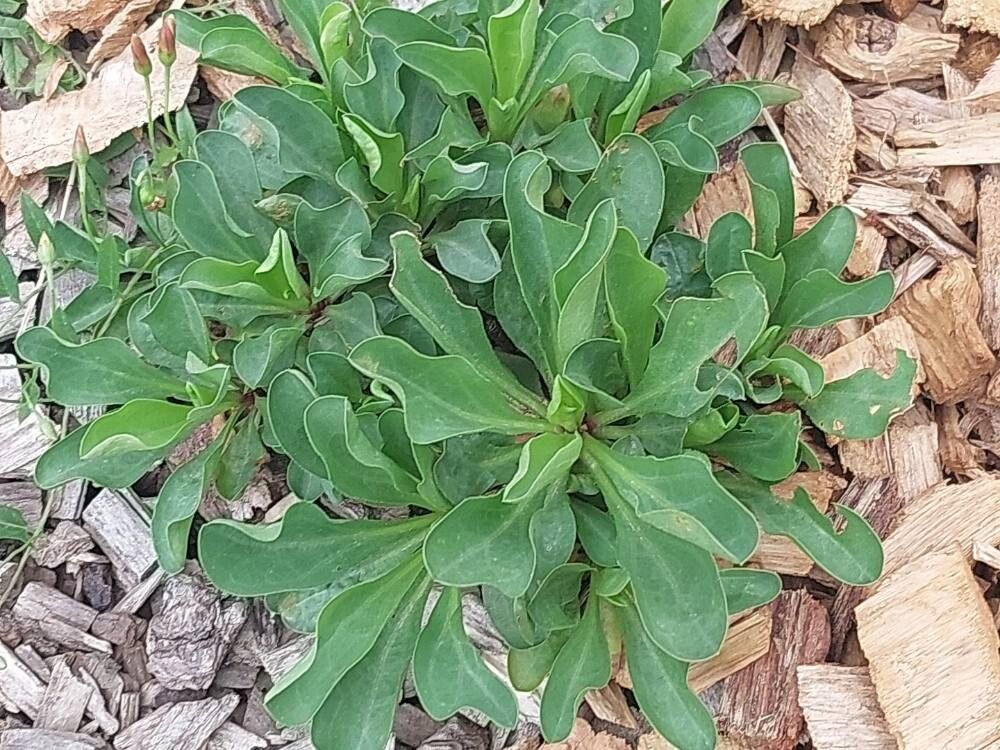
Well hello there, fellow plant enthusiasts! I’m so glad you’ve stopped by my little corner of the garden world. Today, we’re diving into the vibrant world of Erigeron aurantiacus, also known as Orange Fleabane. If you’ve ever seen this charming little native adorned with its cheerful, daisy-like orange flowers, I bet you’ve fallen for its sunny disposition just like I have. They bring such a welcome burst of color to borders, rock gardens, and even containers. And the best part? They’re wonderfully rewarding to propagate! Don’t let the fancy botanical name fool you; this is a plant that’s quite approachable for beginners, which makes creating more of these beauties a joy.
The Best Time to Start
For the highest success rate, spring is your golden ticket for propagating Orange Fleabane. Once the last frost has passed and your garden is just starting to wake up, the plant is brimming with energy. This is when it’s most receptive to new beginnings. You can also have luck in early summer, but spring offers that extra boost. Aim to propagate when the plant is actively growing, not when it’s stressed by extreme heat or dormancy.
Supplies You’ll Need
Gathering your supplies beforehand makes the whole process smoother. Here’s what I keep on hand:
- Sharp pruning shears or a clean utility knife
- Small pots or seed trays with drainage holes
- A well-draining potting mix. I like a 50/50 blend of sterile potting soil and perlite or coarse sand.
- Optional: Rooting hormone (powder or liquid)
- A spray bottle for misting
Propagation Methods
Orange Fleabane is happy to be divided, which is my favorite and arguably the easiest method.
Division (The Go-To Method)
This is the most straightforward way to multiply your Orange Fleabane.
- Dig Up the Plant: In spring, when growth is vigorous, gently dig up the entire plant from its current location. Try to get as much of the root system as possible.
- Clean the Roots: Gently shake off excess soil. You can even rinse the roots carefully with water to get a better look at the divisions.
- Separate the Divisions: Look for natural breaks in the root ball where new shoots are emerging. You can often pull these apart with your hands. If a division is particularly stubborn, use your clean pruning shears or knife to cut through the root ball, ensuring each section has plenty of healthy roots and at least a few growing points or shoots.
- Replant: Pot up the new divisions into your well-draining potting mix. Water them in thoroughly.
- Mulch and Water: Place the newly potted divisions in a sheltered spot, perhaps in partial shade, and water them regularly until they are re-established.
Stem Cuttings (A Little More Finesse)
While division is king, you can also try stem cuttings, especially if you want to expand quickly.
- Take Cuttings: In late spring or early summer, look for healthy, non-flowering shoots. Using your clean shears, take 4-6 inch cuttings from the tip of a stem. Make the cut just below a leaf node (where a leaf attaches to the stem).
- Prepare the Cuttings: Gently remove the lower leaves from the cutting, leaving only a couple of leaves at the top. If using rooting hormone, dip the cut end into it, tapping off any excess.
- Pot Them Up: Insert the cut end of each cutting into your prepared potting mix, burying the nodes that you removed the leaves from. The soil should be firm around the cutting.
- Create a Humid Environment: Mist the cuttings lightly and cover the pot with a clear plastic bag or place the pot inside a propagator. This keeps the humidity high, which is crucial for cuttings to root.
- Placement: Keep them in a warm spot with bright, indirect light.
The “Secret Sauce” (Pro Tips)
Here are a few tricks I’ve learned over the years that really make a difference:
- Don’t Rush the Water: For stem cuttings, avoid letting the leaves actually touch the water if you choose to root them in water (though soil is generally more successful). This is a prime spot for rot to set in. Keep the stems clear!
- Bottom Heat is Your Friend: If you’re serious about stem cuttings, especially if your environment isn’t naturally warm, investing in a heat mat for under your propagation tray can dramatically speed up root development. It mimics that lovely warmth of spring soil.
- Be Patient with Division: Sometimes, a division might look a bit sad for a week or two. Don’t despair! As long as the roots haven’t dried out and you’re keeping it consistently moist (but not waterlogged), new growth will eventually emerge.
Aftercare & Troubleshooting
Once your cuttings have rooted or your divisions are happily settled, the real fun begins! Continue to water regularly, ensuring the soil stays evenly moist. As they grow, you can gradually acclimate them to more direct sunlight. Watch for signs of trouble. The most common issue is rot, which usually stems from overwatering or poor drainage. If you see wilting that starts from the base and the plant looks mushy, it’s a strong indicator of rot. It’s often better to err on the side of slightly drier than waterlogged. If a cutting fails, don’t be discouraged. Just clear it out and try again!
So there you have it! Propagating Orange Fleabane is a truly satisfying endeavor. It’s a chance to connect with nature, multiply your garden’s beauty, and become a more confident gardener. Remember to be patient, enjoy the process, and soon you’ll have a whole cheerful chorus of Orange Fleabane dancing in your garden. Happy growing!
Resource:
https://identify.plantnet.org/k-world-flora/species/Erigeron%20aurantiacus%20Regel/data