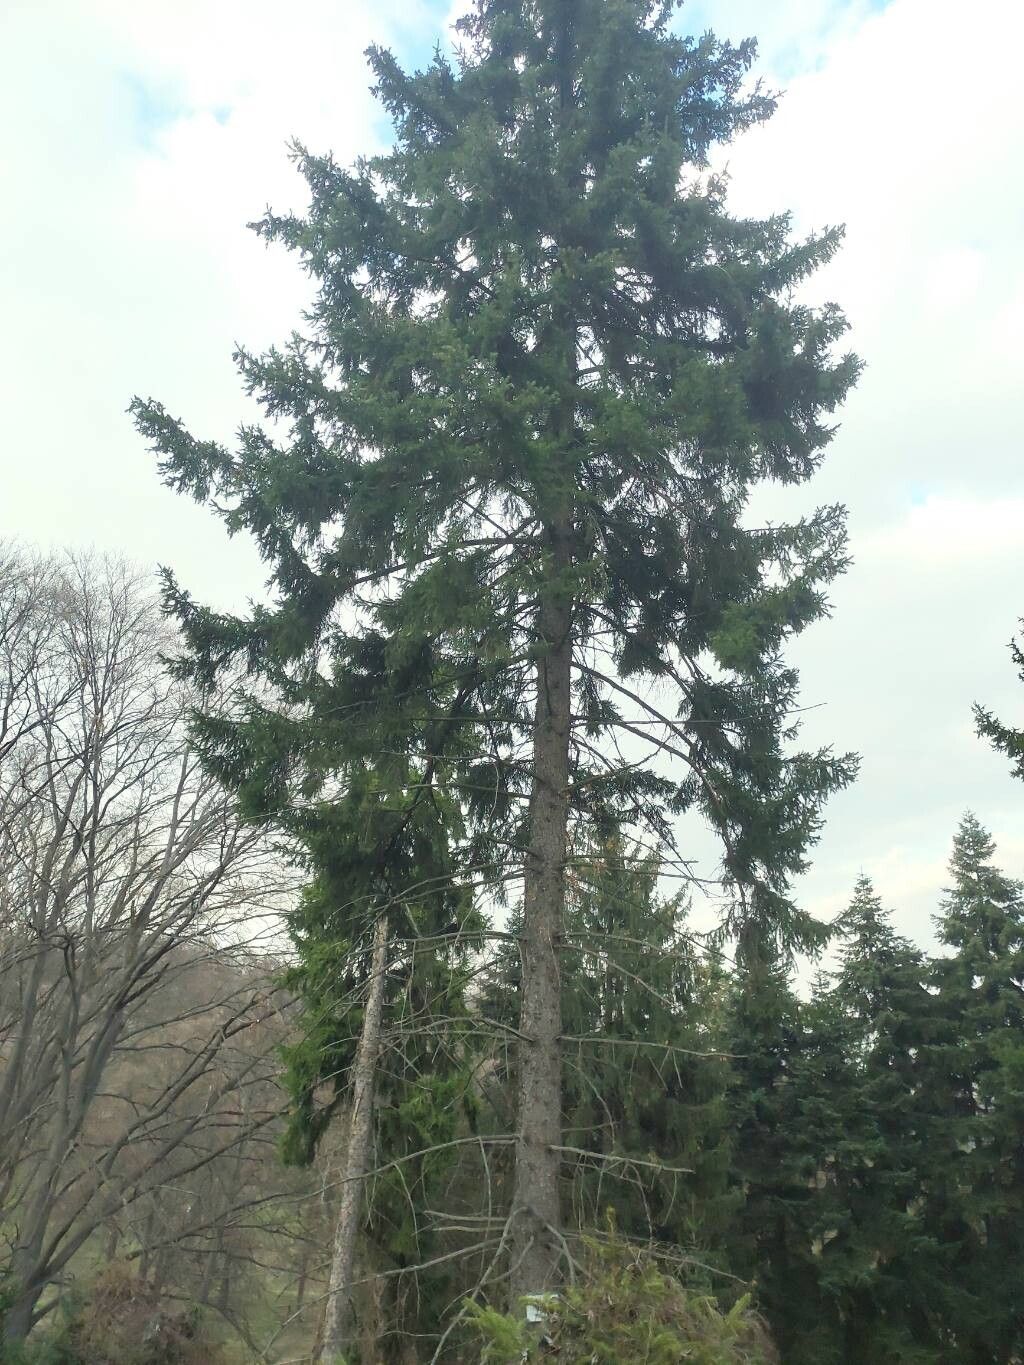
Oh, the Siberian Larch! Picea obovata. I just love the way their needles turn a glorious golden hue in the fall, creating such a stunning display. And the best part? You can actually bring that beauty into your own space by propagating them! It’s incredibly rewarding to nurture a tiny cutting into a majestic tree. Now, don’t let the fact that it’s a conifer make you shy away. While it might take a little more patience than, say, a fuchsia, propagating Picea obovata is absolutely achievable for most home gardeners with a bit of know-how.
When to Get Your Hands Dirty
For the best chance of success with Picea obovata, you’ll want to collect cuttings during the late summer or early fall. This is when the new growth from the current season has started to mature slightly but is still flexible enough to root. Think of it as “semi-hardwood” cuttings. Trying to take them too early might mean the cuttings are too soft and prone to rot, while going too late in the season could make them too woody and difficult to root.
Your Propagation Toolkit
Here’s what you’ll want to have ready before you start snipping:
- Sharp Pruning Shears or a Craft Knife: Cleanliness is crucial here!
- Rooting Hormone: Look for one specifically for woody plants. It’s a game-changer.
- Potting Mix: A well-draining mix is essential. I like a blend of equal parts peat moss, perlite, and coarse sand.
- Small Pots or Trays: With drainage holes, of course.
- Plastic Bags or a Propagator: To create a humid environment.
- Labels: So you don’t forget what you planted!
- Water and a Spray Bottle: For misting.
Let’s Get Rooting!
We’re going to focus on stem cuttings, which is the most reliable method for Picea obovata.
- Gather Your Cuttings: On a cool, overcast day in late summer or early fall, select healthy, vigorous shoots from your mature Siberian Larch. Look for branches that are about pencil-thick and have some green growth at the tip, but are starting to firm up lower down.
- Make the Cut: Using your super-sharp pruning shears or knife, take cuttings that are about 4-6 inches long. Make a clean cut just below a leaf node.
- Prepare the Cuttings: Gently strip off the lower needles from the bottom 1-2 inches of each cutting. This is important because any foliage below the soil line will likely rot.
- Dip in Rooting Hormone: Dip the cut end of each prepared cutting into a rooting hormone powder. Tap off any excess.
- Pot Them Up: Fill your small pots or trays with your well-draining potting mix. Make a hole in the center of the mix with a pencil or skewer.
- Insert the Cuttings: Carefully place each cutting into the hole, pushing the soil around the base to ensure good contact with the rooting hormone. Don’t cram them too close together!
- Water Gently: Water the pots thoroughly to settle the soil.
- Create Humidity: This is key! You can either cover the pots with a clear plastic bag (making sure the leaves don’t touch the plastic – I use little stakes to prop it up) or place them in a propagator.
The “Secret Sauce” from My Garden
I’ve learned a few tricks over the years that have really boosted my success rates with conifers.
- Bottom Heat is Your Friend: If you can, place your pots on a gentle heat mat. This encourages root development from below, which is especially helpful for these woody cuttings. Just a gentle warmth, not hot!
- Don’t Let Them Dry Out (But Don’t Drown Them!): Keep the soil consistently moist but not soggy. I like to mist the cuttings gently every day or two, especially if they’re in a propagator. If the soil feels dry to the touch, give them a light watering.
- Patience, Young Grasshopper! Conifers aren’t the fastest rooters. It can take 3-6 months, sometimes even longer, before you see signs of rooting. Resist the urge to pull them up and check!
Keeping Them Happy and Healthy
Once you start to see new growth, that’s a good sign roots are forming. You can gently tug on a cutting to feel for resistance.
- Acclimate Gradually: Once they have good root systems, you’ll need to gradually acclimate them to drier air. Start by opening the plastic bag a little more each day, or venting the propagator.
- Transplanting: When they’re well-rooted and have a bit of new growth, you can carefully transplant them into slightly larger pots, using a good quality potting soil.
- Watch for Rot: The biggest enemy is rot. If your cuttings start to look black and mushy, or the leaves turn yellow and drop off quickly, it’s usually a sign of too much moisture and poor drainage.
Keep Planting and Keep Growing!
Don’t be discouraged if you don’t get every single one to take. Nature has its own rhythm. Each attempt is a learning experience, and when you finally see those tiny roots emerging, or that first flush of new growth on a cutting you nurtured, it’s a moment of pure gardening joy. So, grab your shears, find a beautiful Siberian Larch, and enjoy the process of bringing a piece of its magic into your world. Happy propagating!
Resource:
https://identify.plantnet.org/k-world-flora/species/Picea%20obovata%20Ledeb./data