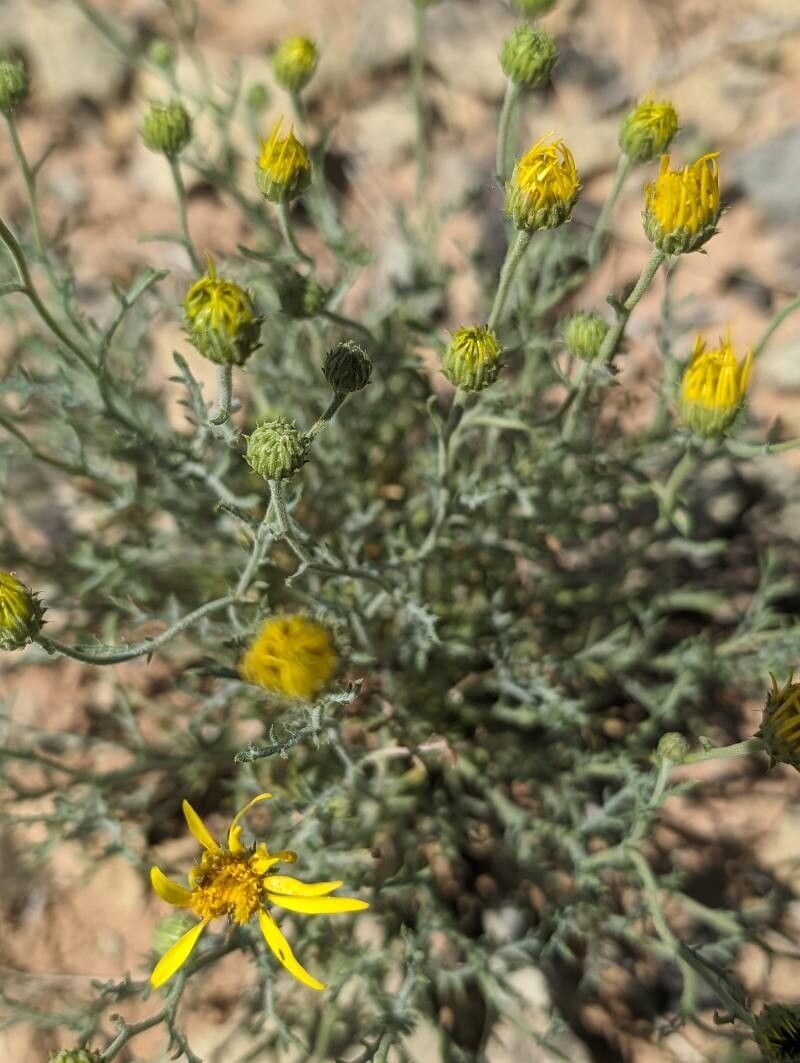
Hello, fellow plant lovers! It’s so lovely to have you join me today. We’re going to dive into something truly special: propagating Xanthisma gracile, that charming little native wildflower that just lights up the garden with its sweet, yellow daisy-like blooms. I’ve always been captivated by its delicate beauty and its ability to bring a burst of sunshine even on the cloudiest days.
If you’ve ever admired Xanthisma gracile and wished you had more of these cheerful plants dotted around, you’re in luck! Propagating them is a wonderfully rewarding experience. It’s a chance to learn about a plant’s life cycle up close and personal, and honestly, it’s not as intimidating as you might think. I’d say it makes a pretty good beginner project, especially if you’re starting with stem cuttings.
The Best Time to Start
For the absolute highest success rate, spring is your sweet spot. When the days start to lengthen and the plants are putting on fresh, vigorous growth after the cooler months, that’s when they’re most receptive toPropagation. Look for stems that are actively growing but not yet flowering. You can sometimes get away with cuttings in early summer, but spring really is king for this particular plant.
Supplies You’ll Need
Gathering your tools beforehand makes the whole process so much smoother. Here’s what I usually have on hand:
- Sharp Pruning Shears or a Craft Knife: Clean, sharp tools are essential to make clean cuts and prevent damage to the parent plant and your cuttings.
- Small Pots or Seed Trays: About 3-4 inch pots work well for individual cuttings.
- Propagating Mix: A very well-draining mix is crucial. I like to use a blend of equal parts perlite and coco coir, or a custom seed-starting mix if I have one ready. Avoid heavy garden soil.
- Rooting Hormone (Optional but Recommended): While Xanthisma gracile can root without it, a rooting hormone powder or gel will significantly speed up the process and increase your success rate.
- Watering Can with a Fine Rose: For gentle watering.
- Plastic Bags or a Clear Dome: To create a humid environment for your cuttings.
- Labels and a Permanent Marker: Never underestimate the power of a good label!
Propagation Methods
Let’s get our hands dirty! We’ll focus on the method I find most reliable and enjoyable for Xanthisma gracile: stem cuttings.
- Take Your Cuttings: In the spring, select a healthy, non-flowering stem from your mature plant. Using your sharp shears or knife, make a clean cut just below a leaf node (where a leaf attaches to the stem). You want cuttings that are about 4-6 inches long. Remove the lower leaves, leaving just a few at the very top.
- Prepare the Cutting: If you’re using rooting hormone, lightly dip the cut end into the powder or gel, ensuring it’s evenly coated. Tap off any excess.
- Plant Your Cuttings: Fill your small pots with your well-draining propagating mix. Make a small hole in the center of the soil with your finger or a pencil. Gently insert the bottom end of your cutting into the hole, making sure at least one leaf node is below the soil surface. Firm the soil gently around the cutting so it stands upright.
- Water Gently: Water the soil thoroughly but gently from the top using your fine-rose watering can. You want the soil to be moist but not waterlogged.
- Create a Humid Environment: This is key! Either place a clear plastic bag loosely over the pot (making sure the leaves don’t touch the sides) or cover the entire tray with a clear dome. This traps humidity, which helps the cuttings stay hydrated while they develop roots. Place the pots in a bright spot out of direct sunlight.
The “Secret Sauce” (Pro Tips)
Here are a few little tricks I’ve picked up over the years that really make a difference:
- Don’t Let the Leaves Touch the Water: If you choose to propagate in water (which is less reliable for Xanthisma gracile but can work!), make sure absolutely none of the leaves are submerged. Only the stem should be in contact with the water. Leaves in the water will rot and introduce harmful bacteria.
- Bottom Heat is Your Friend: If you have the space and equipment, placing your pots on a gentle heat mat can dramatically speed up root formation. Xanthisma gracile loves a bit of warmth to get those roots going.
- Mist, Don’t Drench: If your cuttings are in an open tray without a cover, mist them daily with a fine spray of water. The goal is to keep the humidity up without making the soil soggy.
Aftercare & Troubleshooting
Once your cuttings have happily rooted (you’ll start to see new leaf growth, which is a great sign!), it’s time to transition them to their own little homes.
- Transplanting: When the cuttings have a good root system – you can often tell by gently tugging them; there’ll be resistance – you can pot them into individual, slightly larger pots with a good quality potting mix.
- Gradual Acclimatization: If you used a plastic bag or dome, start by removing it for a few hours each day, gradually increasing the time until the plant is fully acclimatized to open air.
- Troubleshooting: The most common issue you might encounter is rot. If a cutting looks mushy, black, or is falling over, it’s likely succumbed to rot. This is usually caused by too much moisture and poor drainage. If you see signs of rot, remove the affected cutting immediately to prevent it from spreading. Sometimes, if a cutting looks a bit wilted, it just needs more humidity or less direct sun.
A Little Patience Goes a Long Way
Growing new plants is a journey, and while Xanthisma gracile is relatively straightforward, patience is key. Don’t get discouraged if your first few attempts need a little tweaking. Enjoy the process of nurturing these little green shoots, and soon you’ll have a garden brimming with these delightful yellow blooms. Happy propagating!
Resource: