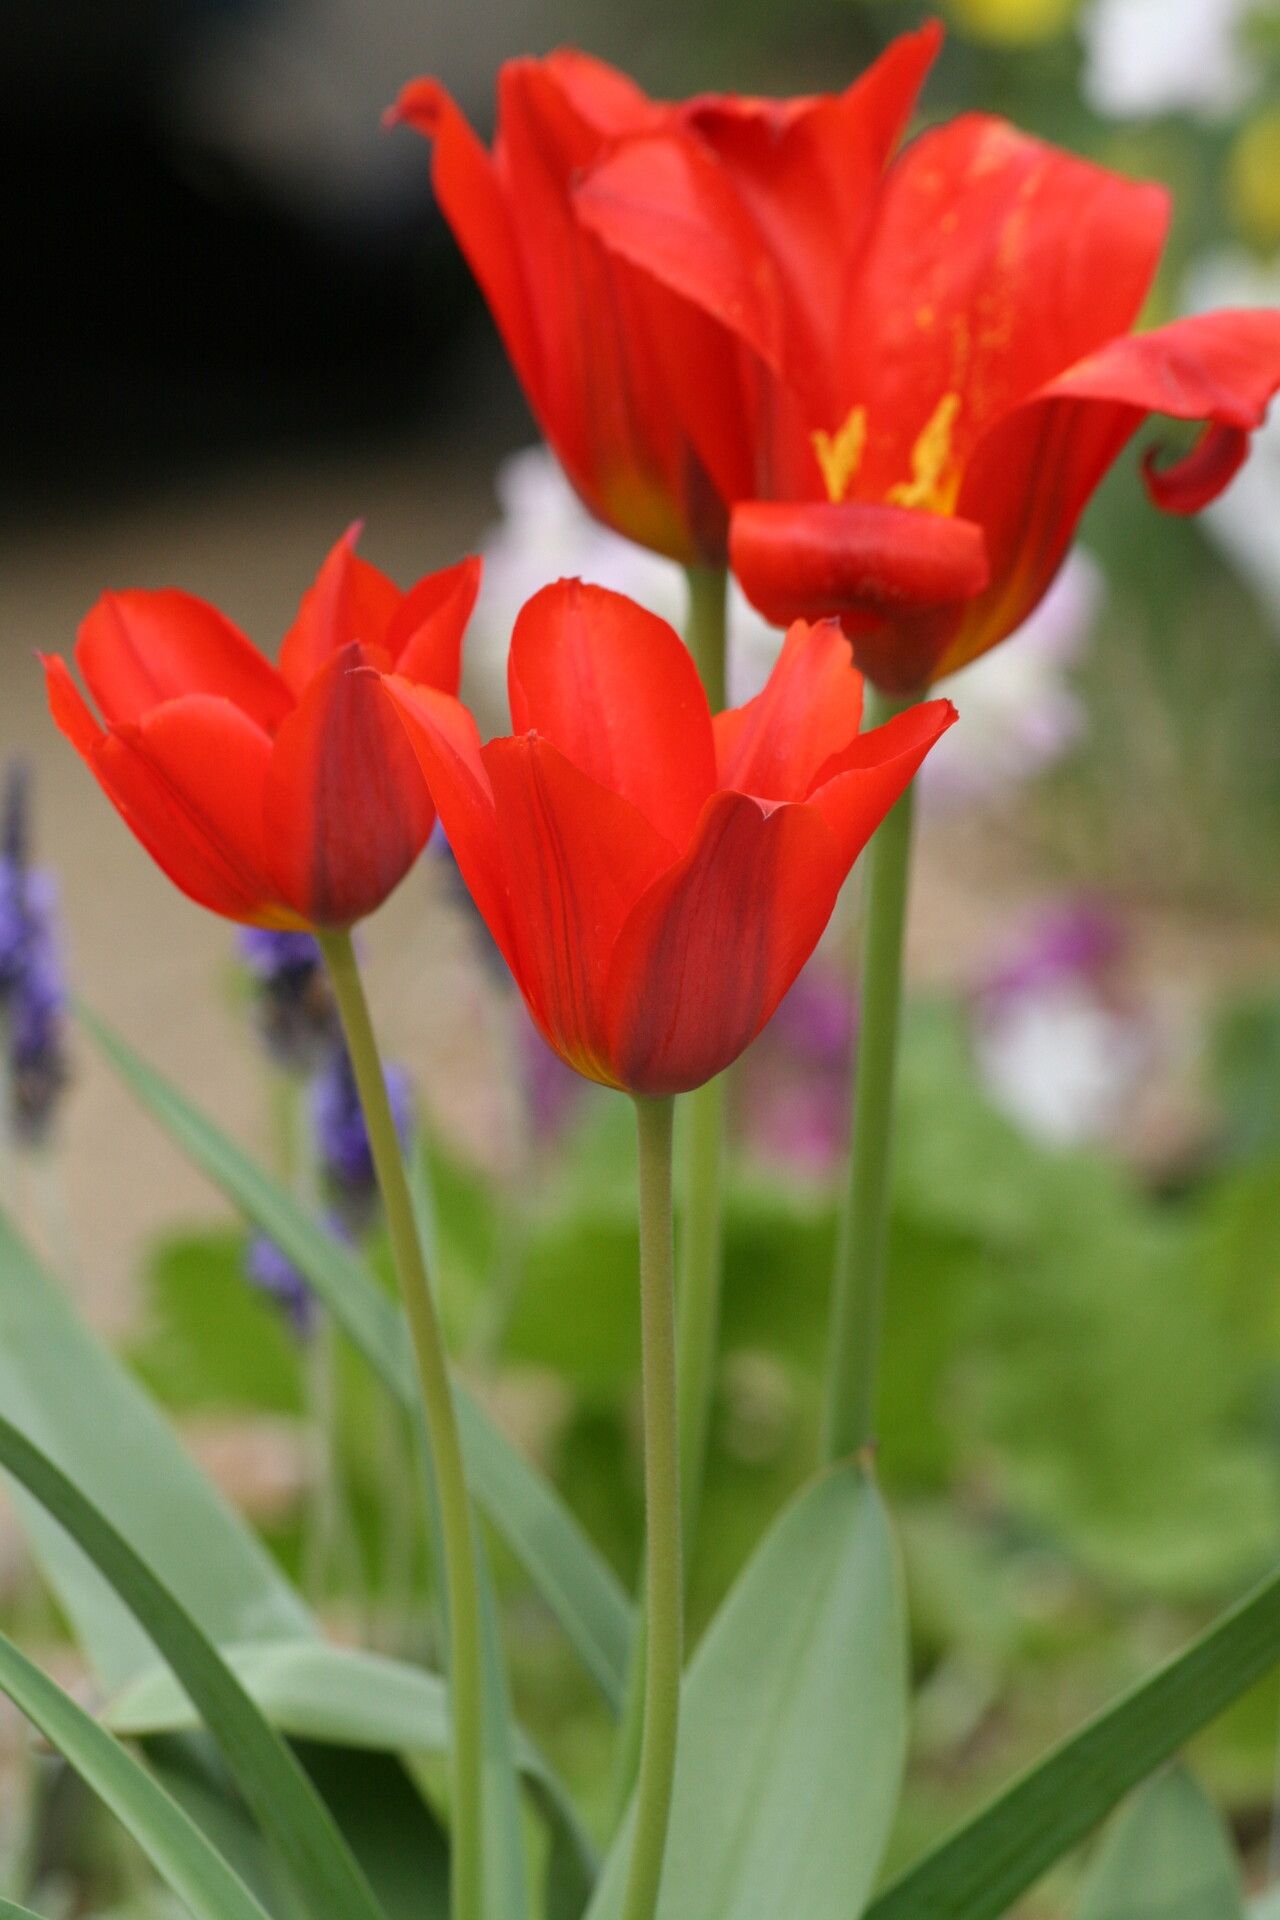
Hello there, fellow plant enthusiasts! It’s so lovely to be sharing my garden wisdom with you today. We’re diving into the delightful world of Tulipa vvedenskyi, a tulip that truly sings with vibrant color and a charming, almost wild beauty. If you’ve ever admired its cheerful blooms, you’ll be thrilled to know that bringing more of these beauties into your garden is absolutely achievable. Propagating them is a wonderfully rewarding experience, like watching a little bit of magic unfold right before your eyes. For those of you just starting out, I’d say Tulipa vvedenskyi is moderately easy to propagate, offering a good challenge that’s definitely within reach.
The Best Time to Start
When it comes to giving your Tulipa vvedenskyi the best shot at multiplying, timing is everything. The absolute ideal moment to begin propagation is immediately after flowering, as the foliage begins to yellow and die back. This is when the mother plant is putting its energy into bulb division, and any offsets or bulblets it produces will be at their most viable. Don’t be tempted to do it while the flowers are still vibrant; you want to let the plant complete its natural cycle for the best results.
Supplies You’ll Need
Before we get our hands dirty, let’s gather our tools:
- Sharp, clean pruning shears or a small trowel: For careful separation.
- A well-draining potting mix: I usually go for a blend of equal parts peat moss, perlite, and coarse sand. If you can’t find peat, coco coir is a good substitute.
- Small pots or seed trays: Something that allows for good air circulation.
- Watering can with a fine rose or a spray bottle: For gentle watering.
- Optional: Rooting hormone powder: While not always necessary for tulips, it can give them a helpful boost.
- Optional: A sandy top dressing: To prevent the necks of the bulbs from staying too wet.
Propagation Methods
For Tulipa vvedenskyi, the most successful and straightforward method is through bulb division. These tulips tend to produce offsets, which are essentially miniature bulbs that grow from the base of the parent bulb.
- Carefully dig up the mother bulb: Gently excavate the soil around the base of the plant after the foliage has fully died back. You want to avoid damaging the bulb or any developing offsets.
- Assess the bulb cluster: You’ll likely see one or more smaller bulbs attached to the main bulb. These are your new plants!
- Separate the offsets: Using your clean pruning shears or a small, sharp knife, carefully prune away the offsets from the mother bulb. If they are already quite large and have developed their own root nubs, even better. For very tiny bulblets, you might need to leave them attached for another season.
- Trim any damaged roots: If you find any mushy or damaged roots, snip them away cleanly.
- Optional: Apply rooting hormone: If you’re using rooting hormone, lightly dip the base of each offset into the powder. Tap off any excess.
- Potting the new bulbs: Plant each offset in its own small pot filled with your well-draining potting mix. The top of the bulb should be just at or slightly below the soil surface. Don’t plant them too deep – this is a common mistake!
- Water gently: Water the soil thoroughly but gently. You want it to be moist, not waterlogged.
The “Secret Sauce” (Pro Tips)
Here are a few little tricks I’ve picked up over the years that can really make a difference:
- Don’t overwater after planting: This is absolutely crucial. Tulips are prone to rot if their bulbs sit in soggy soil. Water thoroughly initially, then allow the soil to dry out somewhat between waterings. Feel the soil with your finger an inch or two down; if it feels dry, it’s time to water again.
- Think about air circulation: When planting multiple bulbs in a tray, give them a little space. Good airflow helps prevent fungal diseases. If you’re potting them individually, ensure your pots have drainage holes.
- Label everything! I know it sounds simple, but trust me. When you’re dividing and potting, it’s easy to forget which bulb is which, especially if you have several varieties. A simple label with the date and name will save you future confusion.
Aftercare & Troubleshooting
Once your bulblets are potted, find a cool, dry place for them to rest and develop their roots. Think of a sheltered spot outdoors, like a cold frame or a porch, or even a cool garage or basement. They don’t need light at this stage. Keep the soil barely moist, just enough to prevent the bulbs from shriveling.
Now, for the hiccups. The most common sign of failure is rot. If you notice your bulb turning mushy, black, or developing a foul smell, it’s likely rotted. This usually stems from too much moisture, poor drainage, or an unhealthy starting bulb. If you catch it early, you might be able to trim away the rotten parts, but often, it’s best to discard the affected bulb and learn from the experience. Another sign can be no new growth after a reasonable period, but don’t fret too much. Sometimes, these tiny bulblets just need a bit more time to mature. If they haven’t sprouted by the following spring, you can try replanting them.
A Encouraging Closing
Propagating Tulipa vvedenskyi is a journey. It might take a season or two for your new bulbs to reach flowering size, so be patient! The joy of seeing new blooms emerge from plants you’ve nurtured yourself is unparalleled. Enjoy the process, embrace the learning, and happy gardening!
Resource:
https://identify.plantnet.org/k-world-flora/species/Tulipa%20vvedenskyi%20Botschantz./data