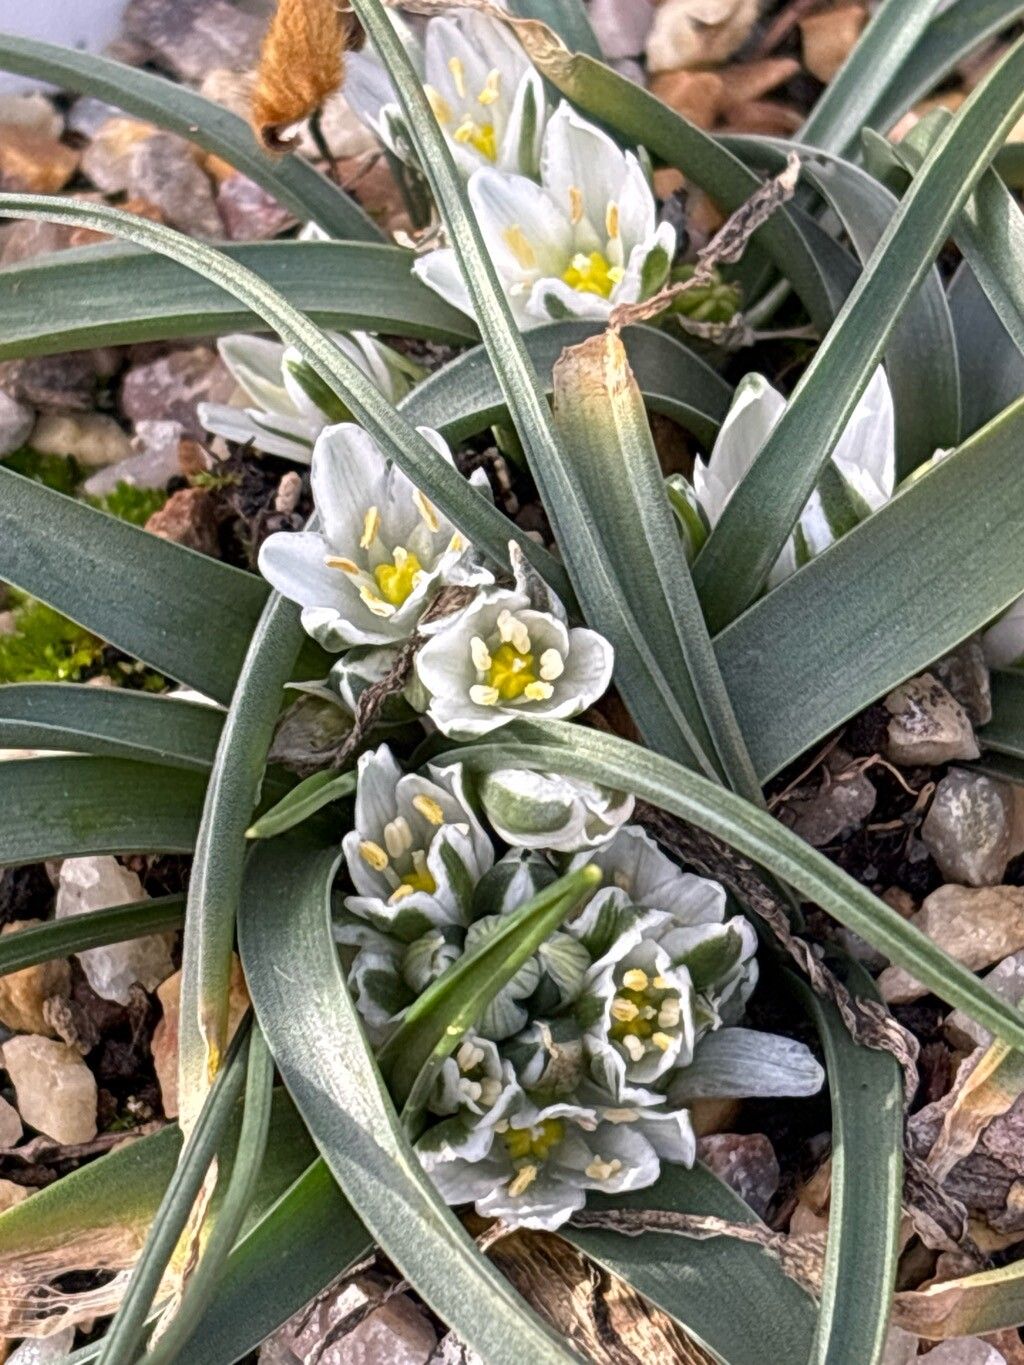
Oh, hello there! Grab a mug, let’s chat about the joys of multiplying your plant treasures. Today, we’re diving into the world of Ornithogalum neurostegium. You know, those gorgeous plants with their starry white blooms that just scream elegance? They’re a delight to have gracing the garden or a sunny windowsill. And the best part? You can actually make more of them! It’s wonderfully rewarding, and I find Ornithogalum neurostegium to be quite a forgiving plant when it comes to propagation, even for those just starting their green thumbs.
When to Get Your Hands Dirty
For the most success with propagating Ornithogalum neurostegium, spring is your golden ticket. This is right after the dormant period and as the plant is gearing up for its main growth spurt. You want to catch it when it’s full of life and energy. Another good time is after flowering, once the bloom stalks have started to fade. This is when the plant is naturally putting its energy into producing offsets or bulblets.
What You’ll Want in Your Kit
Here’s a little rundown of what I usually have on hand when I’m propagating:
- Sharp, clean pruning shears or a sharp knife: For making those precise cuts. Sterilize them with rubbing alcohol between plants to avoid spreading any nasties.
- Well-draining potting mix: I often use a mix of equal parts peat moss or coco coir, perlite, and coarse sand. You can also buy specialized cactus and succulent mixes, which work wonderfully.
- Small pots with drainage holes: Terracotta pots are lovely because they allow the soil to breathe.
- Rooting hormone powder (optional but helpful): This can give your cuttings a little boost. Use a type formulated for stem cuttings.
- Watering can with a fine rose or a spray bottle: For gentle watering.
- Labels and a marker: For keeping track of what you’ve planted and when!
- Dibber or pencil: To make holes for planting cuttings or bulblets.
Let’s Get Propagating: Division is Key!
Ornithogalum neurostegium primarily propagates through division, which is essentially splitting up the clumps of bulbs or offsets. This is usually the most straightforward and successful method for this particular plant.
- Gently excavate: Carefully dig up the parent plant. Try to get as much of the root ball as possible without causing too much damage. You might need to use a trowel or even your hands.
- Examine the roots and bulbs: You’ll notice clusters of bulbs and perhaps some smaller offsets attached. Look for natural separation points.
- Separate the offsets: Using your clean knife or shears, carefully cut or pull apart the offsets from the main bulb. Make sure each offset has at least a small root system attached. Don’t be too rough; gentleness goes a long way here. If there are no visible roots, that’s okay! They can often develop them once planted.
- Let them callus (optional but recommended): Once separated, I like to let the cut surfaces of the offsets air dry for a day or two in a cool, dry, well-ventilated spot until a callus has formed over the cut. This helps prevent rot when they are planted.
- Pot them up: Fill your small pots with your well-draining potting mix.
- Plant your babies: Make a hole in the soil with your dibber or pencil, large enough to accommodate the offset’s roots (if any). Place the offset in the hole, and gently firm the soil around it. The top of the bulb should be just at or slightly below the soil surface.
- Water lightly: Water very sparingly after planting, just enough to settle the soil. You don’t want soggy conditions.
The Little Extras That Make a Difference
- Don’t over-water, ever! This is probably the most crucial tip for Ornithogalum and related bulbous plants. They are prone to rot if kept too wet. Think of it as giving them a sip, not a bath.
- Bottom heat can be a game-changer for rooting: If you want to give them an extra boost, especially if you’re propagating in cooler temperatures, placing the pots on a seedling heat mat can encourage quicker root development. Just ensure the mat is set to a low-to-medium temperature.
- Patience is truly a virtue here: These plants aren’t the fastest growers when it comes to forming new roots. Don’t be discouraged if you don’t see new top growth immediately. Focus on those roots!
What Happens Next & When to Worry
Once your offsets are planted, keep them in a bright spot but out of direct, scorching sun, especially initially. Water sparingly, allowing the soil to dry out slightly between waterings. You’ll know they are happy when you start to see new leaves emerging, or if you gently tug on a new plant and feel resistance – that means roots have formed!
The main thing to watch out for is rot. If an offset turns mushy, black, or smells foul, it’s likely succumbed to rot. This is usually a sign of too much moisture. Unfortunately, there’s not much you can do once rot sets in beyond discarding the affected part.
Keep Nurturing Your Garden Dreams
Propagating Ornithogalum neurostegium is a beautiful way to expand your collection and share the joy with friends. It’s a process that rewards patience and a bit of gentle care. Enjoy watching those little offsets transform into magnificent blooming plants – it’s a truly special feeling. Happy propagating!
Resource: