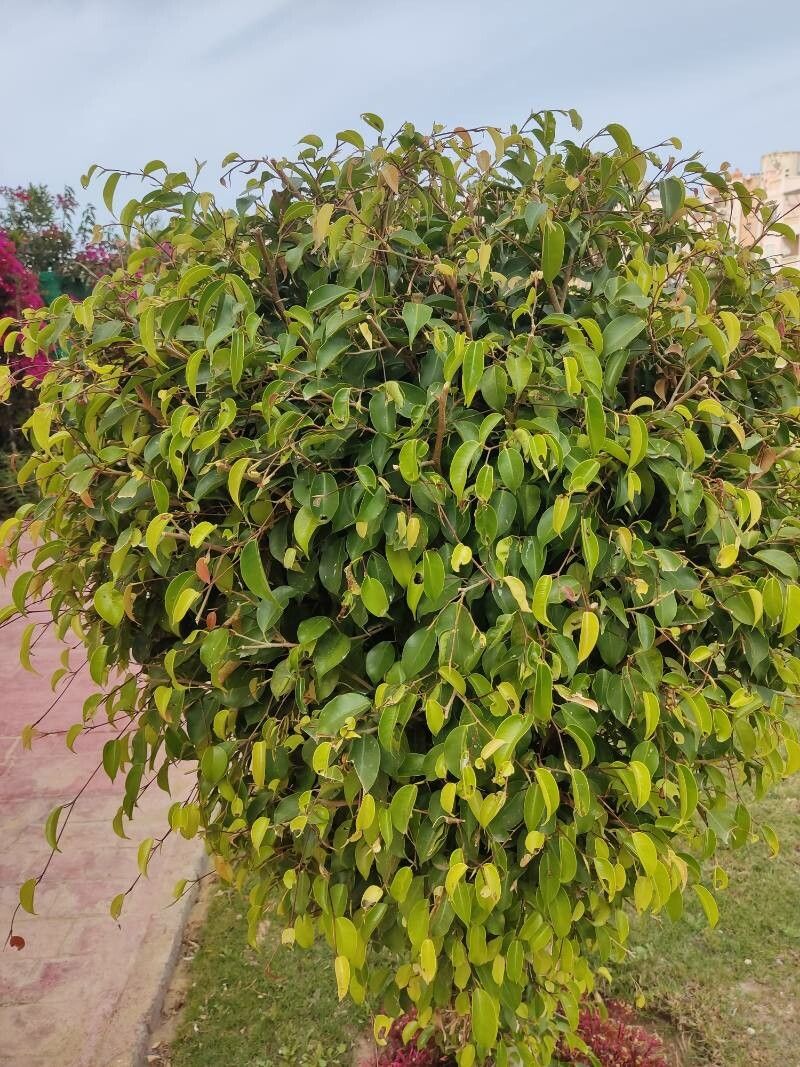
Oh, Ficus abscondita! What a fascinating plant to bring into your home. Its glossy, deep green leaves and often intricate aerial root systems add such a touch of the tropics to any space. And the joy of nurturing a new plant from a tiny cutting? Pure magic, I tell you. Propagating Ficus abscondita can be a wonderfully rewarding experience. For beginners, I’d say it’s moderately easy – with a little patience and the right approach, you’ll be well on your way!
The Best Time to Start
When it comes to getting new Ficus babies, spring and early summer are your prime time. This is when the plant is actively growing, meaning it’s full of energy and much more receptive to putting out roots. You’ll want to take cuttings from healthy, vigorous stems that are currently growing, not from older, woody ones. Look for stems that have a bit of flexibility but aren’t too soft.
Supplies You’ll Need
Here’s what you’ll want to have on hand before you get started:
- Sharp, clean pruning shears or a sharp knife: This is crucial for making clean cuts that heal better.
- Rooting hormone (optional but recommended): A powder or gel will significantly boost your chances of success.
- Well-draining potting mix: A blend of peat moss, perlite, and a bit of orchid bark works wonders. You can also use a standard houseplant mix with added perlite for better aeration.
- Small pots or containers: 4-inch pots are usually a good size to start. Make sure they have drainage holes!
- Watering can or spray bottle: For gentle watering.
- Plastic bag or large clear plastic dome: To create a humid environment for your cuttings.
- Sand or gravel (optional): To place in the bottom of a propagation tray for extra drainage, if you’re using that method.
Propagation Methods
Let’s get our hands dirty! The most reliable way to propagate Ficus abscondita is through stem cuttings.
- Select Your Cuttings: Find a healthy stem and make a clean cut just below a leaf node. A leaf node is that little bump where a leaf emerges from the stem. Ideally, your cutting should be about 4-6 inches long and have at least two or three leaves.
- Prepare the Cutting: Gently remove the lower leaves from the cutting, leaving just the top couple of leaves. If your remaining leaves are very large, you can even cut them in half horizontally. This reduces water loss through transpiration.
- Apply Rooting Hormone (Optional): Dip the cut end of the stem into your rooting hormone powder or gel. Tap off any excess.
- Plant Your Cuttings: Fill your small pots with your prepared potting mix. Make a small hole in the center of the soil with your finger or a pencil. Insert the cut end of your Ficus cutting into the hole, ensuring the rooting hormone (if used) doesn’t scrape off too much. Gently firm the soil around the cutting.
- Water Gently: Water the soil thoroughly but gently. You want it moist, not soggy.
- Create a Humid Environment: This is key! Place the pot inside a plastic bag, tying it loosely at the top, or cover it with a clear plastic dome. This traps humidity, which is vital for your cutting to develop roots before it can effectively take up water from the soil. Place the pot in bright, indirect light. Avoid direct sun, which can scorch the leaves and overheat the inside of the bag.
Water Propagation (Alternative): You can also try rooting your cuttings in water. Simply place the prepared cuttings (with leaves removed from the bottom) in a jar or vase of water, making sure the leaf nodes are submerged. Crucially, change the water every few days to prevent bacterial growth. Keep it in bright, indirect light. You’ll see roots forming within a few weeks. Once the roots are about an inch long, you can carefully transplant them into potting mix.
The “Secret Sauce” (Pro Tips)
Here are a few things I’ve learned over the years that can really make a difference:
- Don’t let the leaves touch the water when propagating in water! If the leaves are submerged, they’ll rot very quickly, which is the exact opposite of what you want. Keep those leaves high and dry.
- Bottom heat is your friend. If you have a seedling heat mat, placing your pots on top of it can dramatically speed up root development. Ficus loves a little warmth from below.
- Be patient with the latex sap. When you make a cut, a milky white sap will ooze out. Some people rinse this off, but I find it’s often best to just let it dry a bit. It can actually help seal the cut and prevent disease. Just gently wipe away any excess if it’s excessive.
Aftercare & Troubleshooting
Once you start seeing new leaf growth, that’s a good sign roots are forming! You can gently tug on the cutting – if there’s resistance, roots are developing. Once you have a decent root system and new growth, you can gradually acclimate your new plant to normal room humidity by opening the plastic bag or dome a little more each day over a week or two.
The most common problem you’ll encounter is rot. If your cutting looks mushy, turns black, or wilts significantly despite being in a humid environment, it’s likely rotting. This usually happens from too much moisture and not enough airflow, or from using dirty tools or stagnant water. If you see rot, it’s best to discard the cutting and start fresh with sterilized equipment and a lighter hand on the watering.
A Encouraging Closing
Propagating plants is a journey, and sometimes you have setbacks. Don’t get discouraged if your first few attempts aren’t perfect. Keep trying, observe your cuttings, and learn from each experience. The satisfaction of watching that tiny cutting transform into a flourishing plant is truly special. Happy propagating!
Resource:
https://identify.plantnet.org/k-world-flora/species/Ficus%20abscondita%20C.C.Berg/data