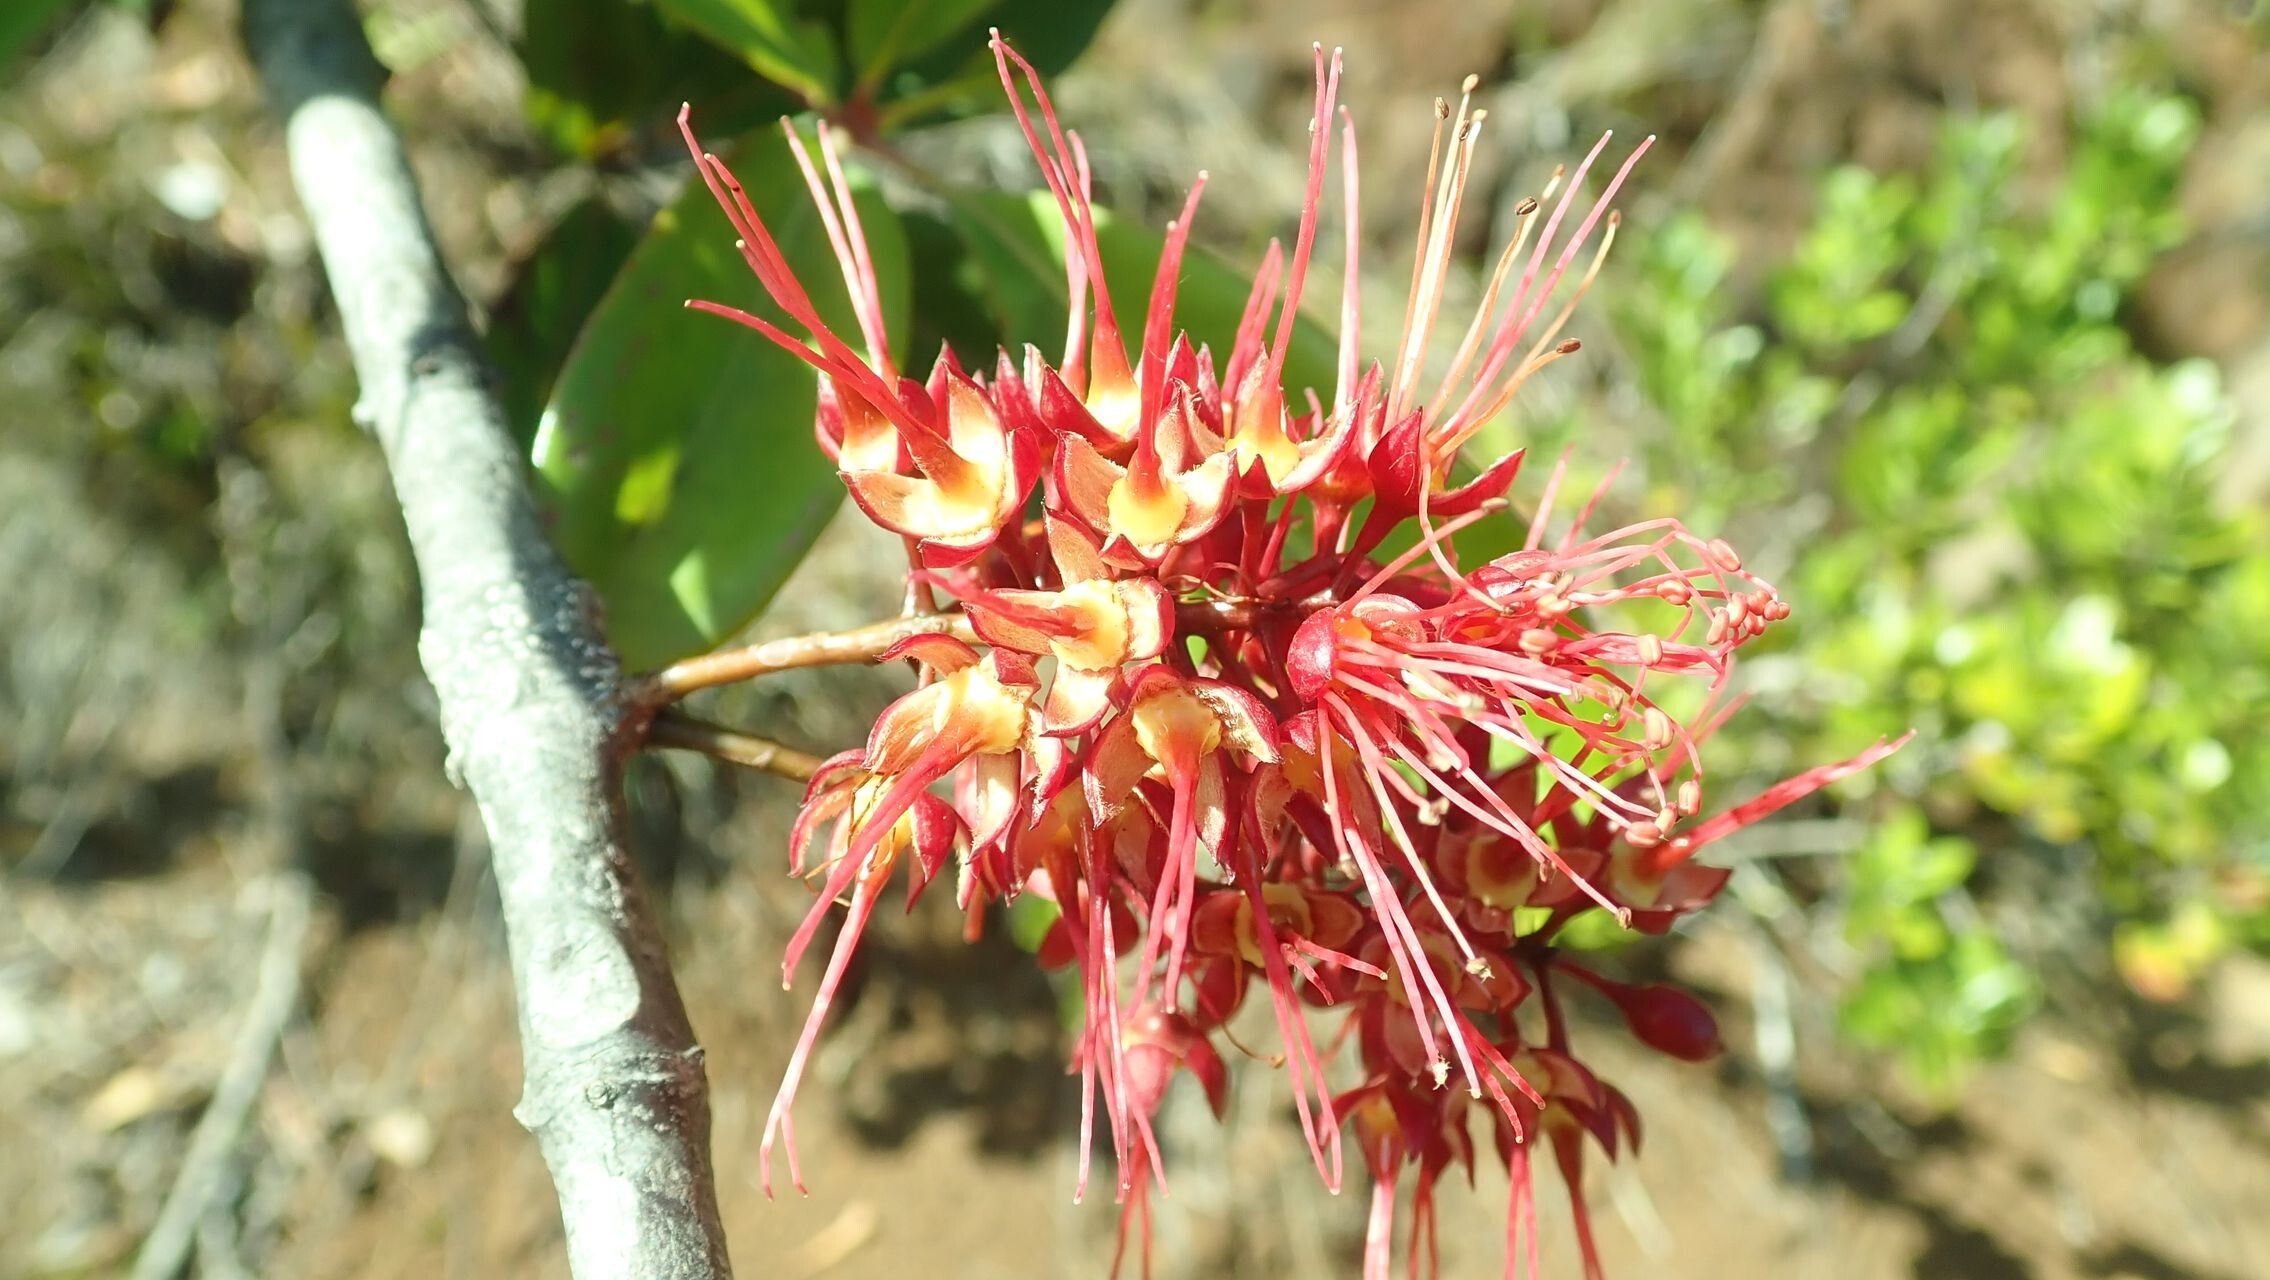
Hey there, fellow plant lovers! If you’ve ever admired the graceful beauty of Geissois lanceolata, with its glossy leaves and sometimes captivating blooms, you’re not alone. This delightful native often makes gardeners ask, “How can I get more of those?” Well, I’m here to tell you that propagating Geissois lanceolata is a truly rewarding venture, a way to multiply that beauty and share it with others. For beginners, it’s not the absolute easiest plant to get going from scratch, but with a little patience and the right techniques, you’ll be amazed at what you can achieve.
The Best Time to Start
When it comes to getting the most bang for your buck with cuttings, late spring to early summer is your sweet spot. This is when the plant is actively growing, fresh and vigorous. You want to take cuttings from new, semi-hardwood growth. Think about those shoots that are just starting to firm up, but aren’t completely woody yet. They have enough energy to root but aren’t too soft to rot.
Supplies You’ll Need
Gathering your tools beforehand makes the whole process much smoother. Here’s what I always have on hand:
- Sharp, clean pruning shears or a knife: This is crucial for making clean cuts.
- Rooting hormone (optional but recommended): Look for one with IBA (indole-3-butyric acid).
- Well-draining potting mix: A good mix would be 50% perlite and 50% peat moss or coco coir. You want good aeration!
- Small pots or seed trays: Clean ones, of course!
- Plastic bags or a humidity dome: To keep those cuttings happy and moist.
- Watering can or spray bottle: For gentle hydration.
- Labels and a permanent marker: To keep track of what you’ve planted and when.
Propagation Methods: Stem Cuttings
This is my go-to method for Geissois lanceolata. It’s reliable and yields great results.
- Take Your Cuttings: In late spring or early summer, find a healthy stem on your parent plant. Using your clean shears, cut a piece that’s about 4-6 inches long. Make the cut just below a leaf node (where the leaves emerge from the stem).
- Prepare the Cuttings: Gently remove the lower leaves from the cutting, leaving only the top 2-3 leaves. This helps prevent rotting and directs the plant’s energy towards root development. If the remaining leaves are quite large, I’ll often cut them in half horizontally. This reduces water loss without sacrificing too much surface area for photosynthesis.
- Apply Rooting Hormone (If Using): Dip the cut end of the stem into your rooting hormone powder or gel. Tap off any excess.
- Plant Your Cuttings: Fill your clean pots with the well-draining potting mix. Make a hole with a pencil or your finger, and gently insert the cutting so the bottom leaves are just above the soil line. Firm the soil gently around the stem.
- Water and Cover: Water the soil lightly. Then, cover the pots with a plastic bag, creating a mini-greenhouse, or place them under a humidity dome. Make sure the leaves aren’t touching the plastic if possible – that can encourage fungal issues.
The “Secret Sauce” (Pro Tips)
Here are a couple of tricks I’ve learned over the years that can really boost your success rate:
- Bottom Heat is Your Friend: While not strictly essential, placing your pots on a heated propagation mat can make a world of difference. This gentle warmth stimulates root development much faster than ambient room temperature alone.
- Don’t Be Afraid to Mist: Regularly mist the leaves inside your humidity tent or bag. This keeps the humidity high and prevents the cuttings from drying out before they can form roots. Do this at least once a day.
Aftercare & Troubleshooting
Once your cuttings have been planted, place them in a bright location out of direct sunlight. Keep the soil consistently moist but not waterlogged.
You’ll know your cuttings are rooting when you see new leaf growth. This usually takes anywhere from 4 to 8 weeks, sometimes a little longer. At that point, you can gradually acclimate them to normal humidity by opening the plastic bag or dome a little each day over a week.
The main thing to watch out for is rot. If you see your cuttings turning black and mushy, it’s a sign of too much moisture and not enough air circulation. Unfortunately, once rot sets in, it’s usually game over for that particular cutting. Ensure your soil drains well and you aren’t overwatering.
A Big Hug for Your New Plants!
Growing new plants from cuttings is such a fulfilling experience. It connects you more deeply with nature and your garden. Be patient with your Geissois lanceolata cuttings. Not every one will make it, and that’s perfectly okay! Celebrate the successes, learn from any setbacks, and most importantly, enjoy the journey of nurturing these little green hopefuls. Happy propagating!
Resource: