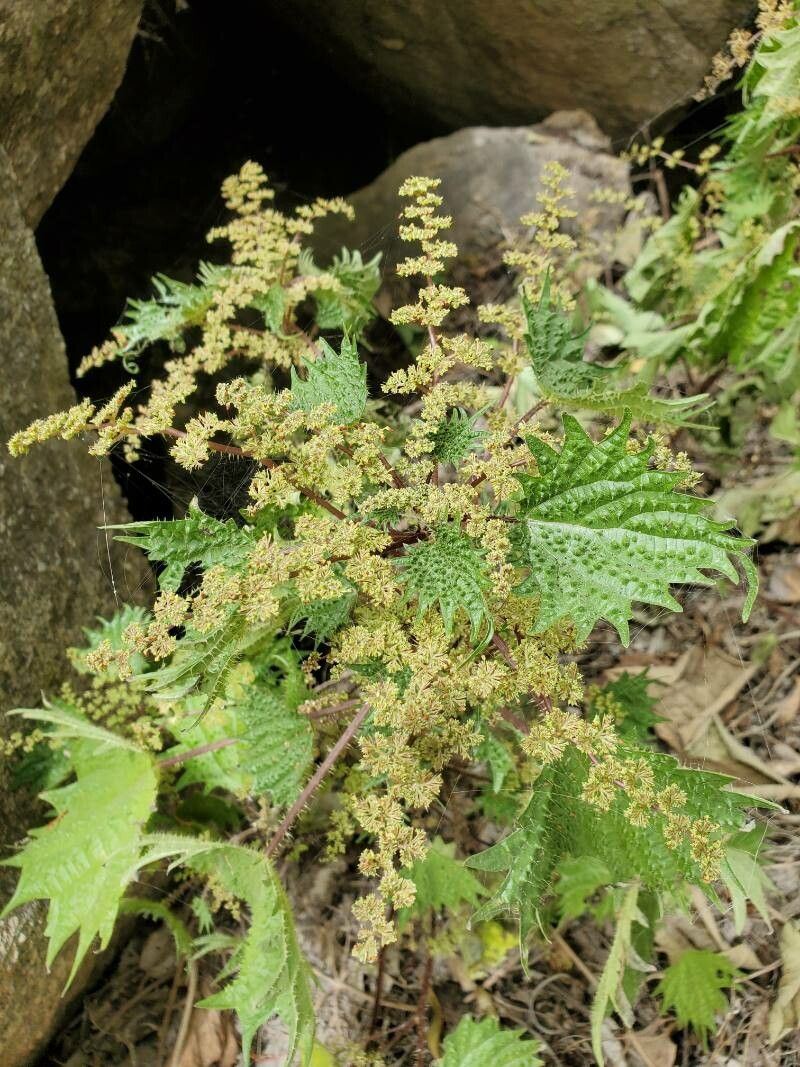
Hello fellow plant lovers! Today, I want to chat about a plant that’s captured my heart over the years: Laportea mooreana, often called the Native Raspberry or Stinging Nettle (though don’t worry, the sting isn’t as formidable as its namesake!). Its beautiful, velvety leaves and lush habit make it a real showstopper in any shady corner. And the joy of watching those little bits of plant life grow into something substantial? Honestly, it’s one of the most rewarding parts of gardening for me. Now, if you’re new to propagation, Laportea mooreana might present a slight challenge, requiring a bit of attention. But with a few gentle nudges, you’ll be amazed at what you can achieve!
The Best Time to Start
For the highest chance of success, I always reach for my propagation tools in late spring or early summer. This is when the plant is in its most vigorous growth phase, meaning it has plenty of energy to put into developing roots. Look for stems that are soft and pliable, not woody and firm. They’re the ones most eager to burst into new life!
Supplies You’ll Need
Gathering your supplies beforehand makes the process so much smoother. Here’s what I usually have on hand:
- Sharp, clean pruning shears or a sharp knife: Essential for making clean cuts. To prevent disease, wipe them down with rubbing alcohol between uses.
- Propagation pots or small containers: Make sure they have drainage holes!
- Well-draining potting mix: I like to use a blend of peat moss or coco coir, perlite, and a touch of worm castings. This gives good aeration and aeration.
- Rooting hormone (optional but recommended): A powdered or gel form can give your cuttings a helpful boost.
- Plastic bags or a propagation dome: To create a humid environment.
- Watering can or spray bottle: For gentle watering.
Propagation Methods: Taking Stem Cuttings
This is my go-to method for Laportea mooreana, and it’s usually quite successful.
- Select your stems: Find a healthy, non-flowering stem from a mature plant. Look for a piece that’s about 4-6 inches long.
- Make the cut: Using your clean shears, make a clean cut just below a leaf node. This is the point where the leaf attaches to the stem, and it’s where roots are most likely to form.
- Prepare the cutting: Gently remove the lower leaves, leaving only the top two or three. This reduces water loss and directs the plant’s energy towards rooting.
- Apply rooting hormone (if using): Dip the cut end into the rooting hormone, tapping off any excess.
- Plant your cuttings: Fill your pots with your prepared potting mix. Make a hole with your finger or a pencil, and then insert the cutting, ensuring the nodes are buried in the soil. Gently firm the soil around the cutting.
- Create humidity: Water the soil gently until it’s moist but not soggy. Then, cover the pot with a plastic bag or a propagation dome. If using a bag, make sure it doesn’t touch the leaves. Secure it with a rubber band around the pot.
- Find a good spot: Place your pots in a bright location that receives indirect light. Avoid direct sun, which can scorch the tender cuttings.
The “Secret Sauce” (Pro Tips)
Over the years, I’ve learned a few little tricks that seem to make all the difference:
- Bottom heat is your friend: If you have a seedling heat mat, place your propagation pots on it. This gentle warmth encourages root development from below and can significantly speed up the process. It’s like giving your cuttings a cozy foot bath!
- Don’t let the leaves touch the water: This is crucial when you water. If you’re using a spray bottle, mist the soil gently. If you’re watering from the bottom (by placing the pot in a saucer of water), be mindful not to let the water level rise so high that it submerges the leaves. Moisture on leaves can lead to rot.
- Be patient with your water propagation: While I prefer soil, some folks like to try water propagation. If you do, change the water every few days to keep it fresh and prevent bacterial growth. And here’s the key: ensure the leaf node is submerged, but absolutely avoid having any leaves touch the water. I usually trim off any lower leaves that would otherwise dip in.
Aftercare & Troubleshooting
Once you see roots emerging from the drainage holes or new growth appearing, you know your cuttings are happy!
- Acclimate slowly: Before removing the plastic bag entirely, start by opening it for a few hours a day for a week. This allows the new plant to get used to the ambient humidity.
- Gentle watering: Continue to keep the soil consistently moist but not waterlogged. Water when the top inch of soil begins to feel dry.
- Watch for rot: The most common issue is stem rot. If your cutting turns mushy and black, it’s likely succumbed to rot. This usually happens because the environment is too wet or lacks adequate air circulation. Make sure your soil drains well and don’t overwater.
- Wilting can happen: If your cutting looks sad and droopy, it might be a sign it’s struggling to find its footing. Ensure it’s in a humid environment and isn’t getting too much sun. Sometimes, they just need a little extra encouragement!
A Encouraging Closing
Propagating Laportea mooreana is a wonderful way to expand your collection and share the beauty of this plant. Don’t get discouraged if your first few attempts aren’t perfect. Gardening is a journey of learning and observation. Be patient with your little green babies, trust the process, and enjoy the magic of growth. Happy propagating!
Resource:
https://identify.plantnet.org/k-world-flora/species/Laportea%20mooreana%20(Hiern)%20Chew/data