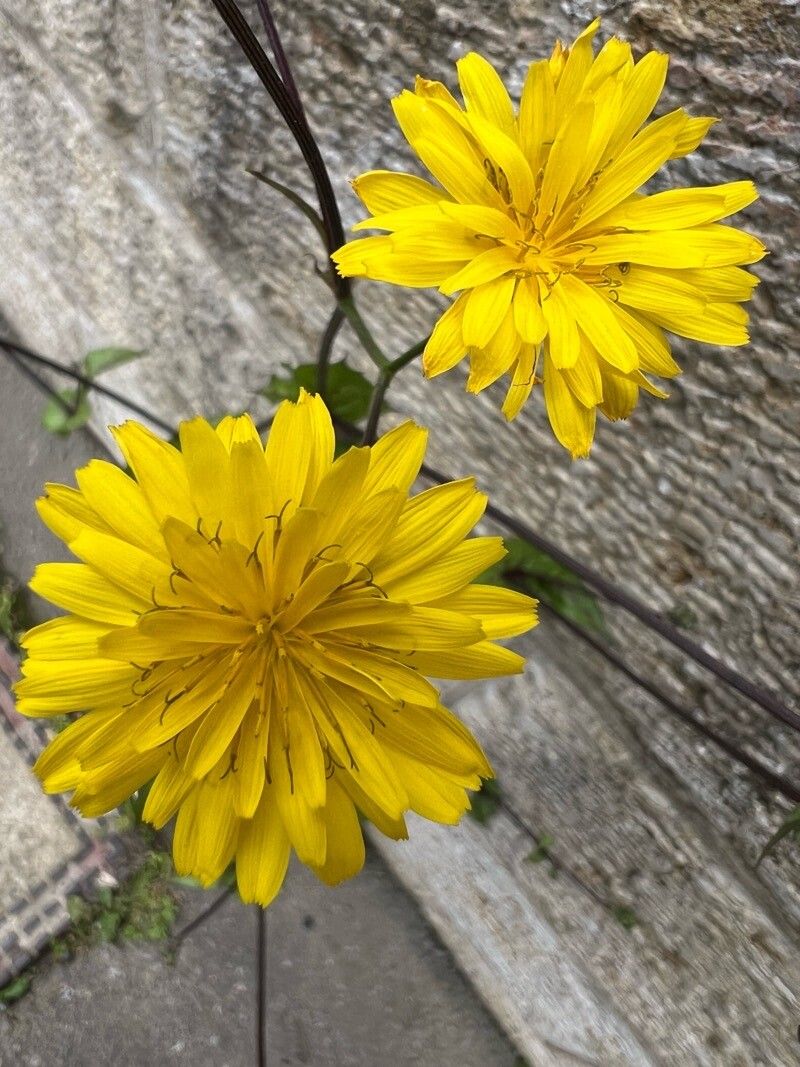
Hello, fellow plant lovers! I’m so excited to talk to you today about a plant that has truly captured my heart: Crepis palaestina. If you haven’t met it yet, imagine a splash of sunshine in your garden, with cheerful, daisy-like flowers that bloom with such enthusiasm. It’s a fantastic addition for anyone wanting to bring a bit of effortless charm and vibrant color to their outdoor spaces. And the best part? Propagating it is a wonderfully rewarding experience, and I’m happy to say, it’s quite forgiving, even for those new to the world of plant babies.
The Best Time to Start
My go-to time for propagating Crepis palaestina is late spring or early summer. This is when the plant is actively growing and has plenty of energy to put into new roots. You’ll usually find the most robust stems and healthy foliage at this time, which are perfect for taking cuttings. Waiting until after the main flush of spring bloom is over also means you won’t be sacrificing too many of those lovely flowers.
Supplies You’ll Need
Here’s what I always have on hand when I’m getting ready to make some new Crepis:
- Sharp, clean pruning shears or a sharp knife: A clean cut is crucial for preventing disease.
- Small pots or seed trays: Anything that can hold your potting mix and accommodate a young plant. Drainage holes are non-negotiable!
- Rooting hormone (optional but recommended): This can give your cuttings a helpful boost. I prefer the powdered kind.
- A good quality potting mix: I love a blend that’s well-draining. A mix of potting soil, perlite, and a bit of coco coir works wonders.
- A watering can with a fine rose or a spray bottle: Gentle watering is key.
- Labels or markers: Don’t forget to label your new babies!
Propagation Methods
Crepis palaestina is a gem because it’s quite versatile. While there are a few ways to go about it, I find these two methods to be the most successful:
1. Stem Cuttings:
This is my absolute favorite! It’s quick and gives you a high success rate.
- Choose your parent plant: Look for healthy, non-flowering stems. Aim for stems that are about 4-6 inches long.
- Take the cutting: Using your sharp pruning shears, carefully cut just below a leaf node (where a leaf meets the stem). This is where roots are most likely to form. Remove any lower leaves, leaving just a few at the top.
- Apply rooting hormone (if using): Dip the cut end of the stem into the rooting hormone, tapping off any excess.
- Pot it up: Fill your small pot with your well-draining potting mix. Make a small hole in the center with your finger or a pencil. Gently insert the cutting into the hole, ensuring the leaf nodes are buried. Firm the soil around the base of the cutting.
- Water gently: Give the soil a good, but gentle, watering to settle the mix.
2. Division:
This method is perfect when your parent plant has become a bit crowded or you simply want to give it some fresh space.
- Gently unearth the plant: In the spring or early summer, carefully dig around the base of your Crepis plant.
- Separate the root ball: You’ll likely see several clumps connected by roots. Use your hands or a clean trowel to gently pull apart these clumps. Each section should have some roots and a bit of foliage.
- Replant immediately: Plant each division in its own prepared spot in the garden or in a pot, just as you would a new plant. Ensure the crown (where the roots meet the stem) is at soil level.
- Water thoroughly: Give your newly divided plants a good drink to help them settle in.
The “Secret Sauce” (Pro Tips)
Now, for a couple of little tricks that can really make a difference:
- Use bottom heat (for cuttings): If you have a heat mat designed for seedlings, placing your pots of cuttings on it can significantly speed up root development. It mimics that lovely warm soil feel after a sunny spring shower.
- Create a mini-greenhouse: I like to cover my pots of cuttings with a clear plastic bag or place them in a propagator. This keeps the humidity high, which is crucial for preventing the cuttings from drying out before they can form roots. Just make sure the leaves aren’t touching the plastic – a few small stakes can help with this.
Aftercare & Troubleshooting
Once your cuttings have produced roots (you can gently tug on them – if there’s resistance, they’ve rooted!), or your divisions have settled in, it’s time for continued care.
Keep the soil consistently moist but not waterlogged. This is critical. Overwatering is the quickest way to invite root rot, which is probably the most common issue you’ll encounter. You’ll know root rot has set in if the stem starts to look mushy and turns yellow or brown, and there’s a distinct unpleasant smell. If you see this, it’s usually best to discard the affected cutting.
As your new plants grow, you can gradually acclimate them to less humid conditions before planting them out in their permanent spots. Start by opening the plastic bag for a few hours a day, or a week, before removing it entirely.
A Encouraging Closing
Watching a tiny cutting or division transform into a thriving new plant is one of the greatest joys of gardening. Be patient with your new Crepis palaestina babies. Some might take a little longer than others, and that’s perfectly fine. Just enjoy the process, learn as you go, and soon you’ll have a whole legion of these delightful blooms to share! Happy propagating!
Resource:
https://identify.plantnet.org/k-world-flora/species/Crepis%20palaestina%20(Boiss.)%20Bornm./data