Oh, hello there, fellow plant lover! I’m so glad you stopped by. Today, we’re going to dive into something truly special: coaxing new life from Vaccinium scoparium, also known as Broom Crowberry. I’ve spent a good couple of decades knee-deep in soil, and I find the act of propagating plants incredibly rewarding. It’s like a little magic trick, turning one plant into many, and sharing those gifts feels wonderful.
Why Broom Crowberry?
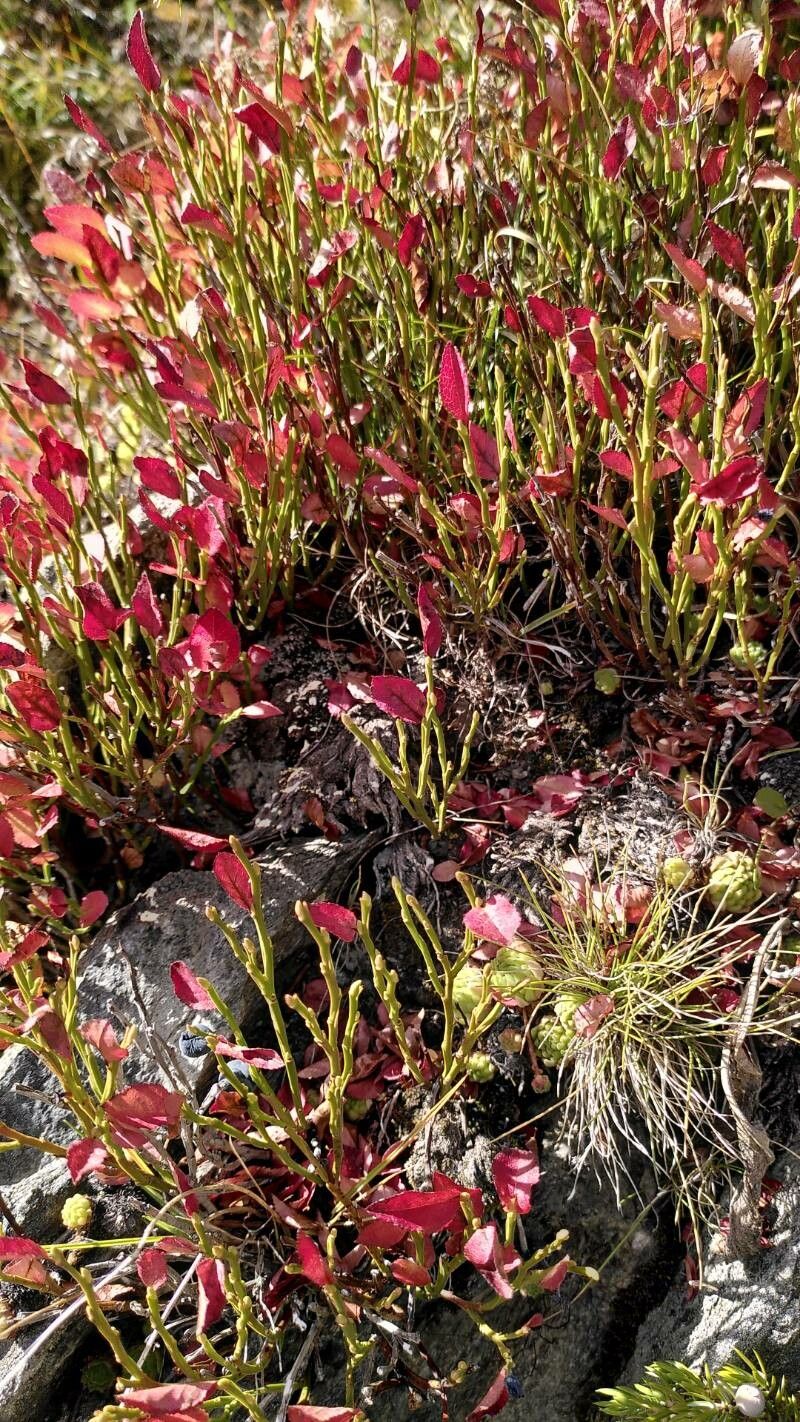
Broom Crowberry is a delightful little gem, especially if you appreciate a plant that’s both hardy and beautiful. Its dainty, bell-shaped flowers are a springtime treat, followed by small, edible berries that a few lucky critters (and us gardeners!) can enjoy. Propagating it isn’t exactly a walk in the park, especially if you’re just starting out, but with a bit of patience and these tips, I think you’ll find it quite achievable. The payoff of seeing these little ones thrive is absolutely worth the effort.
The Best Time to Start
For Broom Crowberry, mid-summer is your golden window. You want to take cuttings when the plant has finished its initial flush of spring growth but before it starts to go dormant for winter. Look for stems that are semi-hardwood – they should be firm but still have a little give when you bend them. Avoid brand new, bright green, floppy growth and old, woody stems. That perfect balance is key.
Supplies You’ll Need
Gathering your tools before you begin makes the whole process smoother. Here’s what I always have on hand:
- Sharp pruning shears or a clean, sharp knife: For making clean cuts.
- Rooting hormone: This is a great aid, though not always strictly necessary, it really gives your cuttings a boost. Look for one containing IBA.
- A light, well-draining potting mix: I like a blend of coarse perlite, peat moss, and a touch of sandy loam. Some people swear by a mix of perlite and vermiculite.
- Small pots or trays: With drainage holes, of course!
- A clear plastic bag or propagation dome: To maintain humidity.
- Gravel or perlite: For drainage at the bottom of pots if needed.
- Watering can or spray bottle: For gentle watering.
Propagation Methods: Stem Cuttings
This is my go-to method for Broom Crowberry. It’s efficient and usually yields the best results.
- Take Your Cuttings: On a moderately warm, cloudy day (less stress on the cuttings!), select healthy, semi-hardwood stems from your mature Broom Crowberry plant. Cut pieces about 4-6 inches long. Make your cut just below a leaf node – that is, where a leaf attaches to the stem.
- Prepare the Cuttings: Gently remove the lower leaves from your cuttings. You want to leave just a few leaves at the very tip. If the remaining leaves are large, you can even cut them in half to reduce water loss through transpiration.
- Apply Rooting Hormone: Dip the cut end of each stem into your rooting hormone powder, tapping off any excess.
- Plant Your Cuttings: Fill your small pots with your prepared potting mix. Make a small hole in the center of the mix with a pencil or your finger. Gently insert the treated end of each cutting into the hole, ensuring the leaf nodes are below the surface. Firm the soil gently around the stem.
- Water Gently: Water the soil thoroughly but gently, allowing excess water to drain away.
- Create a Humid Environment: Place a clear plastic bag over the pot, held up with stakes or skewers so it doesn’t touch the leaves, or use a propagation dome. This traps moisture and creates a humid microclimate, which is crucial for callusing and root formation.
The “Secret Sauce” (Pro Tips)
Here are a couple of tricks I’ve learned over the years that can really make a difference:
- Bottom Heat is Your Friend: For semi-hardwood cuttings, providing a little bit of gentle bottom warmth can significantly speed up root development. A simple seedling heat mat placed underneath your pots works wonders. You’re looking for a soil temperature of around 70-75°F (21-24°C).
- Don’t Overwater! This is a common pitfall. While humidity is vital, soggy soil is the enemy and can lead to rot. Let the top inch of soil dry out slightly between waterings. You’ll get a feel for it. The plastic bag should show condensation; if it’s dripping excessively, you might have too much moisture.
Aftercare & Troubleshooting
Once your cuttings are nestled
Resource: