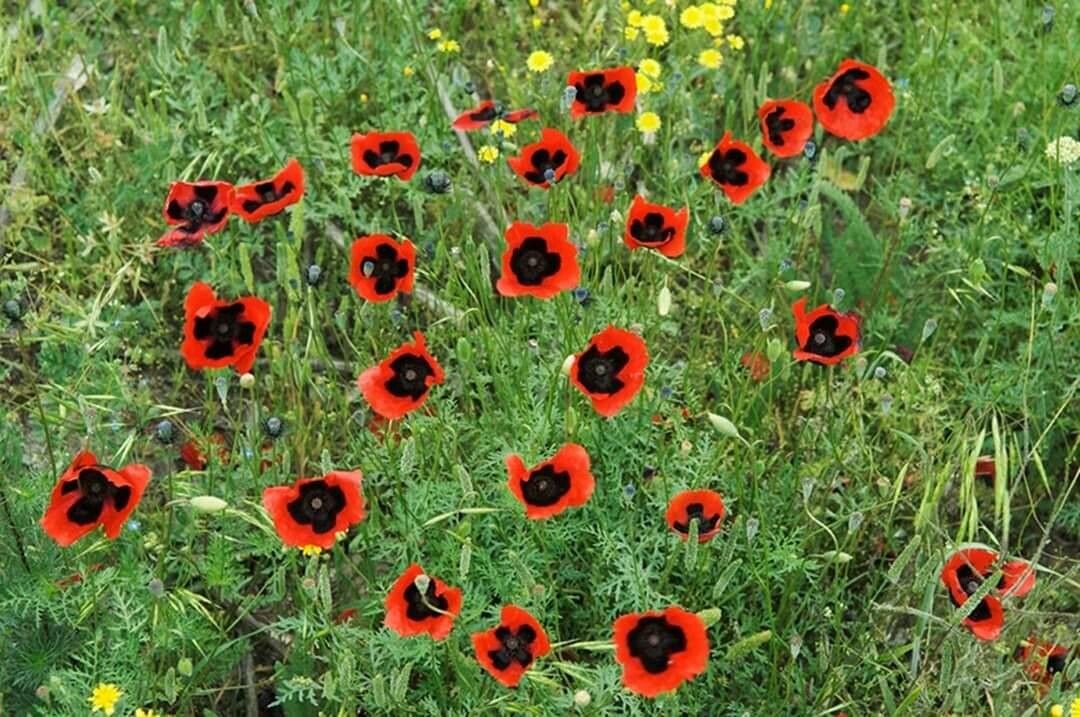
Hello fellow plant enthusiasts! If you, like me, are captivated by the vibrant, almost ethereal beauty of Papaver umbonatum – those delightful poppy blooms that dance in the breeze – then you’re in for a treat. There’s something incredibly satisfying about creating new life from an existing plant. And let me tell you, propagating these beauties is absolutely doable, even for those just dipping their toes into the world of gardening. It’s a rewarding journey, watching a tiny cut or scattered seed transform into a beautiful bloom.
The Best Time to Start
For the most success with Papaver umbonatum, I’ve found that spring is your golden ticket. This is when the plant is actively growing and has plenty of energy to put into developing new roots. Aim for late spring, just as the plant is finishing its main flowering burst, or even early summer before the intense heat sets in. This gives your new propagations a good head start before things get too hot or too cold.
Supplies You’ll Need
Here’s what you’ll want to have on hand:
- Sharp Pruning Shears or a Craft Knife: For clean cuts.
- Rooting Hormone (Optional but Recommended): A powder or gel to encourage root development.
- Well-Draining Potting Mix: I like a blend of 50% peat moss or coco coir and 50% perlite or coarse sand. You can buy specific seed-starting mixes too.
- Small Pots or Seed Trays: With drainage holes, of course!
- Watering Can with a Fine Rose: For gentle watering.
- Plastic Bags or a Mini Greenhouse: To create a humid environment.
- Labels: To keep track of what you’ve planted.
Propagation Methods
Papaver umbonatum can be grown from seed, but since we’re talking about propagating from an existing plant, we’ll focus on stem cuttings.
- Take Your Cuttings: On a bright, cool morning, select a healthy, non-flowering stem from your Papaver umbonatum. Using your sharp shears or knife, make a clean cut just below a leaf node (where a leaf attaches to the stem). Aim for cuttings that are about 3-4 inches long.
- Prepare the Cuttings: Gently remove the lower leaves, leaving just a few at the top. If you’re using rooting hormone, dip the cut end of the stem into the powder or gel. Tap off any excess.
- Plant Your Cuttings: Fill your small pots with the well-draining potting mix. Make a small hole in the center with your finger or a pencil. Insert the cutting into the hole, ensuring the leaf nodes are just below the surface of the soil. Gently firm the soil around the base of the cutting.
- Create Humidity: Water the soil gently, just enough to moisten it. Then, cover the pot with a plastic bag or place it inside a mini greenhouse. This traps moisture and helps prevent the cuttings from drying out. Make sure the leaves don’t touch the sides of the bag if possible.
- Provide Light and Warmth: Place the pots in a bright location but out of direct sunlight. A north-facing windowsill is often perfect. If you have a propagation mat, placing it underneath the trays can provide gentle bottom heat, which encourages root growth.
The “Secret Sauce” (Pro Tips)
Here are a couple of tricks I’ve picked up over the years for those extra-successful propagations:
- “Bleed” Your Cuttings: Papaver species have a milky sap that can inhibit rooting. After taking your cutting and removing lower leaves, let it sit for an hour or two in a dry spot before dipping it in rooting hormone and planting. This allows the cut end to callus slightly, which can help prevent rot and encourage root formation.
- Bottom Heat is Your Friend: As I mentioned, if you can provide gentle bottom heat (around 70-75°F or 21-24°C), your Papaver umbonatum cuttings will root much faster and more reliably. It mimics the warmth of spring soil and gives those roots a real boost.
Aftercare & Troubleshooting
Once your cuttings are planted, keep an eye on them. The soil should remain consistently moist but not waterlogged. Check for roots after about 3-6 weeks. You can gently tug on a cutting; if there’s resistance, roots have formed! Once you see good root development, you can remove the plastic bag and gradually transition the new plants to more natural humidity levels. Continue to water as needed.
The most common issue you might encounter is rot. If you see your cuttings turning mushy, black, or falling over, it’s usually a sign of too much moisture and not enough air circulation. Ensure your soil is super well-draining and that you’re not overwatering. Sometimes, if the humidity is too high for too long, it can also encourage fungal issues.
A Heartfelt Closing
Propagating plants is a bit like sending out little ambassadors of your garden. It takes a little patience and a lot of observation, but the reward of seeing those tiny roots take hold and new life begin is simply wonderful. Don’t get discouraged if your first attempt isn’t perfect; every gardener has their learning curves. Just keep nurturing them, and enjoy the process of growing your poppy family! Happy gardening!
Resource:
https://identify.plantnet.org/k-world-flora/species/Papaver%20umbonatum%20Boiss./data