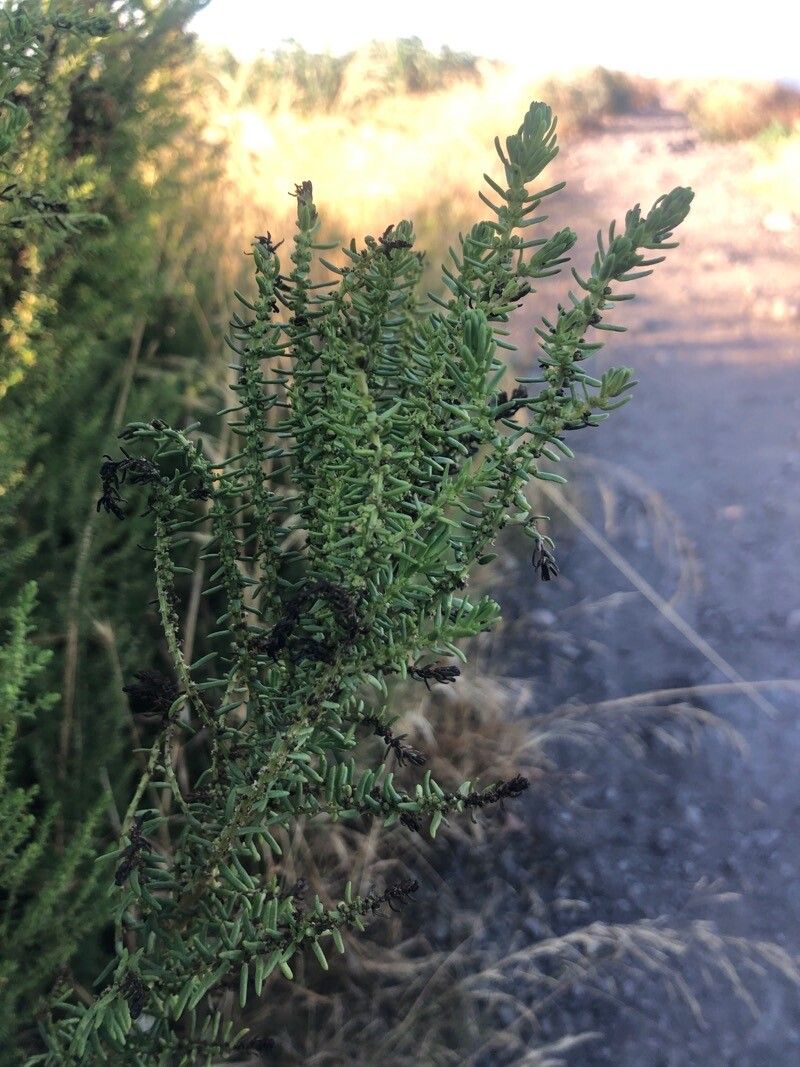
Oh, hello there! Grab a mug, settle in. Today, we’re going to talk about a plant that’s a real charmer, Suaeda pruinosa. You might know it as Sea Blite, or maybe even Woolly Sea Blite. It’s got this lovely, almost dusty grey-green foliage that adds such a unique texture to the garden, especially in coastal or sandy spots. And the best part? It’s surprisingly resilient. If you’ve ever admired its delicate beauty and thought, “I wish I had more of that,” well, you’re in luck. Propagating Suaeda pruinosa is a wonderfully rewarding endeavor, and I’m happy to guide you through it. For beginners? I’d say it’s moderately easy, which is a good sweet spot – challenging enough to feel like an accomplishment, but not so tricky that you want to give up.
The Best Time to Start
When it comes to getting new Suaeda pruinosa plants going, late spring to early summer is your golden window. This is when the plant is actively growing and has plenty of energy to put into establishing new roots. Think of it as the plant’s prime time for growth and rejuvenation. Trying to propagate when it’s dormant or stressed will just make things harder on both of you!
Supplies You’ll Need
Here’s what you’ll want to gather before we get our hands dirty:
- Sharp Pruning Shears or a Clean Knife: For making clean cuts, which is crucial.
- Potting Mix: A well-draining mix is absolutely key. I often use a blend of equal parts potting soil, perlite, and coarse sand. Some gardeners have success with just propagator mix or a sandy loam.
- Small Pots or Trays: Clean ones, of course!
- Rooting Hormone (Optional but Recommended): A powder or gel can give your cuttings a helpful boost.
- Watering Can with a Fine Rose or Mister: Gentle watering is best.
- Small Labels and a Pen: To keep track of what you’ve planted.
Propagation Methods
Suaeda pruinosa is a trooper, and thankfully, it’s quite amenable to propagation via stem cuttings. This is generally the most straightforward and successful method for this plant.
Stem Cuttings:
- Take Your Cuttings: On a pleasant, non-scorching day, choose healthy, non-flowering stems from a mature plant. Look for stems that are about 4-6 inches long. Using your clean shears or knife, make a clean cut just below a leaf node (where a leaf attaches to the stem).
- Prepare the Cuttings: Gently remove any lower leaves from the stem, leaving just a few at the very top. This prevents them from rotting in the soil. If you’re using rooting hormone, dip the cut end of the stem into the hormone powder or gel, tapping off any excess.
- Plant the Cuttings: Fill your small pots or trays with your prepared, well-draining potting mix. Make a small hole in the center of the soil with your finger or a pencil. Insert the cut end of the stem into the hole, making sure at least one leaf node is buried beneath the surface. Gently firm the soil around the base of the cutting.
- Water Gently: Water thoroughly but gently, ensuring the soil is moistened. Avoid waterlogging it.
The “Secret Sauce” (Pro Tips)
Now, for a couple of little nuggets of wisdom that can make a real difference:
- Mimic the Coastal Breeze: Suaeda pruinosa loves good air circulation. Once your cuttings are potted, consider placing your pots or trays in a location where they get indirect light and decent airflow. Avoid crowded, stuffy corners. A lightly shaded spot is perfect.
- The Magic of Bottom Heat: While not strictly essential, providing a little warmth from below can really speed up root development, especially if you’re starting earlier in the season or your weather is a bit cooler. A simple propagator with a heat mat can work wonders, but even placing the pots on top of a healthy appliance (like near a fridge) can sometimes provide enough subtle warmth. Just be careful not to overheat!
Aftercare & Troubleshooting
Once your cuttings are planted, the patient waiting game begins. Keep the soil consistently moist but never soggy. A light misting daily can help keep the leaves turgid. You’ll know your cuttings are happy when they start to show signs of new growth, like tiny leaves or a slight thickening at the stem. This usually takes anywhere from 4 to 8 weeks.
The most common issue you might encounter is rot. If you see your stem turning mushy and dark, it’s usually a sign of overwatering or poor drainage. Unfortunately, a rotten cutting is usually a loss, so it’s best to discard it and learn from the experience. Making sure your soil is airy and not saturated is your best defense. If you see wilting that doesn’t perk up even after watering, the cutting might be too dry, or it might not have enough energy to establish, which can happen if you took the cutting too late in the season.
A Encouraging Closing
There you have it! Propagating Suaeda pruinosa is a journey, and like all good gardening adventures, it’s about the process. Don’t get discouraged if not every single cutting takes; that’s perfectly normal. Celebrate the wins, learn from the stumbles, and enjoy the satisfaction of multiplying these lovely coastal gems for your garden. Happy propagating!
Resource:
https://identify.plantnet.org/k-world-flora/species/Suaeda%20pruinosa%20Lange/data