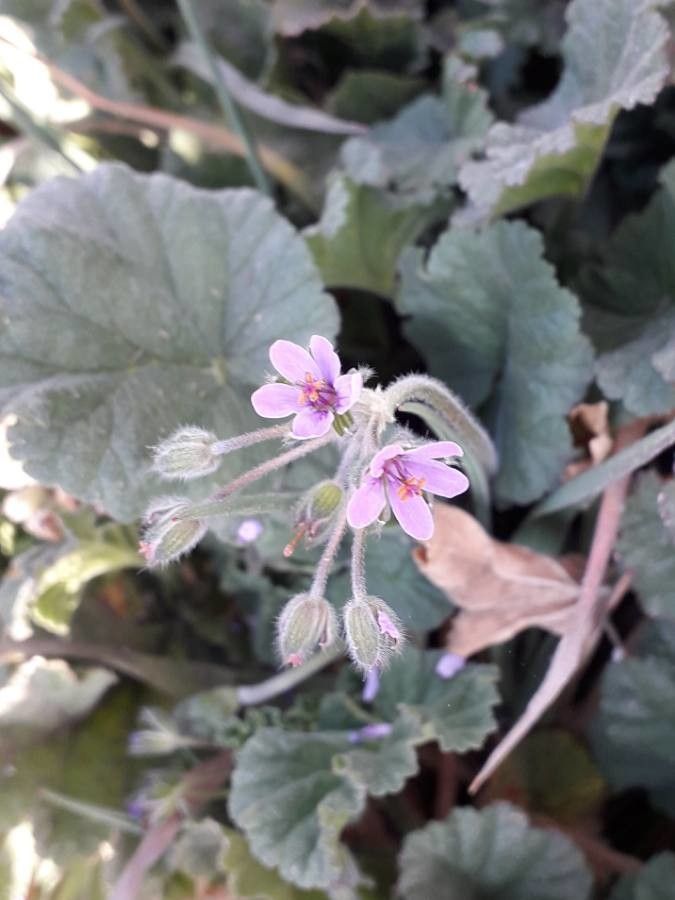
Oh, Erodium malacoides! I’m so glad you asked about this little gem. If you’re looking for a plant that brings a delicate charm to your garden, with its pretty little flowers and interesting foliage, you’ve found a good one. And the best part? It’s generally a very rewarding plant to propagate. For beginners, I’d say it’s moderately easy, which means you’ll likely have success if you follow a few simple steps. There’s a real joy in watching a tiny cutting transform into a thriving new plant, and Erodium is a great plant to practice this magic with.
The Best Time to Start
For Erodium malacoides, the sweet spot is usually in late spring or early summer. This is when the plant is in active growth. You want to take cuttings from new, but not overly soft, growth. If you wait until the heat of mid-summer really sets in, the cuttings can get stressed more easily due to high temperatures and potential dryness. Aim for a time when the weather is warm and consistent, but not baking hot.
Supplies You’ll Need
Gathering your supplies beforehand makes the whole process so much smoother. Here’s what I usually have on hand:
- Sharp pruning shears or a clean razor blade: For taking clean cuttings.
- Small pots or seed trays: Clean ones are essential to prevent disease.
- Propagation or seed-starting mix: Something with good drainage. A mix of perlite and peat moss works wonders.
- Rooting hormone (optional but helpful): Especially for Erodium, this can give your cuttings a little boost.
- Plastic bags or a propagator lid: To create a humid environment.
- Water spray bottle: For misting.
- Labels: To keep track of what you’ve propagated.
Propagation Methods
Erodium malacoides is quite adaptable, and I’ve had great luck with a couple of different methods. Let’s dive in!
Stem Cuttings: My Go-To Method
This is probably the most common and successful way I propagate Erodium.
- Select Your Cuttings: Look for healthy, non-flowering stems. You want pieces that are about 4-6 inches long. Make your cuts just below a leaf node – that’s where the roots will emerge.
- Prepare the Cuttings: Gently remove the lower leaves from your cuttings, leaving just a few at the top. This prevents them from rotting in the potting mix.
- Apply Rooting Hormone (Optional): If you’re using rooting hormone, dip the cut end of the stem into the powder or gel. Tap off any excess.
- Plant Your Cuttings: Fill your small pots with your chosen propagation mix. Make a small hole with a pencil or your finger and carefully insert the prepared cutting. Firm the soil gently around the base to ensure good contact.
- Water and Cover: Water the potting mix gently until it’s moist but not soggy. Then, cover the pots with a plastic bag or a propagator lid, creating a mini-greenhouse effect. Make sure the plastic doesn’t touch the leaves.
Water Propagation: A Window into Rooting
Sometimes, for quick observation, I’ll start cuttings in water. It’s not my primary method for Erodium, as they often do better directly in soil, but it’s an option.
- Prepare the Cuttings: Follow steps 1 and 2 for stem cuttings.
- Place in Water: Put your prepared cuttings in a jar or glass of clean water. Ensure that the leaf nodes where you removed the leaves are submerged, but don’t let any leaves sit in the water.
- Change Water Regularly: Change the water every 2-3 days to keep it fresh and prevent bacterial growth.
- Watch for Roots: You should start to see roots forming in a couple of weeks. Once the roots are about an inch long, you can carefully transplant them into potting mix.
The “Secret Sauce” (Pro Tips)
Having gardened for a while, I’ve picked up a few tricks that really make a difference.
- Bottom Heat is Your Friend: If you have access to a heat mat designed for plant propagation, using it will significantly speed up root development. Erodium, like many plants, loves a bit of warmth from below. Place your pots on the mat.
- Don’t Over-Mist: While humidity is crucial, drenching the leaves can lead to fungal issues. A light misting, especially during the initial setup, is usually enough. If you see water pooling on the leaves, gently dab it off with a paper towel.
- Patience with the Potting Mix: When transplanting water-rooted cuttings, don’t be tempted to plant them too deep. Let the existing roots guide you, and ensure the stem is well-supported but not buried too deeply, which can cause rot.
Aftercare & Troubleshooting
Once you start seeing tiny white roots poking out of the drainage holes, that’s a sign of success!
- Introduce to the Open Air: Gradually acclimate your new plants to the drier air outside their plastic covering. Start by opening the bag for a few hours each day, then remove it permanently after about a week.
- Move to Appropriate Light: Once they have established roots, they can be moved to brighter light, but avoid direct, harsh sun for the first few weeks.
- Watering: Water when the top inch of soil feels dry. Overwatering is the most common mistake, and it can lead to root rot, which you’ll notice as stems turning mushy or yellowing leaves that don’t seem to recover. If you see signs of rot, it’s often best to discard the affected cutting and start again, ensuring better drainage and less water. Sometimes, a cutting just won’t root, and that’s okay too! It’s all part of the learning process.
So there you have it! Propagating Erodium malacoides is a delightful journey. Don’t get discouraged if not every cutting takes – nature has its own rhythm. Just keep experimenting, observing, and enjoying the process. Happy gardening!
Resource:
https://identify.plantnet.org/k-world-flora/species/Erodium%20malacoides%20(L.)%20L’Hér./data