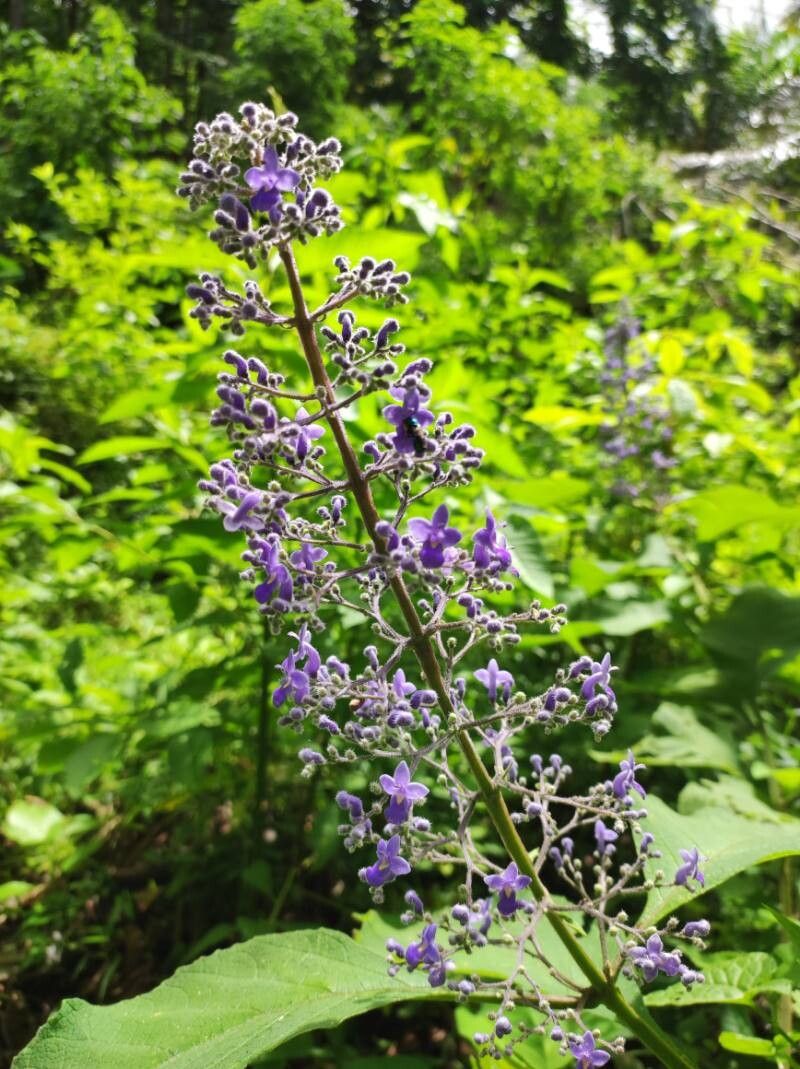
Oh, hello there, fellow plant lover! Grab your mug, and let’s chat about something that always brings a smile to my face: coaxing new life from our beloved plants. Today, we’re diving into the wonderful world of propagating Cornutia pyramidata, also known as the Chilean Jasmine. This vine, with its beautifully trumpet-shaped, fragrant yellow blooms, is a real showstopper. And the joy of creating more of these beauties from just a single plant? Pure gardening magic!
Why Propagate Chilean Jasmine?
Honestly, what’s not to love? Chilean Jasmine offers a cascade of sunny colors and a sweet perfume that can transform any garden. Propagating it is a fantastic way to share the love with friends, fill in empty spots in your landscape, or simply expand your collection without spending a fortune. For beginners, I’d say Chilean Jasmine is moderately easy to propagate. It’s not quite as foolproof as some other, simpler plants, but with a little care and attention, you’ll be rewarded with success.
The Best Time to Start
Timing is everything when it comes to getting new plants off to a great start. For Chilean Jasmine, the late spring to early summer is your prime window. This is when the plant is actively growing, and the new shoots have the energy they need to root. Look for stems that are slightly woody but still flexible – not the fresh, green, floppy tips, and definitely not the old, hard, brown branches.
Supplies You’ll Need
Having your tools ready before you begin makes the whole process so much smoother. Here’s what you’ll want to have on hand:
- Sharp, clean pruning shears or a sharp knife: Essential for making clean cuts.
- Rooting hormone powder or gel: This isn’t absolutely mandatory, but it significantly boosts your success rate.
- Small pots or trays: About 4-6 inches in diameter are perfect for starting out.
- Well-draining potting mix: A blend of perlite, peat moss, and a bit of compost works wonders. You can also buy specific seed starting or propagation mix.
- Plastic bags or a propagator lid: To create a humid environment.
- A watering can with a fine rose: For gentle watering.
- Optional: A heat mat: This can really speed up rooting, especially if your propagation area is on the cooler side.
Propagation Methods: Let’s Get Rooting!
Chilean Jasmine is happiest when propagated from stem cuttings. It’s straightforward and offers a high chance of success when done correctly.
-
Take Your Cuttings: On a pleasant morning, select healthy, non-flowering stems. Look for sideshoots that are about 4-6 inches long. Using your clean shears, make a clean cut just below a leaf node (that little bump on the stem where a leaf grows out). Remove the lower leaves from your cutting, leaving just a few at the top. If the leaves are very large, you can even cut them in half to reduce water loss.
-
Prepare for Rooting: Dip the cut end of the stem into your rooting hormone. Tap off any excess. Gently insert the hormone-coated end into your prepared potting mix in the pot or tray. Make sure the pot has drainage holes!
-
Create a Humid Environment: This is crucial! Water the soil gently so it’s moist but not soggy. Then, cover the pot with a clear plastic bag, securing it around the rim with a rubber band. Alternatively, use a propagator lid. This creates a mini-greenhouse, keeping the humidity high, which is what the cuttings need to form roots before they can take up water from the soil.
-
Find the Right Spot: Place your pots in a bright location out of direct sunlight. A windowsill that gets filtered light is ideal. If you’re using a heat mat, place the pots on top of it.
The “Secret Sauce” (Pro Tips)
Now, for a few little nuggets of wisdom from my years in the garden trenches!
- Don’t let those leaves touch the water (or the soil surface, if you’re water propagating): If you opt for water propagation (which I find a little less reliable for Chilean Jasmine than cuttings in soil, but it can work!), make sure the leaves are well above the water line. Any submerged foliage will rot, which is exactly what we don’t want.
- Bottom heat is your friend: If you have it, use it! A gentle warmth from below really encourages root development. I’ve seen cuttings root in half the time when placed on a propagation mat.
- Be patient with the woodiness: When taking cuttings, aim for that perfect balance – not too soft, not too hard. A stem that slightly bends but doesn’t snap is usually your best bet for quick rooting.
Aftercare & Troubleshooting
Once you start to see new leaf growth or feel a gentle resistance when you tug very lightly on a cutting, congratulations! You’ve got roots!
- Gradual Acclimation: Slowly begin to remove the plastic bag or propagator lid over a few days. This helps the new plant adjust to normal humidity levels.
- Watering: Keep the soil consistently moist but never waterlogged. As the plant grows stronger, you can water more deeply less frequently.
- Repotting: Once your new plant has a healthy root system and is actively growing, you can transplant it into a slightly larger pot with good quality potting soil.
What if things go wrong? The most common issue is rot. If your cuttings turn black and mushy, or they simply don’t root after several weeks, it’s usually a sign of too much moisture, poor drainage, or lack of warmth. Don’t be discouraged! Sometimes, you just need to try again, perhaps adjusting your watering or finding a warmer spot.
Enjoy the Process!
Propagating plants is a journey, and like any good journey, it requires a little patience and a lot of love. Watching that tiny cutting transform into a flourishing plant is incredibly rewarding. So, go ahead, get your hands dirty, and enjoy the wonderful process of growing more beauty for your garden and for sharing. Happy propagating!
Resource:
https://identify.plantnet.org/k-world-flora/species/Cornutia%20pyramidata%20L./data