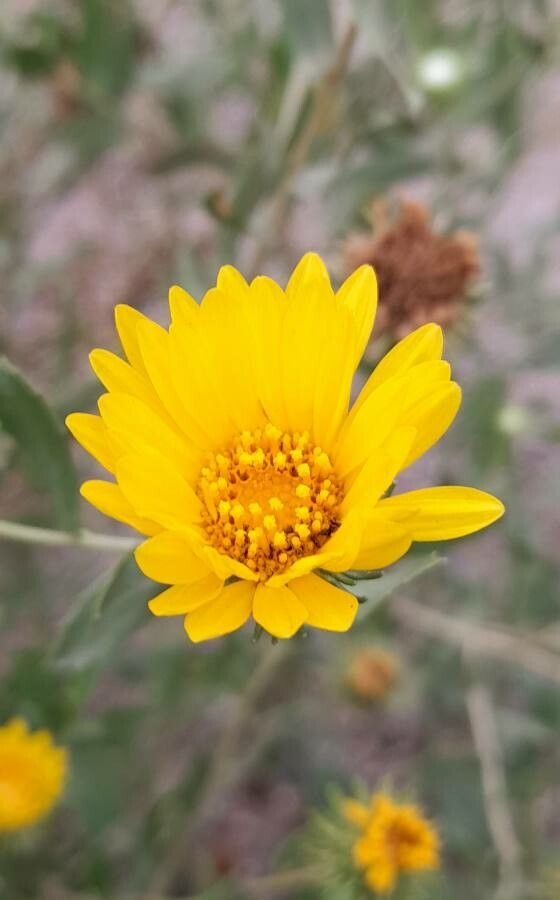
Hey there, fellow garden enthusiasts! I’m so excited to chat with you today about a plant that brings a sunshine-yellow smile to my garden: Grindelia cabrerae. This tough-as-nails beauty, sometimes called Sticky Gumweed, is a magnet for pollinators and offers a vibrant splash of color with its cheerful daisy-like flowers. If you’ve ever admired its resilience and want to fill your garden or share some with friends, propagating it is a wonderfully rewarding endeavor. For beginners, I’d say Grindelia cabrerae is moderately easy. It’s not as fuss-free as a succulent, but with a little attention and the right approach, you’ll be well on your way to success.
The Best Time to Start
Here in my part of the world, the sweet spot for propagating Grindelia cabrerae is definitely late spring to early summer. This is when the plant is actively growing after the chill of winter has passed. You’ll find it’s making new, vigorous shoots that are perfect for taking cuttings. Waiting until after the initial flush of spring growth gives the parent plant a chance to establish itself, and you’ll be working with healthy, ready-to-root material.
Supplies You’ll Need
Gathering your supplies beforehand makes the whole process so much smoother. Here’s what I always have on hand:
- Sharp Pruning Shears or a Clean Knife: For making clean cuts.
- Potting Mix: A well-draining mix is crucial. I like to use a blend of equal parts peat moss or coconut coir and perlite or coarse sand.
- Small Pots or Seed Trays: For starting your cuttings. Make sure they have drainage holes!
- Rooting Hormone (Optional but Recommended): A powdered form works well for Grindelia cabrerae.
- Watering Can or Spray Bottle: For gentle watering.
- Plastic Bags or a Propagator Dome: To create a humid environment.
Propagation Methods
For Grindelia cabrerae, I find stem cuttings are the most reliable and straightforward method.
Stem Cuttings
- Select Your Stems: Look for healthy, non-flowering stems that are about 4-6 inches long. Avoid any woody old stems or stems that are currently producing flowers. You want young, supple growth.
- Make the Cut: Using your clean shears or knife, make a clean cut just below a leaf node. A leaf node is where a leaf emerges from the stem.
- Prepare the Cutting: Gently remove the lower leaves from the stem, leaving only the top 2-3 leaves. This prevents them from rotting in the soil.
- Apply Rooting Hormone (if using): Dip the cut end of the stem into your rooting hormone. Tap off any excess.
- Plant Your Cuttings: Fill your small pots or trays with your well-draining potting mix. Make a small hole in the center with your finger or a pencil. Insert the cutting into the hole, ensuring the leaf nodes that were below the soil line are covered. Gently firm the soil around the cutting.
- Water Gently: Water the soil thoroughly but gently. You don’t want to dislodge the cuttings.
- Create Humidity: Cover the pots loosely with a plastic bag or place them under a propagator dome. This creates a humid microclimate, which is essential for cuttings to develop roots before they dry out. Place them in a bright spot, but out of direct, harsh sunlight.
The “Secret Sauce” (Pro Tips)
After years of trial and error, a few things have really made a difference for me.
- Don’t Overwater! This is probably the biggest killer of cuttings. Stick your finger into the soil. If it feels moist, wait. Only water when the top inch of soil feels dry. Soggy soil leads to rot, and nobody wants that.
- Give Them a Little Warmth: Placing your pots on a heat mat or in a warm location (like on top of a refrigerator) can significantly speed up root development. Grindelia loves a little warmth to encourage those roots to get going.
- Be Patient with the “Stick Test”: After a few weeks, you can gently tug on a cutting. If you feel a slight resistance, that’s a good sign roots are forming! If it pulls out easily, it’s likely not ready yet. Don’t be tempted to dig it up and check every day; that can damage delicate new roots.
Aftercare & Troubleshooting
Once you see new growth on your cuttings, that’s your cue that roots have formed! They’re no longer just surviving; they’re thriving.
- Acclimatize Gradually: Once you see roots, slowly start to remove the plastic bag or propagator dome over a few days. This helps the new plant adjust to the drier air in your home or garden.
- Container Growing: You can keep your new Grindelia in its pot for a while, watering as needed.
- Transplanting: When your new plants are strong enough and have a good root system, you can transplant them into larger pots or directly into your garden bed.
Now, what if things go wrong? The most common problem is rot. If your cutting looks black, mushy, or just sort of wilts away without any signs of rooting, it’s likely due to too much moisture and not enough air circulation. Brown, dry tips can indicate it’s drying out too much. Don’t be discouraged!
A Encouraging Closing
Propagating plants is a journey, and like any good garden adventure, it takes a bit of patience and learning. Every gardener has lost cuttings along the way – it’s part of the process! Celebrate the successes, learn from the challenges, and most importantly, enjoy the quiet satisfaction of nurturing new life from a simple stem. Happy propagating, and may your gardens be filled with sunshine and Grindelia blooms!
Resource:
https://identify.plantnet.org/k-world-flora/species/Grindelia%20cabrerae%20Ariza/data