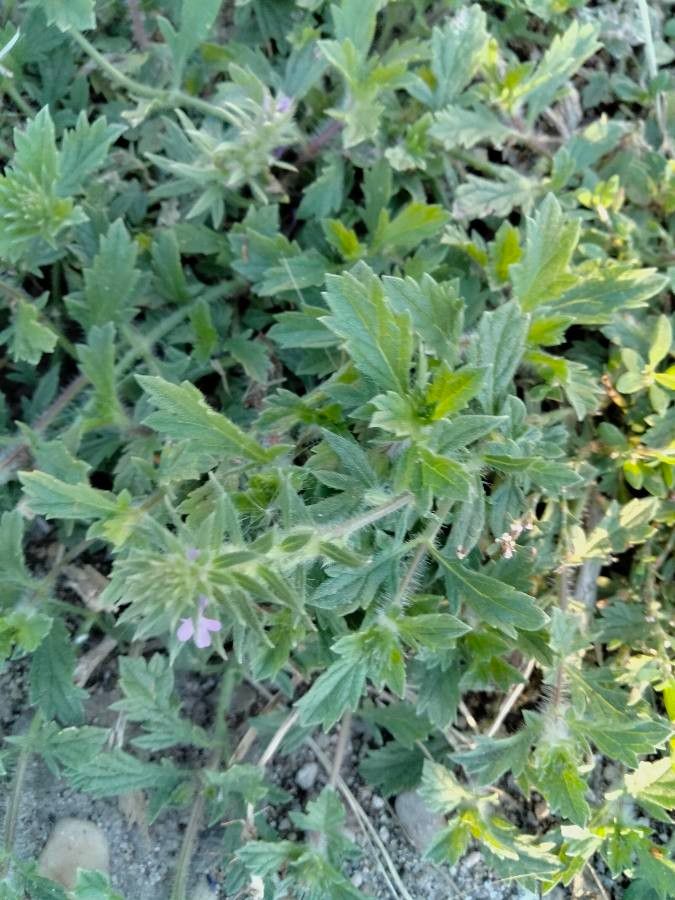
Hello, fellow garden enthusiasts! It’s me, your friendly neighborhood gardener, ready to chat about one of my absolute favorites: Verbena pumila. If you’ve ever admired those cascading mounds of vibrant purple blooms spilling over a garden edge or gracing a hanging basket, you’re already hooked. This little Verbena, with its delicate, star-shaped flowers and lovely fragrance, is a true charmer. And the best part? It’s wonderfully easy to multiply! Propagating Verbena pumila is not just rewarding, it’s practically a rite of passage for any gardener looking to expand their collection or share the joy with friends. For beginners, this is a fantastic plant to start with; you’ll be amazed at how readily it takes root.
The Best Time to Start
When it comes to getting the highest success rate, I always aim for late spring or early summer. This is when the plant is in its prime growth spurt, buzzing with energy. Think of it like this: the plant is already working hard to put on a show, so it’s more than happy to share a bit of that growth. You’ll want to take cuttings from healthy, non-flowering shoots. These are typically softer and more pliable, which helps them root much faster than woody stems.
Supplies You’ll Need
Gathering your tools beforehand makes the whole process smoother. Here’s what I always have on hand:
- Sharp pruning shears or a clean knife: For making clean cuts.
- Rooting hormone: This is optional, but it can give your cuttings a nice boost. I prefer the powder form.
- Potting mix: A well-draining mix is crucial. I like a blend of seed-starting mix and perlite (about 2 parts mix to 1 part perlite) or a ready-made cuttings mix.
- Small pots or trays: Clean pots are a must; unglazed terracotta or plastic will work.
- Labeling stakes: Don’t forget to label your cuttings!
- Plastic bag or propagation dome: To create a humid environment.
- Watering can or spray bottle: Gentle watering is key.
Propagation Methods
There are a couple of ways to go about this, and both are pretty straightforward. My favorite is stem cuttings, but water propagation is also a fun option.
Stem Cuttings
- Make the cut: Find a healthy stem on your mature Verbena pumila. Using your clean shears or knife, make a cut just below a leaf node (where a leaf joins the stem). You want cuttings that are about 4-6 inches long. Remove any flowers or flower buds – we want the plant to focus its energy on roots!
- Prepare the cutting: Gently strip off the lower leaves, leaving just a couple of leaves at the very top. This prevents the leaves from rotting when they’re buried or sitting in water.
- Dip in hormone (optional): If you’re using rooting hormone, dip the cut end of the stem into the powder, tapping off any excess.
- Plant them up: Fill your small pots or trays with your well-draining potting mix. Make a small hole with your finger or a pencil. Insert the cutting into the hole, ensuring the nodes where you removed the leaves are below the soil surface. Gently firm the soil around the stem.
- Water gently: Water your cuttings lightly. I prefer to use a spray bottle at this stage to avoid dislodging them.
Water Propagation
This method is visually satisfying and can be done alongside stem cuttings.
- Prepare the cuttings: Follow steps 1 and 2 from the stem cuttings method.
- Place in water: Fill a small jar or cup with fresh water. Place the prepared cuttings in the water, making sure that no leaves are submerged. The leaf nodes you removed are where the roots will emerge.
- Find a spot: Place the jar in a bright location, but out of direct sunlight. Change the water every few days to keep it fresh.
The “Secret Sauce” (Pro Tips)
Here are a few things I’ve learned over the years that make a big difference:
- The ‘Sacrificial Stem’ Trick: If your Verbena is covered in blooms, don’t be afraid to take cuttings from slightly less idealized stems. Sometimes, a stem that’s just starting to flower will still root beautifully, and it helps the parent plant put its energy into making more buds.
- Bottom Heat is Your Friend: For stem cuttings, placing your pots on a heat mat can significantly speed up the rooting process. It mimics the warmth of the soil in summer and gives those tiny roots a great kickstart. You’ll often see roots form much faster with this little boost.
- Don’t Let Them Drown: Whether in soil or water, the biggest killer of cuttings is too much moisture leading to rot. Ensure your potting mix is fluffy and drains well. For water propagation, as I mentioned, ensure no leaves touch the water surface.
Aftercare & Troubleshooting
Once your cuttings have been planted or sitting in water for a few weeks, you’ll start to see signs of life. For stem cuttings, gentle tugging will reveal resistance if roots have formed. You can also look for new leaf growth. Carefully transplant rooted cuttings into slightly larger pots with their own well-draining soil. Continue to keep them in bright, indirect light and water them when the top inch of soil feels dry.
If your cuttings fail, don’t despair! The most common culprit is rot. This usually happens when the cuttings are kept too wet, especially without good air circulation. If you see mushy, black stems, sadly, that cutting is a goner. Remove it immediately to prevent it from affecting others. Sometimes, it’s just a matter of patience; some plants take longer than others.
A Encouraging Closing
So there you have it – your guide to propagating Verbena pumila! It’s a journey of patience, observation, and a little bit of horticultural magic. Enjoy the process of nurturing these new plants from tiny cuttings into magnificent specimens. Each successful propagation is a little victory, and soon you’ll have an abundance of these delightful blooms to enjoy in your garden or share with loved ones. Happy gardening!
Resource:
https://identify.plantnet.org/k-world-flora/species/Verbena%20pumila%20Rydb./data