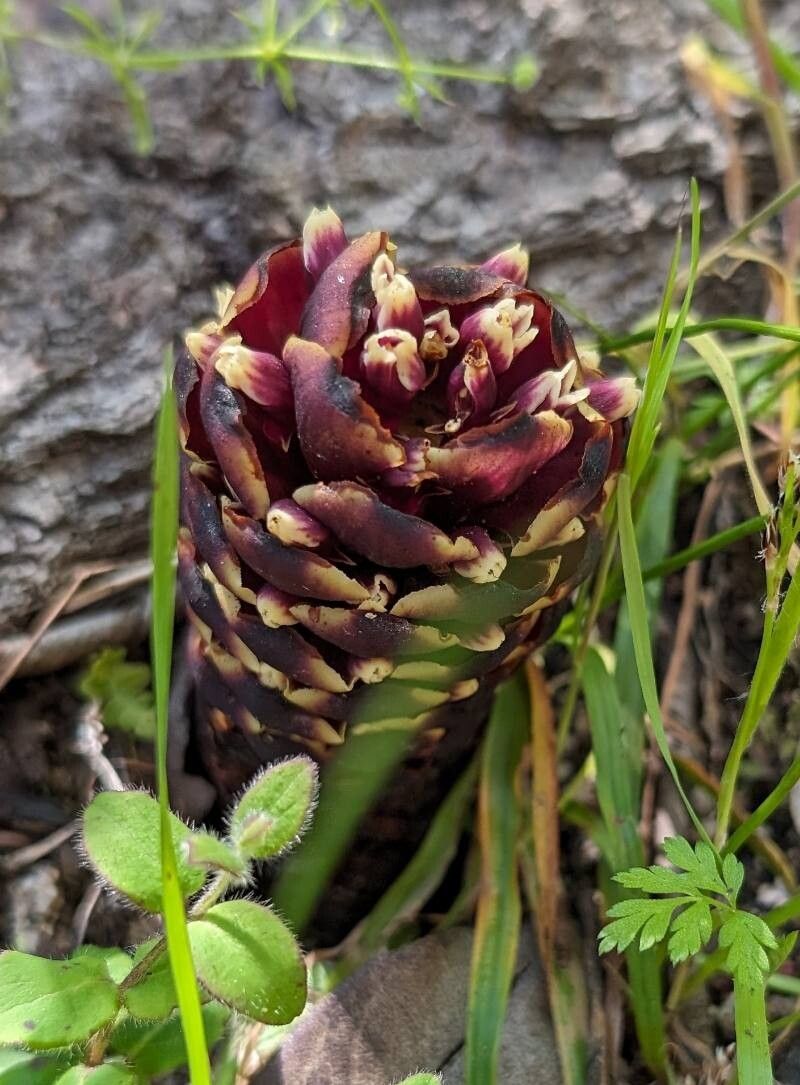
Hello, fellow plant enthusiasts! I’m absolutely delighted to talk to you today about a plant that’s really captured my heart over the years: Kopsiopsis hookeri. If you’re drawn to those dainty, delicate leaves and their unique charm, you’re in for a treat. There’s something incredibly satisfying about turning a single, thriving plant into a whole constellation of new ones. It’s a bit like magic, isn’t it? Now, is Kopsiopsis hookeri a walk in the park for brand-new gardeners? I’d say it’s more of a pleasant stroll with a few gentle turns. It’s certainly achievable, but a little attention to detail goes a long way.
The Best Time to Start
For the absolute best chance of success with your Kopsiopsis hookeri cuttings, I always recommend spring or early summer. This is when the plant is in its active growing season. The days are getting longer, warmer, and the plant has a good amount of energy to put into developing roots. Waiting until new growth is firm but not woody is key – think of it as taking cuttings from a plant that’s just shrugged off its winter coat and is feeling robust!
Supplies You’ll Need
Before we get our hands dirty, let’s gather our little toolkit. Having everything ready makes the whole process so much smoother.
- Sharp, clean pruning shears or a craft knife: For making those precise cuts. Sterilize them with rubbing alcohol!
- Well-draining potting mix: I like a blend of about 50% perlite and 50% good-quality potting soil. This keeps things airy and prevents waterlogged roots.
- Small pots or propagation trays: Nothing too big for those baby roots to get lost in.
- Rooting hormone (optional but recommended): A powder or gel form can give your cuttings a little confidence boost.
- Clear plastic bag or humidity dome: To create a mini greenhouse effect.
- Watering can or mister: For gentle watering.
Propagation Methods
There are a couple of ways to multiply your Kopsiopsis hookeri, and I’ve had great luck with both.
Stem Cuttings: My Go-To
This is often the most straightforward method for Kopsiopsis hookeri.
- Take your cuttings: Using your sterilized shears, snip sections of healthy stems that are about 3-4 inches long. Look for stems with at least two sets of leaves. I like to cut just below a leaf node (where the leaf attaches to the stem), as this is where roots are more likely to form.
- Prepare the cuttings: Gently remove the lower leaves from your cuttings. This is important because any leaves that will be below the soil line can rot and cause problems. You should aim to have one or two sets of leaves remaining at the top.
- Apply rooting hormone (if using): Dip the cut end of each stem into the rooting hormone, tapping off any excess.
- Plant the cuttings: Gently insert the cut end of each stem into your prepared potting mix. Make a small hole with a pencil or your finger to avoid wiping off the hormone. Firm the soil gently around the stem.
- Water gently: Give the soil a light watering. You want it to be moist, not soaking wet.
- Create humidity: Place your pots into a clear plastic bag, sealing it loosely with a twist tie, or cover them with a humidity dome. You want to trap that moisture in. Place the whole setup in a bright spot, but out of direct sunlight.
Water Propagation: The Visual Method
Some folks love watching roots grow, and this is the method for you!
- Take and prepare cuttings: The same as steps 1 and 2 above.
- Place in water: Find a clean glass or jar and fill it with fresh, room-temperature water.
- Submerge the stems: Place your cuttings in the water, making sure that no leaves are submerged. Any leaves touching the water will likely rot.
- Change the water regularly: This is the crucial part! You’ll want to change the water every 2-3 days to keep it fresh and prevent bacterial growth.
- Location, location, location: Just like with soil propagation, place your jar in a bright location out of direct sun.
- Watch and wait: You should start to see little white roots emerging from the stem ends within a few weeks. Once the roots are about an inch long, you can carefully transplant them into pots with soil.
The “Secret Sauce” (Pro Tips)
Here are a couple of little things I’ve learned over the years that can really make a difference:
- Don’t overcrowd your cuttings: Give them a little breathing room in their pots. Too many cuttings packed together can lead to fungal issues and competition for resources.
- Bottom heat is your friend: If you have a seedling heat mat, placing your pots on it can significantly speed up root formation. Kopsiopsis hookeri loves a bit of warmth from below. Think of it as a warm blanket for developing roots.
- Patience with the leaves: When you’re propagating, those leaves are still doing vital work for the cutting. Don’t ever remove all the leaves! They are the plant’s way of photosynthesizing and gathering energy for root development.
Aftercare & Troubleshooting
Once you see those beautiful new roots appearing – hooray!
- Acclimatize slowly: If you used a plastic bag or humidity dome, start by opening it for a few hours each day to help your new plants get used to less humid air. Gradually increase the time they are exposed to open air over a week.
- Continue with gentle watering: Keep the soil consistently moist but never soggy. You’ll find they’ll start to show a bit of new growth as they settle in.
- Watch for rot: The most common problem you’ll encounter is rot, which appears as mushy, dark stems. This usually happens when the soil is too wet or there isn’t enough air circulation. If you catch it early, you might be able to save the cutting by trimming away the rotten part and letting it dry out a bit more. Remove any affected cuttings to prevent it from spreading.
- Don’t overfeed: Wait until your new plants have established themselves and are showing good new growth before you introduce any fertilizer, and even then, feed them sparingly with a diluted liquid feed.
A Little Pep Talk
Propagating plants is such a rewarding journey. There might be a few moments where you wonder if it’s working, but that’s all part of the learning process. Be patient with your Kopsiopsis hookeri, give them the right conditions, and enjoy watching those little miracles unfold. Happy growing!
Resource:
https://identify.plantnet.org/k-world-flora/species/Kopsiopsis%20hookeri%20(Walp.)%20Govaerts/data