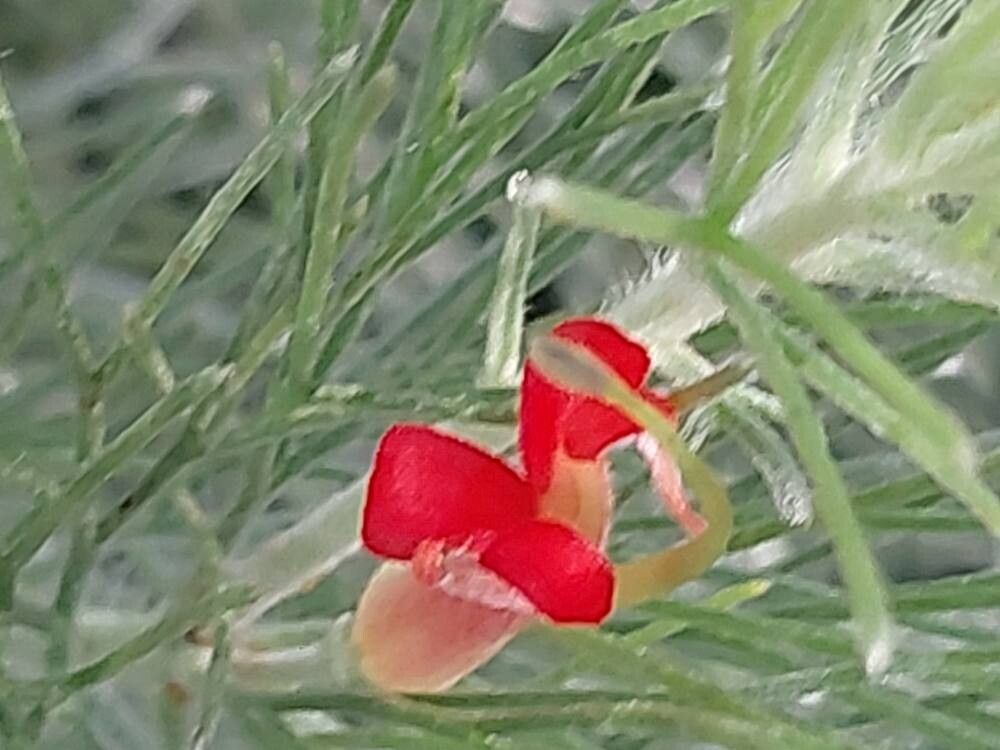
Oh, Adenanthos sericeus! Also known as the Woolly Bush, this Australian native is just delightful. With its soft, silvery-grey foliage that feels like velvet to the touch, it brings a unique texture and color to any garden. Plus, those beautiful little red flowers are just a bonus! Growing your own Woolly Bush from cuttings is incredibly rewarding. You get to share the joy of this special plant or simply expand your own collection. For many, propagating Adenanthos is quite manageable, though a little patience goes a long way.
When to Get Planting
The sweet spot for taking cuttings from Adenanthos sericeus is generally in the late spring or early summer. This is when the plant is actively growing, and the new shoots are semi-hardwood. They have enough substance to root well but aren’t overly woody. Avoid taking cuttings from very soft, brand-new growth or from old, hard wood.
Your Propagation Toolkit
Here’s what you’ll want to have on hand:
- Sharp pruning shears or secateurs: Clean is key!
- Small, sharp knife or scalpel: For making clean cuts.
- Rooting hormone powder or gel: This really boosts your success rate.
- Good quality potting mix: A well-draining mix is essential. I like to use a blend of coir, perlite, and a little coarse sand.
- Small pots or seed trays: With drainage holes, of course!
- Plastic bags or a propagator lid: To create a humid environment.
- Labels and a waterproof pen: To keep track of your babies!
Let’s Grow Some Woolly Bushes!
The most common and effective way to propagate Adenanthos sericeus is through stem cuttings. Here’s how I do it:
- Select your material: Look for healthy, vigorous stems on your parent plant. You want to take cuttings that are about 10-15cm (4-6 inches) long. These should be semi-hardwood – they’ll snap cleanly if bent too far, but won’t be completely flexible.
- Make your cut: Using your clean secateurs, take your cutting. Then, using your sharp knife, make a clean, angled cut just below a leaf node. This is the point where a leaf joins the stem, and it’s where the new roots will typically emerge.
- Prepare the cutting: Gently strip off the lower leaves from the cutting, leaving just a few at the very top. This prevents them from rotting once planted.
- Apply the magic: Dip the cut end of the stem into your rooting hormone. Tap off any excess.
- Plant it up: Fill your pots with your prepared potting mix. Make a hole in the center with a pencil or your finger. Carefully insert the cutting into the hole, ensuring the leaf nodes are below the surface. Firm the soil gently around the base.
- Create humidity: Water the soil lightly. Then, cover the pot with a clear plastic bag or place it in a propagator lid. This maintains high humidity, which is crucial for cuttings to root. The leaves shouldn’t be touching the sides of the bag if possible.
- Find a good spot: Place the pots in a bright location but out of direct sunlight. This could be a greenhouse, a bright windowsill, or a sheltered spot outdoors.
The “Secret Sauce” from Experience
I’ve learned a few tricks over the years that really make a difference with tricky plants like Adenanthos:
- Bottom heat is your friend: If you can, place your pots on a heated propagator mat. This gentle warmth encourages root development from below. It’s not strictly essential, but it does speed things up considerably.
- Gentle misting: Instead of just watering once and leaving it, I like to lightly mist the foliage of the cuttings every day or two (if they aren’t fully enclosed). This supplements the humidity and helps the leaves stay healthy while the roots are forming.
- Patience with pruning: When I’m taking cuttings, I try to take more than I think I’ll need. Not all cuttings will take, and that’s perfectly normal. It’s better to have a few extras than to be disappointed.
Nurturing Your New Sprouts
Once your cuttings have started to root (you might see new growth or feel a bit of resistance when you gently tug on the cutting), it’s time to give them a little more attention.
- Gradually acclimate them: Slowly remove the plastic bag or propagator lid over a week or two. This helps the new plants adjust to normal humidity levels.
- Watering: Water them when the top inch of soil feels dry. Avoid overwatering, as this is a common cause of rot.
- Transplanting: Once the roots have filled the pot and you see good, healthy new growth, you can pot them up into larger containers or plant them out into their permanent garden spot (if the weather is suitable).
Keep an eye out for signs of trouble. Rot is the most common issue – the cutting might turn black and mushy. This is usually due to too much moisture and not enough air circulation. If you see this, unfortunately, that cutting is likely lost.
So there you have it! Propagating Adenanthos sericeus is a wonderfully straightforward process with a bit of care. Don’t be discouraged if your first few attempts aren’t perfect. Gardening is all about learning and trying again. Enjoy the journey of growing these beautiful, silvery treasures!
Resource:
https://identify.plantnet.org/k-world-flora/species/Adenanthos%20sericeus%20Labill./data