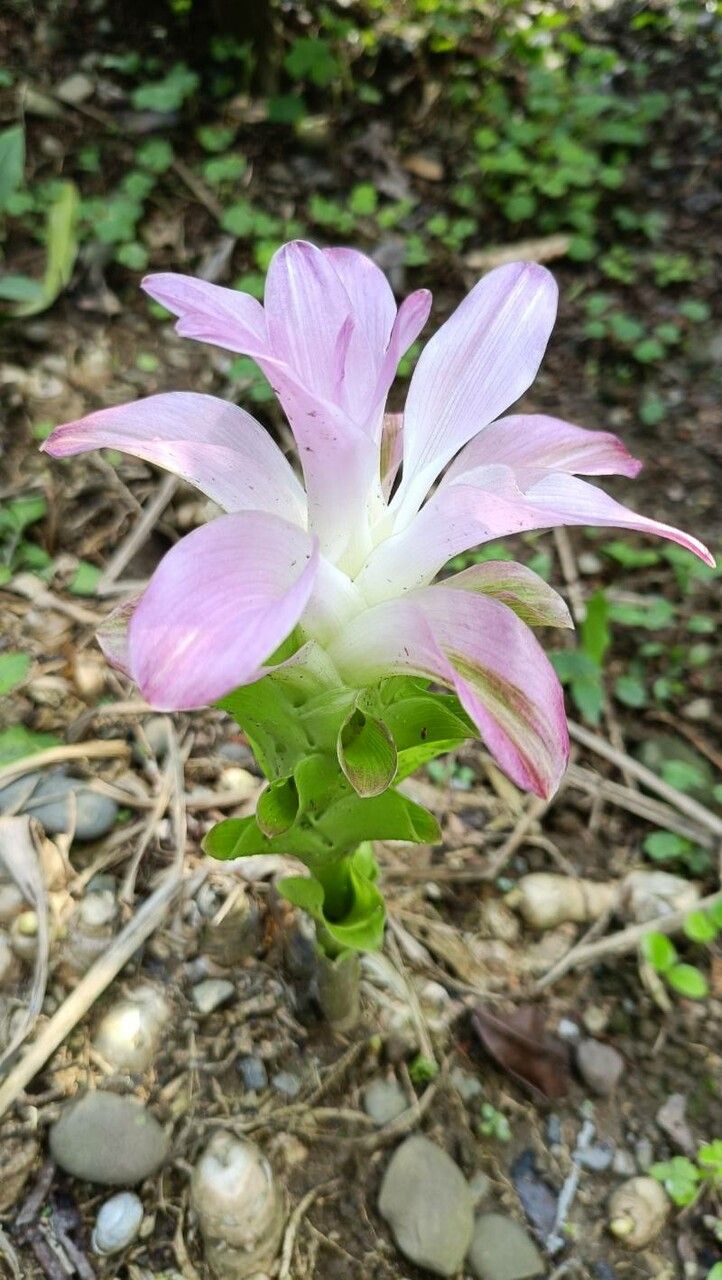
Oh, hello there! It’s wonderful to have you join me in the garden today. If you’re anything like me, you’ve probably fallen for the charms of Curcuma amada, also known as mango ginger. That lush, tropical foliage and that subtle, delightful mango-like scent from its rhizomes… it’s simply captivating! And propagating this beauty? It’s a truly rewarding endeavor, a way to share its magic and fill your garden or home with even more of its tropical flair. Now, I won’t sugarcoat it – it’s not always the easiest plant for absolute beginners, but with a little patience and these tried-and-true methods, you’ll be well on your way.
The Best Time to Start
Timing is everything, isn’t it? For Curcuma amada, the ideal time to propagate is in the spring, just as the plant is beginning its vigorous growth phase. You’ll see new shoots emerging from the soil, that’s your cue! You can also successfully propagate in early summer, but spring gives you the longest growing season to establish your new plants. Avoid propagating when the plant is dormant in winter; it just won’t have the energy to get going.
Supplies You’ll Need
Gathering your tools before you start always makes the process smoother. Here’s what I usually have on hand:
- Sharp pruning shears or a clean knife: For making precise cuts.
- A well-draining potting mix: I love a blend of equal parts potting soil, perlite, and coco coir.
- Small pots or trays: Whatever suits the size of your cuttings or divisions. Make sure they have drainage holes!
- Rooting hormone (optional but helpful): A powder or liquid can give your cuttings a good start.
- Sphagnum moss (optional): Great for retaining moisture around cuttings.
- A watering can with a fine rose: For gentle watering.
- Labels: To keep track of what you’ve propagated and when!
Propagation Methods
The most common and effective way to propagate Curcuma amada is by dividing its rhizomes. Think of these as the plant’s underground stems, where all the magic happens.
- Gently Unearth: In spring, carefully dig up your Curcuma amada plant. Be mindful of the rhizomes – they can be a bit brittle. If the plant is very large, you might need to use a trowel or even a spade to loosen the soil around it.
- Inspect the Rhizomes: Once you have the clump out, gently brush away excess soil. Look for the rhizomes, which are the thick, fleshy underground stems. You’ll see where they branch and where new shoots are emerging.
- Divide and Conquer: Using your clean pruning shears or knife, carefully cut apart the rhizomes. Make sure each section you’re separating has at least one healthy “eye” or growth bud. These buds are essential for new shoot development. If the rhizome is particularly large, you can even divide it into smaller chunks, as long as each piece has a bud.
- Let Them Breathe (Briefly!): Allow the cut surfaces to air dry for a few hours, or even overnight. This helps to callus over the cuts, which reduces the risk of rot when you replant them.
- Planting Time: Fill your pots or trays with your well-draining potting mix. Make a little hole in the center for each rhizome. Plant the rhizome pieces with the growth buds facing upwards. You want to bury them about an inch or two deep.
- Water Sparingly: Give them a gentle watering to settle the soil. Don’t drench them; you don’t want those cuts sitting in soggy soil.
The “Secret Sauce” (Pro Tips)
Here are a couple of little tricks I’ve learned over the years that really make a difference:
- Don’t Rush the Watering: After planting your divided rhizomes, resist the urge to water them every day. Let the soil dry out slightly between waterings. This prevents rot, which is the biggest enemy of fresh divisions.
- Embrace the Bottom Heat (Especially for Cuttings): While division is usually best, if you ever try propagating from stem cuttings (which is a bit trickier for this plant), giving them a little bottom heat from a seedling heat mat can dramatically speed up root development. It mimics the warmth of spring soil.
Aftercare & Troubleshooting
Once your new Curcuma amada rhizomes are planted, patience is key!
- Keep them in a warm, bright location, but out of direct, scorching sun initially.
- Water when the top inch of soil feels dry.
- New shoots might take a few weeks to appear. Don’t despair if you don’t see immediate growth!
- Signs of trouble: The most common issue is rot. If you notice mushy, discolored rhizomes or shoots, it’s likely due to overwatering or poor drainage. If you catch it early, you might be able to salvage unaffected parts of the rhizome. Just ensure your soil drains well and you’re not watering too frequently.
A Encouraging Closing
There you have it! Propagating Curcuma amada is a wonderful way to expand your collection and share this unique plant. Remember, gardening is a journey, and every plant you grow, every division you make, is a learning experience. Be patient with your new rhizomes, give them a good start, and before you know it, you’ll have a whole new patch of tropical beauty to enjoy. Happy propagating!
Resource:
https://identify.plantnet.org/k-world-flora/species/Curcuma%20amada%20Roxb./data