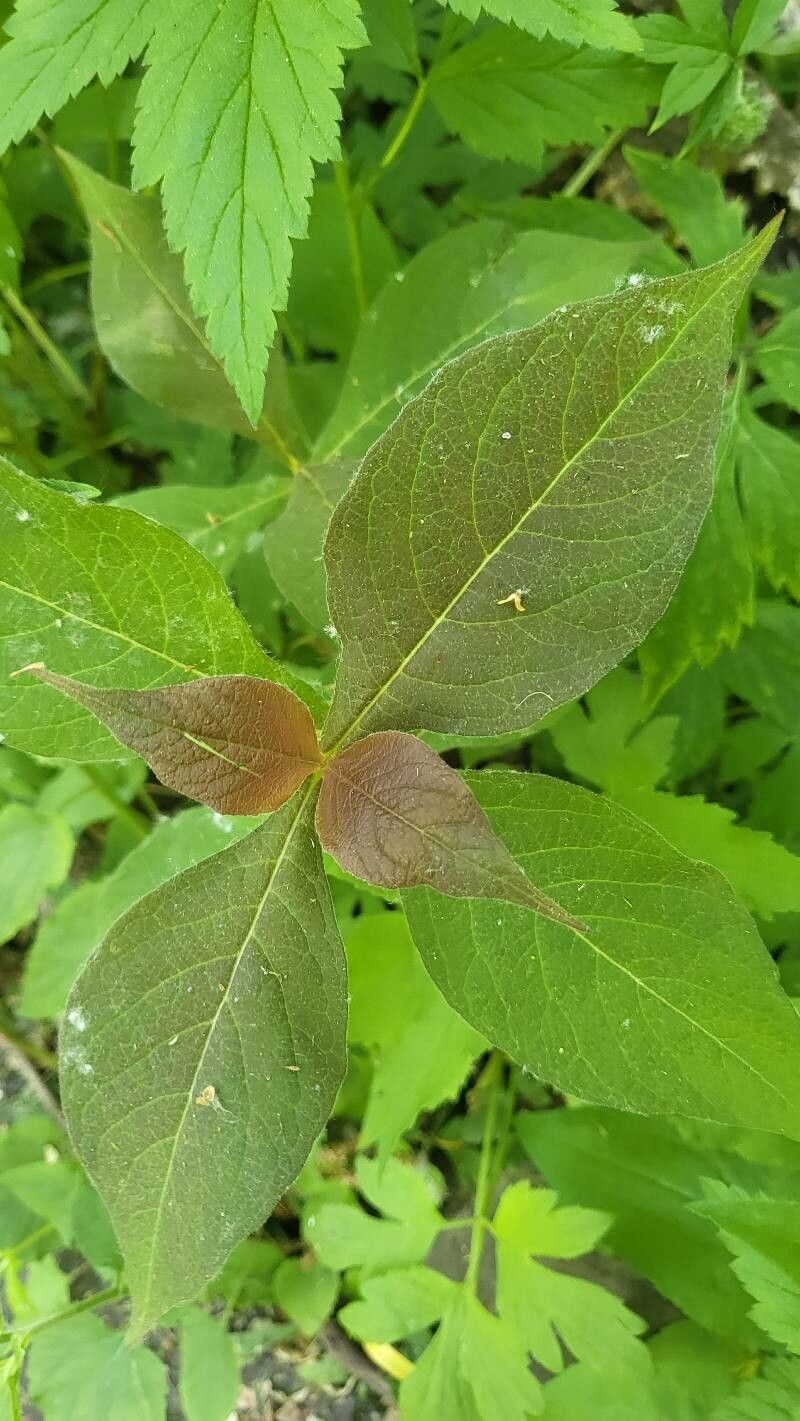
Oh, hello there, fellow plant enthusiast! I’m so glad you’ve stopped by. Today, we’re diving into the delightful world of Triosteum aurantiacum, also known as wild honeysuckle or horse-gentian. If you’re looking for a plant that offers charming woodland beauty and a gentle, native presence in your garden, you’re in for a treat. And the best part? It’s quite rewarding to share this beauty with your friends, or simply to expand your own collection, by propagating it yourself!
For beginners, I’d say propagating Triosteum aurantiacum is moderately easy. It’s not quite as foolproof as, say, a pothos, but with a little attention and a willingness to learn, you’ll likely have success. Watching a tiny cutting or division unfurl its first true leaves is pure magic, isn’t it?
The Best Time to Start
The absolute prime time to get your hands dirty with Triosteum aurantiacum is in late spring or early summer, just as the plant is actively growing. This is when it has plenty of energy reserves to put towards establishing new roots. You can also have good luck with seed propagation in the fall, allowing nature to do its thing over winter.
Supplies You’ll Need
Gathering your tools beforehand makes the whole process much smoother. Here’s what I recommend:
- Sharp pruning shears or a clean knife: For making neat cuts.
- Small pots or trays: With drainage holes, of course!
- A good quality potting mix: I like a blend that’s light and airy for cuttings, like a seedling starter mix or a perlite-rich potting soil.
- Rooting hormone (optional but helpful): A powder or liquid can give your cuttings a nice boost.
- Watering can or spray bottle: For gentle hydration.
- Plastic bags or a clear plastic dome: To create a humid environment for cuttings.
- Labels and a marker: Because trust me, you will forget what you planted and when!
Propagation Methods
Triosteum aurantiacum is a generous plant, and we have a couple of wonderful ways to multiply it.
1. Stem Cuttings: The Gentle Nudge
This is my go-to method for many of my favorite perennials.
- Take your cuttings. In late spring or early summer, look for healthy, non-flowering stems. Using your clean shears, snip a piece about 4-6 inches long. Make sure the cut is just below a leaf node (where a leaf attaches to the stem).
- Prepare the cuttings. Gently remove the lower leaves, leaving just a few at the very top. This prevents them from rotting in the soil when you plant. If you’re using rooting hormone, dip the cut end into it now, tapping off any excess.
- Plant your cuttings. Fill your small pots with your chosen potting mix. Make a little hole with your finger or a pencil, and insert the cut end of the stem. Gently firm the soil around it.
- Create humidity. Water the soil gently until it’s moist but not soggy. Then, cover the pot with a clear plastic bag, securing it with a rubber band around the rim, or use a clear plastic dome. This traps humidity, which is crucial for cuttings to root.
- Find a cozy spot. Place your pots in a bright location out of direct sunlight. A warm windowsill is usually perfect.
2. Division: Spreading the Love
If you have an established Triosteum aurantiacum plant, dividing it is a fantastic way to get more plants and also revitalize the parent!
- Dig it up carefully. In early spring as soon as the soil can be worked, or in early fall after the plant has finished flowering, gently dig around the base of your mature plant. Aim to lift the entire root ball.
- Inspect the roots. You’ll likely see a clump of roots with several shoots.
- Divide the clump. Using your hands or a clean spade, gently separate the root ball into smaller sections. Each section should have at least one or two healthy roots and a few shoots. If the clump is really tough, a clean knife can help.
- Replant immediately. Dig a hole in your prepared garden bed or a new pot for each division. Make sure the soil level is the same as it was on the parent plant. Water them in well.
The “Secret Sauce” (Pro Tips)
Over the years, I’ve learned a few tricks that make all the difference.
- Bottom Heat is Your Friend: For stem cuttings, placing your pots on a seedling heat mat can dramatically speed up rooting. It mimics the warming effect of the sun on the soil and encourages root development. Just check it regularly to ensure it’s not drying out the soil too quickly.
- Don’t Drown Your Cuttings: While humidity is key, overwatering is your enemy. Soggy soil leads to rot. I like to let the surface of the soil dry out slightly between waterings. If you’re using a plastic dome, lift it for a few minutes each day to allow for some air circulation.
- Whisper to Them (Optional!): Okay, maybe not actual whispering, but talk to your plants! Seriously though, pay attention to them. Notice any changes, good or bad. Being observant is a gardener’s superpower.
Aftercare & Troubleshooting
The waiting game begins now! For cuttings, gently tug on a stem after about 4-6 weeks. If you feel resistance, you’ve got roots! You can then transplant them into individual pots and continue to care for them as you would a young seedling. Keep the soil consistently moist and gradually acclimate them to less humid conditions by slowly opening the plastic bag over a few days.
For divisions, they’ll take a bit longer to settle in but should show new growth within a few weeks. Keep them well-watered as they establish.
The most common sign of failure is rot. If your cuttings turn mushy and black, or the leaves start to yellow and wilt drastically without any sign of root development, it’s usually a sign they’ve been too wet or too cold. If you see mold on the soil surface, try to carefully remove it and ensure good air circulation. Don’t be discouraged if not every cutting makes it; it’s all part of the learning process!
A Encouraging Closing
Propagating plants like Triosteum aurantiacum is a journey. It requires a bit of patience, a touch of observation, and a whole lot of hope. Don’t be afraid to experiment. Every gardener learns from their successes and their… shall we say… lessons. Enjoy the process, celebrate every little root that forms, and you’ll soon have beautiful new plants to grace your garden or share with loved ones. Happy growing!
Resource:
https://identify.plantnet.org/k-world-flora/species/Triosteum%20aurantiacum%20E.P.Bicknell/data