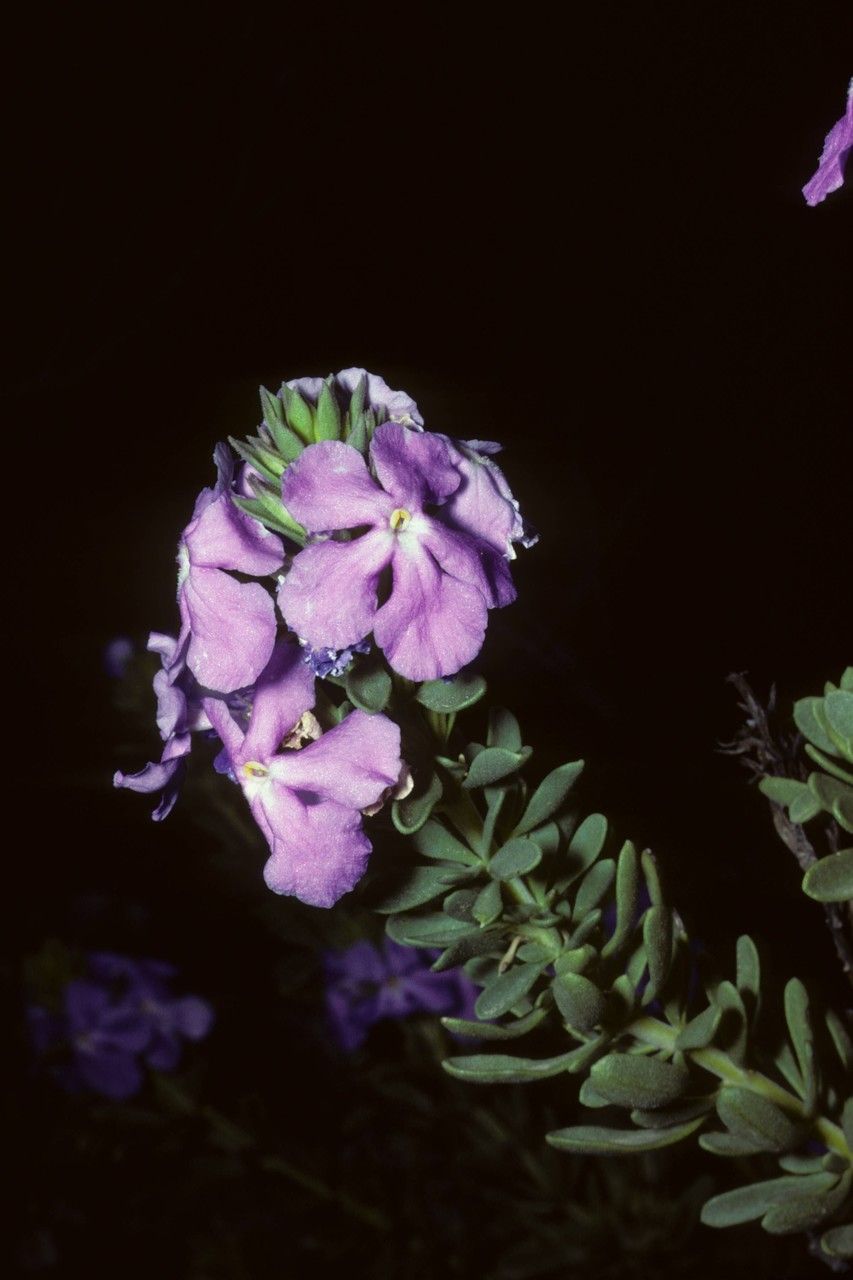
Oh, hello there! Come on in, pull up a chair. I’ve got a steaming mug of coffee here for you. Today, we’re going to chat about something truly special: Bouchea spathulata. You know, those gorgeous plants with their vibrant, often lilac-hued flowers that just seem to dance in the breeze? They bring such a delightful splash of color and life to any garden, and honestly, once you’ve got one, you’ll want more. Propagating them is a wonderfully rewarding way to expand your collection, and I’m thrilled to share my secrets with you. For beginners, I’d say Bouchea spathulata is quite forgiving, which is always a lovely bonus when you’re just starting out!
The Best Time to Start
For the happiest cuttings and the best chance of success, I’ve found that the late spring to early summer is simply unbeatable. This is when the plant is actively growing, full of vigor, and ready to put its energy into making new roots. Waiting until after it’s finished its initial spring flush of growth is ideal.
Supplies You’ll Need
Before we get our hands dirty, let’s make sure we have everything ready. It’s like preparing for a delicious recipe – the more organized you are, the smoother everything goes.
- Sharp pruning shears or a clean knife: For taking clean cuts.
- Rooting hormone (optional, but helpful): A little boost can make a big difference. I like the powder or gel types.
- Small pots or seed trays: Clean ones, please!
- Well-draining potting mix: A blend of equal parts peat moss or coco coir and perlite or coarse sand works beautifully. You want it to be light and airy, not dense.
- Plastic bags or a propagation dome: To create a humid environment.
- Watering can with a fine rose: For gentle watering.
Propagation Methods
Let’s dive into the fun part! Bouchea spathulata is quite amenable to a few different propagation methods, but my go-to is always stem cuttings.
Stem Cuttings
This is where we’ll have the most success, in my experience.
- Select Healthy Stems: Look for new, but not too soft, growth. You want stems that are semi-hardwood – they’ll bend slightly without snapping easily. Aim for stems about 4-6 inches long.
- Make the Cut: Using your clean shears or knife, make a clean cut just below a leaf node. A leaf node is where a leaf meets the stem; this is where the magic little root-making cells reside!
- Prepare the Cuttings: Gently remove the lower leaves, leaving just a couple at the very top. This prevents them from rotting in the soil and encourages the plant to focus its energy on root development.
- Dip in Rooting Hormone (Optional): If you’re using rooting hormone, dip the cut end of the stem into the powder or gel. Tap off any excess.
- Plant Your Cuttings: Fill your clean pots with your prepared potting mix. Make a small hole with your finger or a pencil, and gently insert the cutting, ensuring at least one leaf node is buried in the soil.
- Water Gently: Water thoroughly but gently so the soil is moist but not soggy.
- Create Humidity: Cover the pots with a plastic bag, a clear plastic dome, or even an overturned clear plastic bottle, making sure the leaves don’t touch the sides of the plastic. This creates a mini-greenhouse effect.
Water Propagation
This is a quick way to see if your cuttings are viable, and it’s so satisfying!
- Take Cuttings: Follow steps 1-3 from the stem cuttings method.
- Place in Water: Put your prepared cuttings in a clean jar or glass of room temperature water.
- The Crucial Detail: Make sure no leaves are submerged in the water. Any leaves below the water line are a direct invitation for rot.
- Change Water Regularly: Change the water every few days to keep it fresh and prevent bacterial growth.
- Watch for Roots: You should begin to see tiny white roots emerge from the leaf nodes within a few weeks. Once the roots are about an inch long, they’re ready to be transplanted.
The “Secret Sauce” (Pro Tips)
Alright, here are a few things I’ve learned over the years that really make a difference.
- Bottom Heat is Your Friend: If you have it, pop your pots onto a heated propagation mat. This gentle warmth from below encourages roots to form much faster and more reliably. It’s like giving them a cozy incubator!
- Don’t Overwater, But Keep Moist: This is a delicate balance. The soil should feel consistently moist, like a wrung-out sponge, but never waterlogged. Soggy soil is the fastest way to invite rot, which is the enemy of happy cuttings.
- Indirect Light is Key: Keep your newly planted cuttings in a bright spot but out of direct sunlight. Too much sun will scorch those delicate new leaves and dry out your cuttings too quickly.
Aftercare & Troubleshooting
Once you see those beautiful new roots emerging (either in soil or water), congratulations!
- For Cuttings in Pots: Continue to keep them consistently moist and humid. As they grow stronger and you see new leaf development, you can gradually acclimate them to lower humidity by opening the plastic bag a little each day. Once they have several sets of new leaves and look healthy, you can transplant them into their own small pots with regular potting soil.
- For Cuttings from Water: Gently transplant them into small pots filled with your well-draining potting mix. Water them well initially, then treat them as you would any other young plant.
Common Signs of Failure: The most common issue is rot. If your cuttings turn black and mushy, or start to wilt and yellow dramatically, it’s usually a sign of too much moisture or not enough air circulation. Sometimes, it’s just a matter of the cutting not being viable, and that’s okay too. Don’t get discouraged; just try again!
A Encouraging Closing
Growing new plants from cuttings is one of life’s simple joys. It’s a little bit of magic, a dash of patience, and a whole lot of rewarding greenery. Don’t be afraid to experiment, and remember that every gardener has had their share of cuttings that didn’t make it. Just keep trying, keep learning, and most importantly, enjoy the process and the beautiful Bouchea plants you’ll soon have blooming! Happy gardening!
Resource:
https://identify.plantnet.org/k-world-flora/species/Bouchea%20spathulata%20Torr./data