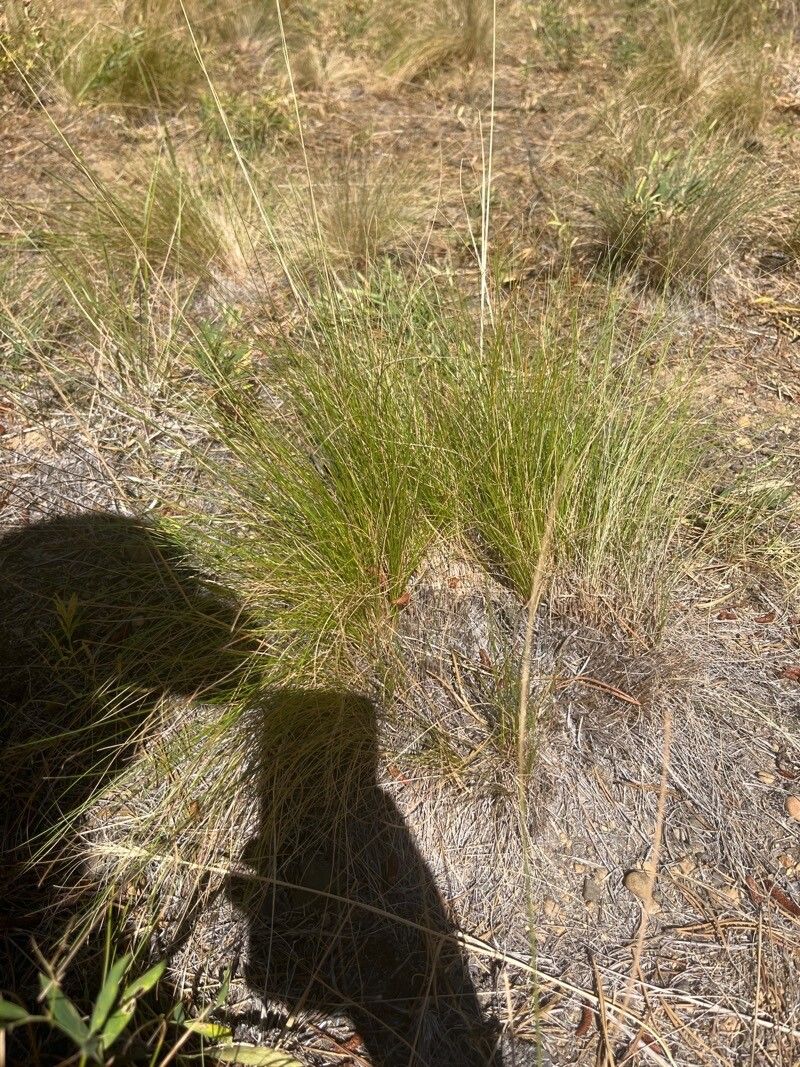
Hello there, fellow garden enthusiasts! Today, I want to talk about one of my personal favorites: Festuca arizonica, or Arizona Fescue. This stunning cool-season grass, with its silvery-blue foliage, brings a touch of the desert Southwest right into our gardens. It’s tough, drought-tolerant once established, and its graceful, architectural form adds so much texture and movement.
If you’re looking to expand your collection or share this beauty with friends, propagating Arizona Fescue is incredibly rewarding. And good news for those just starting out – this handsome grass is generally quite forgiving to propagate, making it a fantastic project for beginners!
The Best Time to Start
For the best luck with Festuca arizonica, I always recommend working with it in the early spring, as soon as the ground begins to warm up or in the fall, before the first hard frost. This is when the plant is actively growing but before the intense heat of summer or the deep chill of winter can stress your new propagations.
Supplies You’ll Need
Here’s a little rundown of what you’ll want to have on hand:
- Sharp pruning shears or a clean knife: For making neat cuts.
- Rinsing basin or bucket: To clean off roots during division.
- Well-draining potting mix: I like a blend of equal parts potting soil, perlite, and coarse sand. This is crucial for grasses as they hate sitting in soggy conditions.
- Small pots or seed trays: For your new baby grasses.
- Rooting hormone (optional): While Arizona Fescue can root without it, a dab can speed things up, especially for divisions.
- Watering can with a fine rose: To water gently.
Propagation Methods
Arizona Fescue is most commonly and successfully propagated through division. It’s a straightforward process I’ve relied on for years.
Division: My Go-To Method
- Gentle Extraction: Carefully dig up the entire clump of Arizona Fescue you wish to divide. It’s best to do this when the soil is slightly moist, as it makes digging easier and causes less stress to the roots.
- Clean the Roots: Gently shake off as much of the excess soil as possible. You can even give the root ball a gentle rinse in a bucket of water to get a clearer view of the root structure and individual crowns.
- The Divide: This is where you get to be a little hands-on! You can use your hands to gently tease apart sections of the plant, ensuring each section has a good amount of roots and at least one or two healthy shoots. If the roots are tightly tangled, you can use your clean knife or pruning shears to carefully cut through the root ball, again making sure each piece has sufficient roots and foliage.
- Potting Up: Fill your pots with your prepared, well-draining soil mix. Plant each division so that the crown (where the leaves emerge from the roots) is just at the soil surface.
- Water In: Water thoroughly until you see water draining from the bottom of the pot. This settles the soil around the roots.
The “Secret Sauce” (Pro Tips)
Here are a couple of little tricks I’ve learned over the years that can really give your propagates a boost:
- Don’t Over-Divide: When dividing, aim for pieces that are substantial enough to survive. Trying to get too many tiny divisions from one clump will likely result in disappointment. Each division should look like a miniature version of the parent plant.
- Patience with Watering: After dividing and potting, water well. Then, resist the urge to constantly drench them. Let the top inch of soil dry out slightly between waterings. This mimics their natural dry-loving habitat and prevents root rot.
Aftercare & Troubleshooting
Once your divisions are potted up, place them in a bright, indirectly lit spot. Avoid direct, harsh sunlight at this stage, as it can scorch the new, tender growth. Water them regularly, but allow that top layer of soil to dry out between waterings.
The biggest enemy you’ll face is root rot, often a result of overwatering. If you see your leaves turning yellow and mushy at the base, or if the soil stays constantly soggy, you might be overdoing it with the water. Ensure your pots have drainage holes and that your soil mix is truly free-draining. If you catch it early, you might be able to save a waterlogged plant by letting it dry out completely and gently cleaning off any mushy roots.
A Encouraging Closing
Propagating Festuca arizonica is truly a joy. It’s a wonderful way to connect with nature and create more of the beauty you love. Be patient with your new plants, offer them good care, and before you know it, you’ll have a whole garden full of that gorgeous, blue-green charm. Happy gardening!
Resource:
https://identify.plantnet.org/k-world-flora/species/Festuca%20arizonica%20Vasey/data