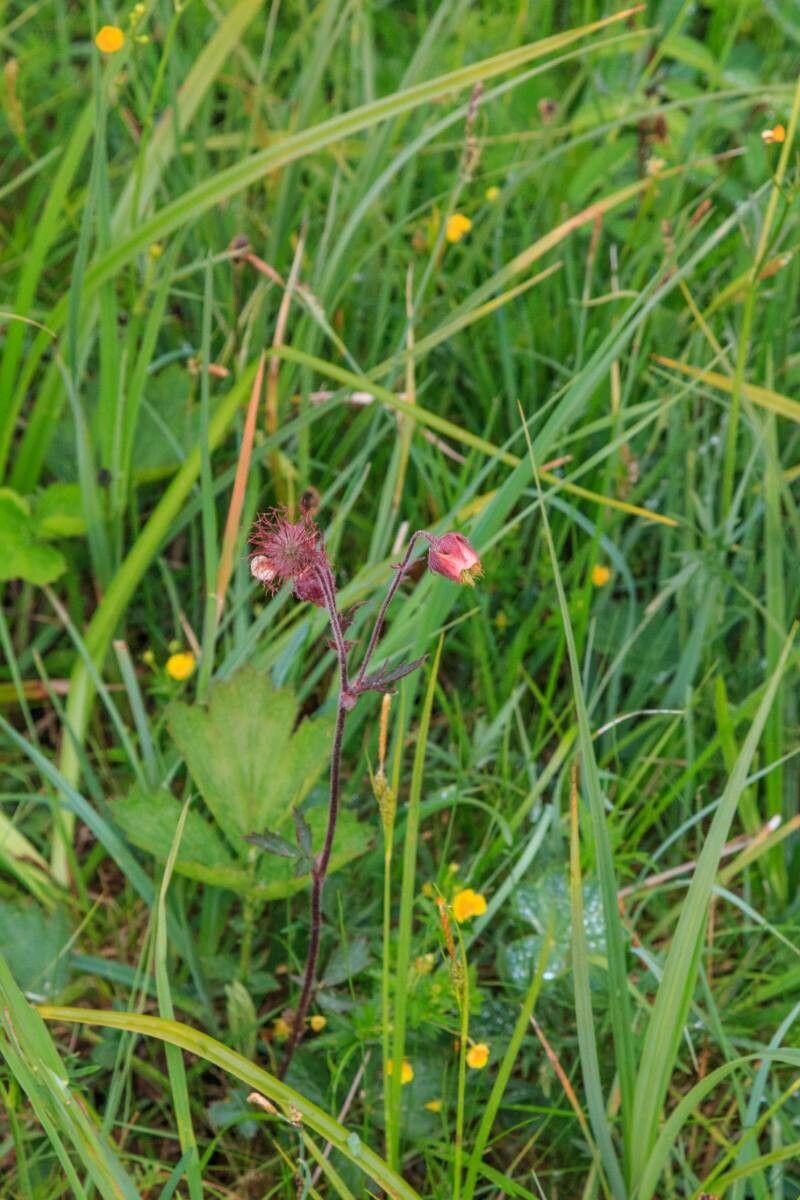
Hello fellow garden enthusiasts! It’s a joy to be sharing a little bit of my green-thumb wisdom with you today. We’re diving into the wonderful world of Geum rivale, often known as Water Avens. If you’re drawn to its nodding, bell-shaped flowers in shades of rosy pink to apricot, hovering elegantly above charming, often semi-evergreen foliage, you’re not alone. I find their delicate beauty a real breath of fresh air in the garden, appearing reliably year after year. And the best part? Propagating them is a truly rewarding experience, bringing the joy of new plants into your life without breaking the bank. For beginners, I’d say Geum rivale is a pretty straightforward plant to get started with. You’ll likely find success with a little patience and these simple guidelines.
The Best Time to Start
My experience tells me that the sweet spot for propagating Water Avens is typically in late spring or early summer, right after they’ve finished their main flush of flowering. This is when the plant is actively growing and has plenty of energy to put into developing new roots. Waiting until after the peak bloom allows the energy to go into creating healthy new shoots for propagation rather than pushing out more flowers. You can also successfully divide them in early spring, just as new growth emerges, but for cuttings, the summer window is prime.
Supplies You’ll Need
Here’s a little kit to get you going. Don’t worry, most of these are garden staples!
- A sharp pair of pruning shears or a clean knife: Essential for taking clean cuts.
- Peat-free seed and cutting compost: A light, well-draining mix is key. My go-to is often a blend of coco coir, perlite, and a bit of composted bark.
- Small pots or trays: Clean ones, please! Sterilization is your friend against nasty fungal diseases.
- Rooting hormone (optional but helpful): A little boost can really speed things up.
- A watering can with a fine rose or a spray bottle: Gentle watering is crucial for delicate cuttings.
- Labels and a marker: Trust me, you’ll thank yourself later!
- A propagator or plastic bag: To create a humid environment.
Propagation Methods
While there are a few ways to encourage new Geum rivale plants, I find two methods to be the most reliable and enjoyable.
Stem Cuttings
This is my favorite way to get more of these lovely plants.
- Take your cuttings: Using your clean shears, look for healthy, non-flowering shoots that are about 3-4 inches long. Make a clean cut just below a leaf node (where a leaf joins the stem). Remove the lower leaves, leaving just a couple at the top.
- Prepare the cuttings: If you’re using rooting hormone, dip the cut end into it, tapping off any excess.
- Pot them up: Fill your small pots with your prepared, moist compost. Make a little hole with a pencil or your finger and insert the cutting, ensuring the leaf node is buried. Gently firm the compost around the stem.
- Create humidity: Water them gently. Then, either place the pots inside a propagator or cover them loosely with a clear plastic bag. This traps moisture, which is vital for them to start rooting.
- Provide warmth and light: Place the pots in a bright spot, but out of direct sunlight. A little warmth from a heated propagator or a sunny windowsill that isn’t scorching is ideal.
Division (for established plants)
If you have a mature Geum rivale that’s looking a bit leggy or overcrowded, division is a fantastic way to rejuvenate it and get new plants.
- Gently unearth the plant: In late spring or early autumn, carefully dig up the entire clump. Shake off excess soil.
- Separate the roots: You’ll see distinct crowns or sections. Use your hands or a clean trowel to gently pull apart these sections. You want each piece to have a good amount of root attached to a healthy shoot. If it’s a bit stubborn, a clean knife can help.
- Replant immediately: Pot up the divisions into fresh compost, ensuring the same planting depth as the original plant. Water them in well.
The “Secret Sauce” (Pro Tips)
Here are a couple of things I’ve learned over the years that can make a big difference:
- Don’t overcrowd your cuttings: Each cutting needs a bit of breathing room to develop roots and prevent disease. Space them out well in their pots.
- Bottom heat is a game-changer: If you can, place your cuttings on a heated propagator mat. This gentle warmth encourages root development much faster than ambient room temperature alone. You’ll see roots forming in a few weeks with this added boost!
Aftercare & Troubleshooting
Once your cuttings have started to root (you can often tell by seeing new growth or gently tugging on the stem to feel resistance), you can start to harden them off. Gradually remove the plastic cover over a week or two, allowing them to acclimatize to drier air. Water them when the top inch of compost feels dry. Continue to keep them in bright, indirect light.
The most common sign of trouble is rot. If you see a cutting turning black and mushy, it’s usually a sign of too much moisture and not enough air circulation. Don’t be discouraged; just remove the affected cutting and try again, ensuring your compost is well-draining and you’re not overwatering. Sometimes, cuttings just don’t take, and that’s part of the gardening process.
A Encouraging Closing
Propagating your own Geum rivale is a deeply satisfying way to connect with your garden. It’s a process that teaches patience and rewards you with beautiful new plants to share or cherish. So, gather your supplies, get your hands dirty, and remember to enjoy every moment of bringing new life into your garden. Happy propagating!
Resource:
https://identify.plantnet.org/k-world-flora/species/Geum%20rivale%20L./data