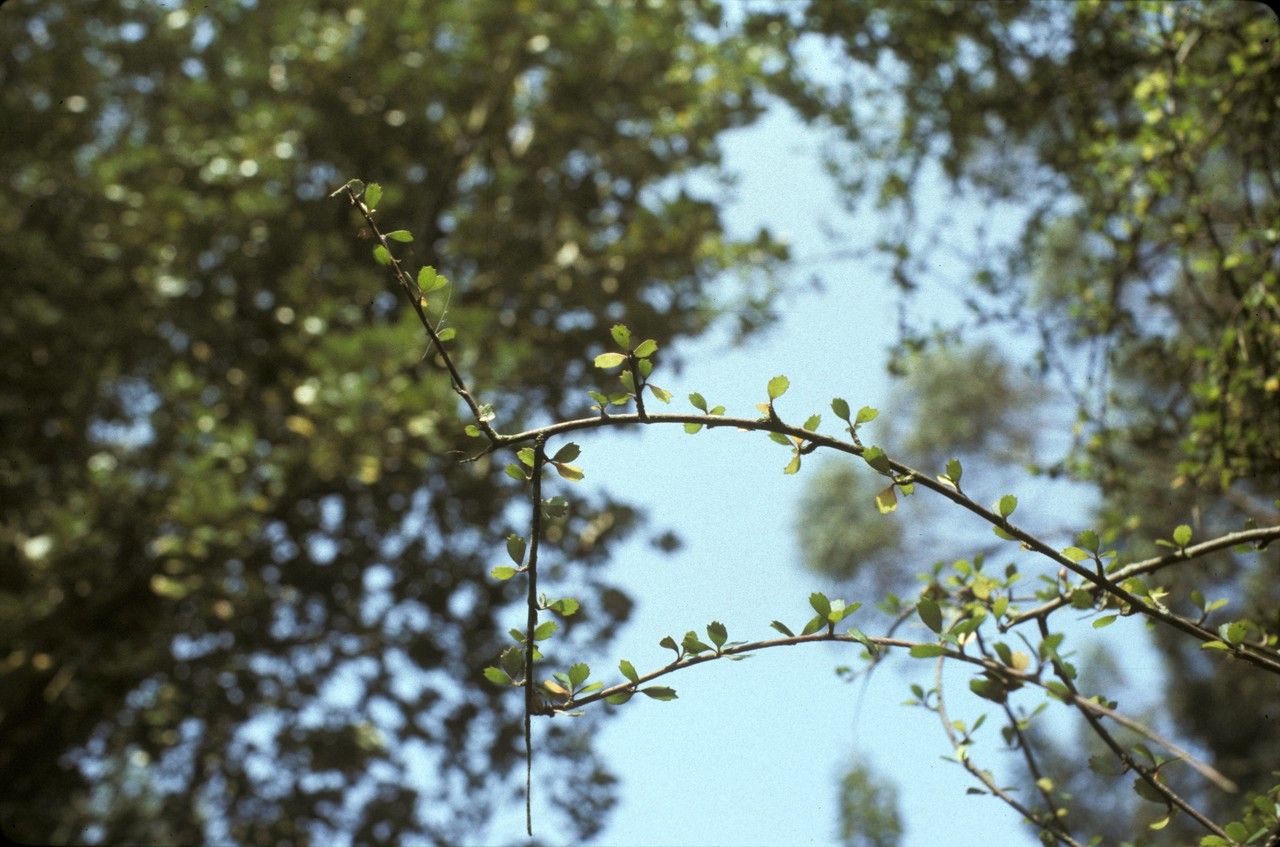
Oh, hello there! Come on in, grab a mug of your favorite brew. Today, we’re diving into something truly special: coaxing more beautiful Hoheria angustifolia plants into existence. I’ve been growing these beauties for two decades, and honestly, sharing them is one of the greatest joys in my garden. If you’ve admired their delicate white flowers and lovely, often glossy foliage, you’ll be thrilled to know that bringing more into your life is entirely doable. For beginners, I’d say Hoheria angustifolia is moderately easy to propagate, especially from cuttings. It rewards a little patience and attention with lovely new life.
The Best Time to Start
My absolute favorite time to take cuttings is in late spring to early summer. This is when the plant is actively growing, and the stems are soft enough to root easily but have started to mature a bit. You’re looking for semi-ripe cuttings, which means the woody part has started to firm up, but the tip is still quite flexible. Trying to root brand new, floppy growth can be a bit hit or miss, and overly woody material from late autumn might struggle to take.
Supplies You’ll Need
Before we get our hands dirty, let’s gather our essentials. Think of this as your propagation toolkit:
- Sharp Pruning Shears or a Knife: Clean, sharp tools are crucial for making a clean cut, which helps prevent disease.
- Rooting Hormone: A powder or gel specifically for cuttings. It’s not strictly essential for Hoheria, but it really gives new cuttings a boost.
- Seed Starting Mix or a Potting Mix with Good Drainage: I prefer a mix of perlite and peat moss, or a good quality seed starting mix. We want it airy and water-retentive but not soggy.
- Small Pots or Trays: Clean pots with drainage holes are a must.
- Plastic Bags or a propagator with a lid: To create a humid environment for your cuttings.
- Water: For misting and watering.
- Labels and a Pen: So you don’t forget what you’ve propagated and when!
Propagation Methods: Stem Cuttings
This is hands-down my most reliable method for Hoheria angustifolia.
- Take Your Cuttings: On a mild day, select healthy, vigorous stems. Using your sharp shears, take cuttings about 4-6 inches long. Make a clean cut just below a leaf node (where a leaf attaches to the stem).
- Prepare the Cuttings: Gently remove the lower leaves from the bottom half of the cutting. This prevents them from rotting in the soil. You can leave 2-3 leaves at the top. If the remaining leaves are very large, I often cut them in half horizontally to reduce water loss through transpiration.
- Apply Rooting Hormone: Dip the cut end of the stem into rooting hormone, tapping off any excess.
- Pot Them Up: Fill your clean pots with your prepared potting mix. Moisten the mix so it’s damp but not waterlogged. Make a small hole with a pencil or your finger, and gently insert the cutting. Firm the soil around it.
- Create Humidity: Water gently to settle the soil. Then, cover the pot with a clear plastic bag or place it in a propagator. Make sure the leaves aren’t touching the plastic if possible. This keeps the humidity high, which is vital for rooting.
The “Secret Sauce” (Pro Tips)
Here are a few tricks I’ve learned over the years that make a difference:
- Bottom Heat is Your Friend: Hoheria cuttings really appreciate a little warmth from below. Placing your pots on a heated propagator mat can significantly speed up root formation. It encourages the roots to develop while the top stays cooler.
- Choose Your Nodes Wisely: When making your cut, aim to cut just below a node. This is where the plant naturally produces hormones that encourage rooting. It’s like giving the cutting the best possible starting point.
- Don’t Overwater Once Established: While humidity is key, once the cuttings are potted, allow the surface of the soil to dry out slightly between waterings. Soggy soil is the quickest route to rot. You want it consistently moist, not wet.
Aftercare & Troubleshooting
Once your cuttings are potted and covered, tuck them away in a bright spot, but out of direct, hot sun. Keep the soil consistently moist. You’ll know they’re rooting when you see new leaf growth and feel some gentle resistance when you carefully tug on the cutting. This usually takes anywhere from 4-8 weeks, sometimes a bit longer depending on conditions.
The biggest enemy here is rot. If you notice a cutting turning black and mushy, it’s usually a sign of too much moisture or a lack of air circulation. Sadly, you’ll likely need to discard it and start again, learning from the experience. Fungal issues can also appear as fuzzy or discolored spots on the leaves or stems. Good airflow and not oversaturating the soil are your best defenses.
A Encouraging Closing
Propagating Hoheria angustifolia is a wonderfully rewarding process. It’s a chance to connect with your plants on a deeper level, to understand their growth cycle, and to multiply the beauty in your garden. Be patient with your little green charges, celebrate every tiny success, and don’t be discouraged if a few don’t make it. Each attempt is a learning opportunity, and soon you’ll have a whole new collection of these charming trees! Happy propagating!
Resource:
https://identify.plantnet.org/k-world-flora/species/Hoheria%20angustifolia%20Raoul/data