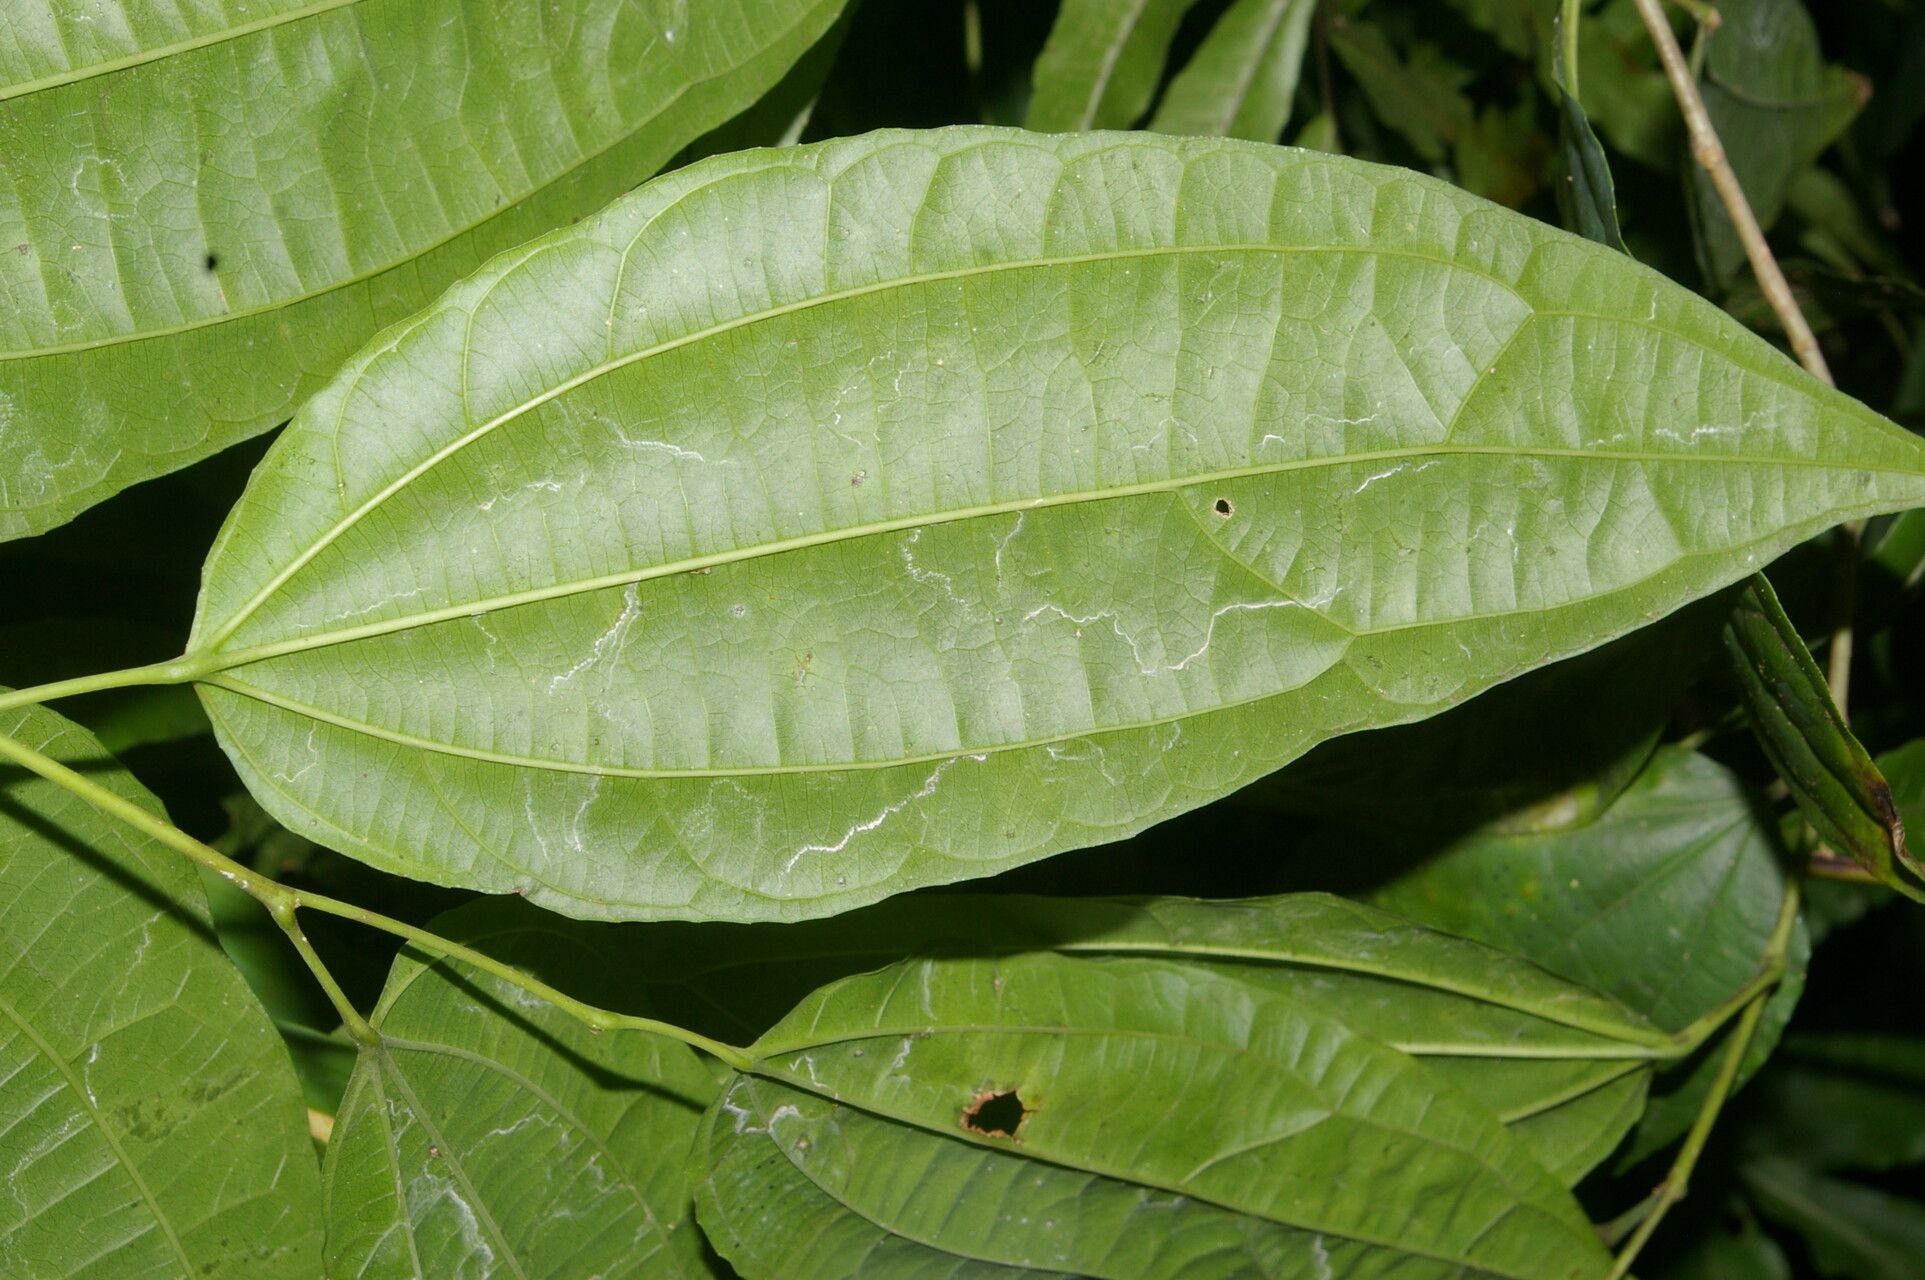
Oh, hello there, fellow plant enthusiast! I’m so glad you’ve stopped by. Today, we’re diving into the delightful world of Cleidion castaneifolium. Isn’t it a beauty? With its glossy, dark green leaves and a natural grace, it brings such a lovely touch of lushness to any space. Propagating it is one of my favorite ways to multiply that beauty, and let me tell you, it’s a truly rewarding feeling to watch a tiny cutting transform into a thriving plant. Now, for beginners, I’d say Cleidion castaneifolium falls into the “moderately easy” category. It’s not as fussy as some orchids, but it does appreciate a little care and attention.
The Best Time to Start
My go-to season for tackling Cleidion castaneifolium propagation is late spring to early summer. This is when the plant is in its active growth phase, meaning it has plenty of energy to dedicate to sprouting new roots. You’re essentially tapping into its vigorous energy at its peak, which significantly increases your chances of success.
Supplies You’ll Need
Before we get our hands dirty, let’s gather our tools. Think of this as gathering your ingredients for a wonderful recipe!
- Sharp Pruning Shears or Scissors: Clean, sharp tools are non-negotiable for making clean cuts.
- Rooting Hormone: This isn’t strictly essential for every plant, but it gives your cuttings a nice boost.
- A Well-Draining Potting Mix: I like a blend of equal parts peat moss, perlite, and coarse sand. Or, a good quality seed-starting mix will do in a pinch.
- Small Pots or Seedling Trays: Clean is key here! Old yogurt cups with drainage holes poked in them are perfect too.
- Watering Can or Spray Bottle: For gentle watering.
- Plastic Bags or a Clear Dome: To create a humid environment for your cuttings.
Propagation Methods
Let’s explore a couple of reliable ways to coax new life from your Cleidion castaneifolium.
Stem Cuttings
This is often the easiest and most successful method for this plant.
- Take Your Cuttings: Look for healthy, non-flowering stems. Using your sharp pruning shears, take cuttings about 4-6 inches long. Make your cut just below a leaf node (the point where a leaf attaches to the stem).
- Prepare the Cuttings: Gently remove the lower leaves, leaving just a couple at the top. If the leaves are very large, you can even cut them in half to reduce moisture loss.
- Apply Rooting Hormone (Optional but Recommended): Dip the cut end of the stem into your rooting hormone powder, tapping off any excess.
- Pot Them Up: Fill your small pots with your prepared potting mix. Make a small hole with your finger or a pencil and gently insert the cutting, ensuring the leaf nodes are buried. Firm the soil around the base.
- Water and Cover: Water the soil lightly. Then, cover the pot with a plastic bag or a clear dome. This creates a mini-greenhouse, keeping the humidity high around your cuttings.
Water Propagation
This method is a bit more visual and can be very satisfying to watch.
- Take Cuttings: Follow the same steps as for stem cuttings to take your 4-6 inch cuttings, making sure to remove the lower leaves.
- Place in Water: Find a clean jar or glass and fill it with room-temperature water. Place your cuttings in the water, making sure no leaves are submerged. If leaves are too low, pinch them off.
- Find a Spot: Place the jar in a bright location, but out of direct sunlight.
- Change Water Regularly: Change the water every few days to keep it fresh and prevent bacterial growth. You should start to see tiny white roots appearing in a few weeks.
The “Secret Sauce” (Pro Tips)
Here are a few tricks I’ve picked up over the years that really help boost your propagation success:
- Bottom Heat is Your Friend: For stem cuttings, placing your pots on a seedling heat mat can make a world of difference. It encourages root development from below, giving those little roots a cozy place to grow.
- Don’t Let Leaves Touch the Water: I see this mistake so often with water propagation! Leaves sitting in water are a direct invitation for rot. Keep them lifted out, or trim them so they don’t dip below the water’s surface.
- Scrape for Success (Carefully!): For tougher woody stems, you can gently scrape a tiny sliver of bark off the bottom inch of the cutting. This exposes the cambium layer, which can encourage more vigorous root formation when dipped in rooting hormone. Be gentle; you don’t want to damage the stem too much.
Aftercare & Troubleshooting
Once you see those first signs of roots – either peeking out the bottom of the pot or developing nicely in your water jar – you’re almost there!
- For Cuttings in Soil: If you’ve used the stem cutting method, once the roots are established (you can gently tug on the cutting, and it offers resistance), you can slowly start to acclimate it to normal humidity. Gradually remove the plastic bag or dome for longer periods each day over a week. Continue to water when the top inch of soil feels dry.
- For Cuttings in Water: When the roots are about an inch or two long, it’s time to transplant them into your potting mix. Handle those delicate roots with care!
Now, for the bumps in the road:
- Wilting: This is common initially. If your cutting wilts but the stem is still firm, it’s usually just adjusting. Ensure it’s still covered for humidity. If the stem turns mushy or black, that’s a sign of rot.
- Rotting: This is usually due to overwatering or poor drainage. If your stem cutting is rotting, it’s best to discard it and try again. For water propagation, change the water more frequently and ensure you’re not using too much or too little.
A Encouraging Closing
Remember, gardening is a journey, and propagation is a beautiful part of that adventure. Be patient with your little Cleidion castaneifolium cuttings. Some may take their time, and that’s perfectly okay. Celebrate each small success, learn from any setbacks, and most importantly, enjoy the magic of creating new life. Happy propagating!
Resource:
https://identify.plantnet.org/k-world-flora/species/Cleidion%20castaneifolium%20Müll.Arg./data