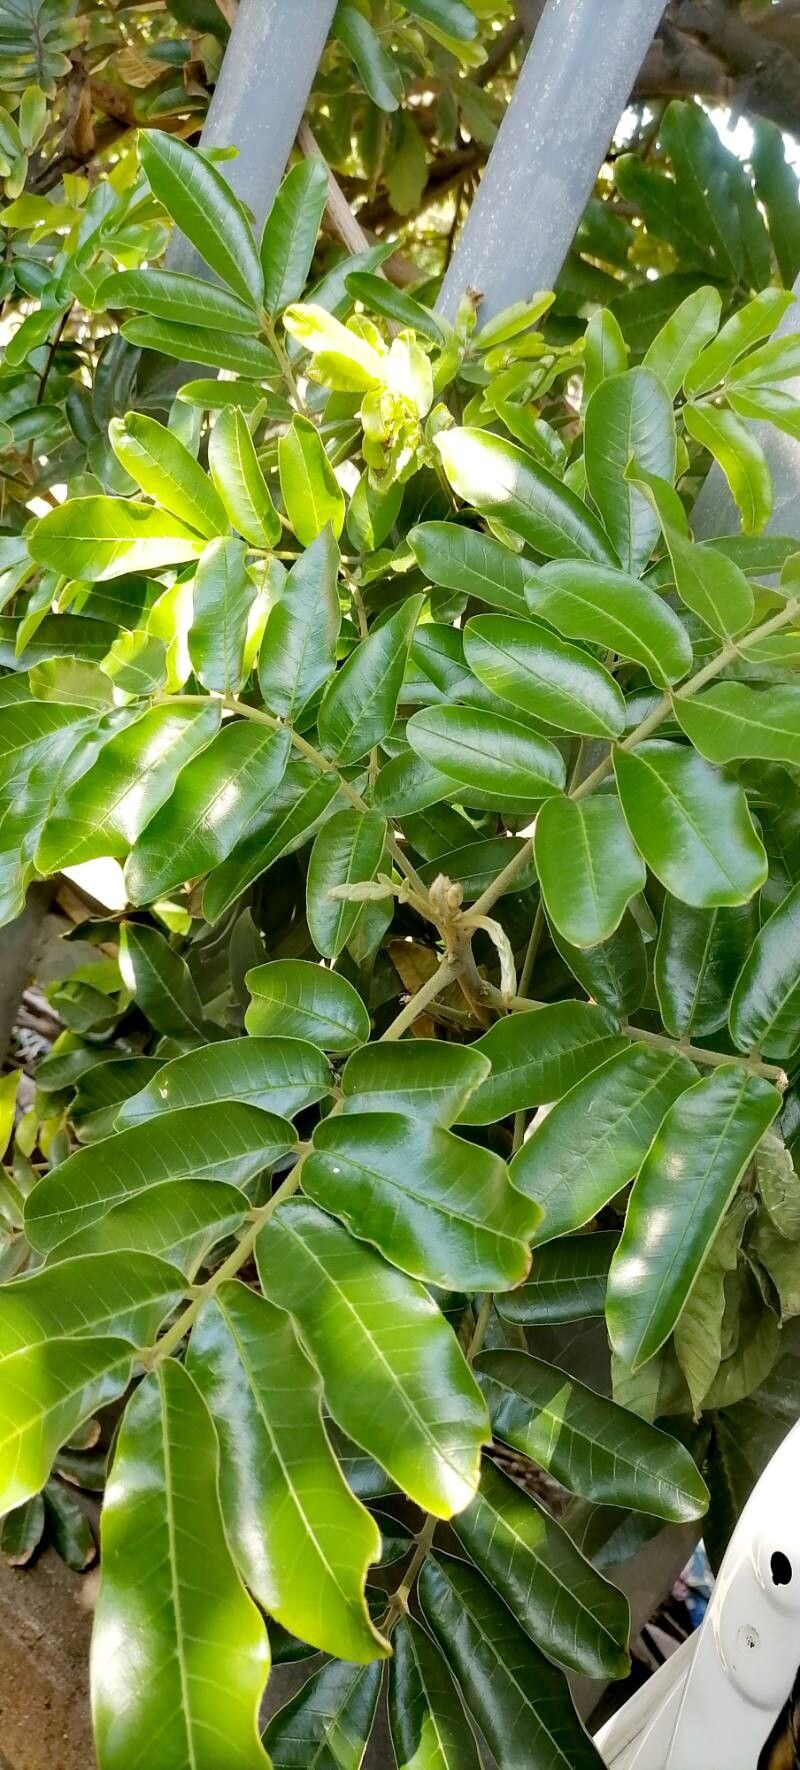
Hello there, fellow plant enthusiasts! If you’ve ever admired the lush, glossy foliage and beautiful, fragrant flowers of Trichilia emetica, you’re not alone. This magnificent tree, often known as the Natal mahogany, brings a touch of the tropics and a delightful scent to any garden. And guess what? Sharing is caring when it comes to these beauties! Propagating your own Trichilia emetica is incredibly rewarding, a true testament to your green thumb. While it might seem a little daunting at first, with a few tips and a bit of patience, you’ll be well on your way to a flourishing collection.
The Best Time to Start
For the highest success rate with Trichilia emetica, I’ve found that late spring to early summer is your golden window. This is when the plant is actively growing, brimming with energy, and more likely to put out roots. You can also attempt propagation in other warmer months, but this period generally yields the best results.
Supplies You’ll Need
No need for a fancy lab, just a few essential tools will do:
- Sterile pruning shears or a sharp knife: For clean cuts that heal well.
- Well-draining potting mix: A blend of potting soil, perlite, and a bit of peat moss works wonderfully to keep things airy.
- Rooting hormone (optional but recommended): This little helper gives your cuttings a significant boost.
- Small pots or trays: About 4-6 inches deep, with drainage holes, of course!
- Clear plastic bags or a propagation dome: To create a humid environment.
- Watering can or spray bottle: For gentle watering.
- Labels: To keep track of your precious propagations!
Propagation Methods
While Trichilia emetica can be grown from seed, taking stem cuttings is a far more reliable and quicker method for most home gardeners.
Stem Cuttings: My Go-To Method
- Select a healthy stem: Look for a piece of new growth that is firm but not yet woody. Aim for 6-8 inch long cuttings.
- Make the cut: Using your sterilized pruning shears, make a clean cut just below a leaf node (the point where a leaf attaches to the stem).
- Prepare the cutting: Remove the lower leaves, leaving just a few at the top. This prevents them from rotting in the soil and encourages the plant to focus its energy on root development.
- Apply rooting hormone (if using): Dip the cut end of the stem into your rooting hormone powder, ensuring it’s evenly coated. Tap off any excess.
- Plant the cutting: Fill your small pot with the moistened potting mix. Make a hole in the center with your finger or a pencil and gently insert the cutting, pushing it down so at least a couple of leaf nodes are buried. Firm the soil around the base.
- Create humidity: Water the soil gently and then cover the pot with a clear plastic bag or place it under a propagation dome. This creates a mini-greenhouse effect.
Water Propagation (A Fun Alternative)
If you’re feeling a bit less hands-on, water propagation can be a visually rewarding option.
- Prepare the cutting: Follow steps 1-3 as above, but skip the rooting hormone.
- Place in water: Pop the prepared cutting into a clean jar or glass of fresh water. Make sure to submerge at least one leaf node.
The “Secret Sauce” (Pro Tips)
Here are a couple of little tricks I’ve learned over the years that really make a difference:
- Bottom heat is your friend: If possible, place your pots on a heating mat. This gently warms the soil from below, creating ideal conditions for root development. You’ll see a significant difference in speed and success rates!
- Don’t overwater, but keep it humid: While your cuttings need moisture, soggy soil is a one-way ticket to rot. Mist the leaves occasionally if they look a bit droopy, and check the soil moisture regularly. If the top inch feels dry, give it a gentle water.
Aftercare & Troubleshooting
Once you see new growth peeking out or feel a gentle tug when you lightly pull on the cutting, it’s a good sign that roots have formed!
- Slowly acclimatize: If you used a plastic bag, gradually open it up over a week or two to help the new plant adjust to drier air.
- Potting up: Once the roots are well-established (you might see them peeking through the drainage holes), it’s time to pot your new Trichilia emetica into a slightly larger pot with fresh potting mix.
- Watch for rot: The most common sign of failure is blackening and mushy stems. This usually indicates overwatering or poor drainage. If you see this, sadly, the cutting is likely lost, but don’t be disheartened! Learn from it and try again. Another sign of stress is wilting, which can also be due to lack of roots or too much direct sun.
A Little Encouraging Word
Growing plants from cuttings is a journey, and like all good journeys, it requires patience. Don’t get discouraged if your first attempts aren’t perfect. Every gardener has those moments! Celebrate the successes, learn from the challenges, and most importantly, enjoy the process of nurturing new life. Happy propagating!
Resource:
https://identify.plantnet.org/k-world-flora/species/Trichilia%20emetica%20Vahl/data