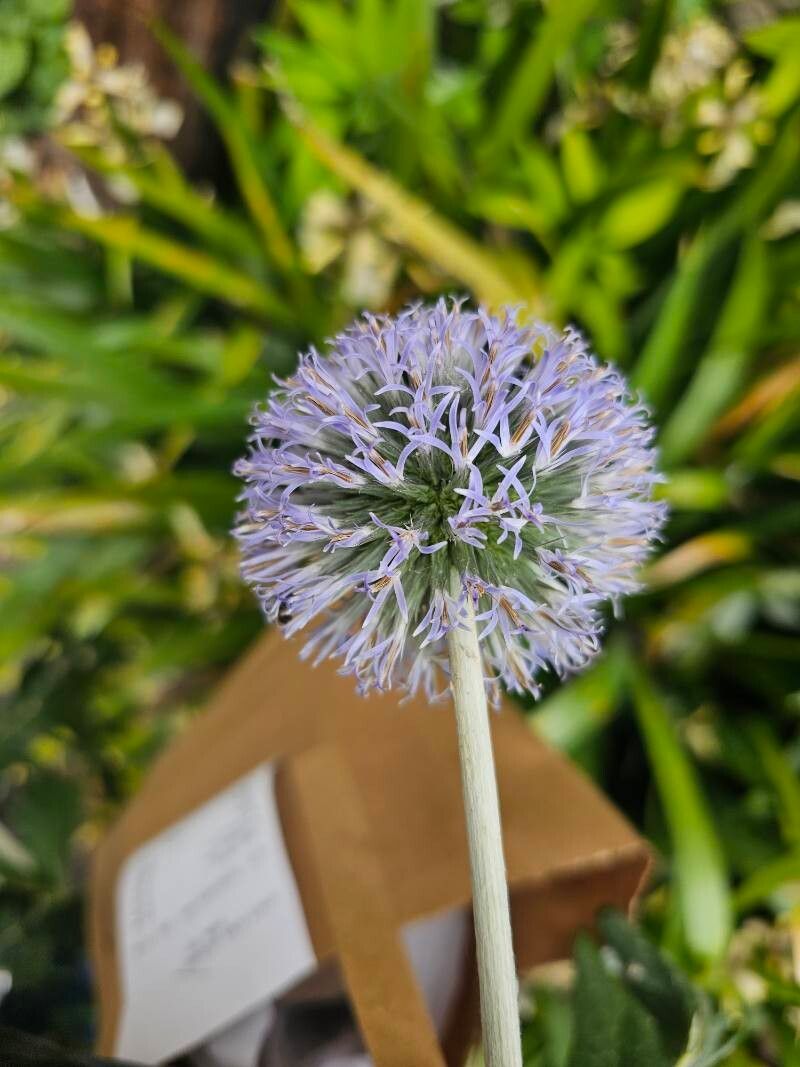
Oh, Echinops exaltatus! Those stunning globe thistles, with their fuzzy, architectural stems and that incredible, almost electric blue color, are such a joy to have in the garden. They bring a touch of the wild and a whole lot of whimsy. And the best part? They’re wonderfully rewarding to propagate. If you’ve ever admired their unique form and wished for more, you’re in luck! I find them to be a fairly straightforward plant to multiply, making it a great project for even newer gardeners willing to follow a few simple steps.
The Best Time to Start
When it comes to Echinops, the sweet spot for propagation is usually in the late spring to early summer. This is when the plant is actively growing and has plenty of fresh, vigorous material to work with. You’re looking for healthy shoots that are just starting to get sturdy – not floppy and young, but not woody and old either. Think of them as being “just right.”
Supplies You’ll Need
To set yourself up for success, gather these essentials:
- Sharp pruning shears or a clean craft knife: For making precise cuts.
- Rooting hormone (optional but recommended): A powder or gel to encourage root development.
- Well-draining potting mix: A blend of peat moss or coco coir, perlite, and a bit of compost works wonders. You want something that won’t hold excess moisture.
- Small pots or trays: Clean containers with drainage holes are a must.
- Plastic bags or a propagation dome: To create a humid environment for your cuttings.
- Watering can or mister: For gentle hydration.
- Labels: To keep track of what you’ve planted and when!
Propagation Methods
For Echinops exaltatus, division is hands-down the easiest and most reliable method. While stem cuttings can work, they’re a little more finicky. So, let’s focus on giving your existing plant a little “haircut” and making more of them!
Division: Your Easiest Route
- Digging Up the Parent: In late spring or early summer, when the plant is actively growing but before it gets too tall and unwieldy, it’s time to gently excavate. Carefully dig around the base of the plant, trying to disturb the roots as little as possible. You want to lift the entire clump out of the ground.
- Locating Divisions: Once the plant is out, gently shake off some of the excess soil. Look for natural separations in the root ball. You’ll often see where a vigorous new shoot has emerged with its own set of roots.
- Separating the Clumps: The easiest way to do this is by hand. Gently pull the root ball apart at these natural divisions. If it’s a bit stubborn, a clean trowel or even a sharp spade can help encourage the separation. Aim to get divisions that have both a good amount of roots and several healthy shoots.
- Planting Your New Babies: Immediately pot up your divisions into your prepared well-draining potting mix. You can plant them individually or in small groups if the division is tiny.
- Watering In: Give them a good, thorough watering to settle the soil around the roots.
The “Secret Sauce” (Pro Tips)
Here are a few things I’ve learned over the years that really seem to make a difference:
- Don’t “over-tidy” the roots: When you’re dividing, it’s tempting to trim away every single little root. Resist that urge! Let the plant keep as much of its established root system as possible. Healthy roots are its lifeline.
- Think about sun exposure: After you’ve divided and replanted, keep your new Echinops divisions in a location that gets good light. While they need moisture, intense, direct sun right away can be a shock. A spot with bright, indirect light is ideal for the first week or two.
- Patience is truly a virtue here: Echinops are robust, but they do take their time establishing. Don’t get discouraged if you don’t see dramatic growth overnight. They’re busy building that root system underground.
Aftercare & Troubleshooting
Once your new divisions are planted, keep the soil consistently moist but not waterlogged. This is where that well-draining mix really pays off. If you’re in a very hot or dry climate, you might want to mist the foliage occasionally, but always ensure good air circulation to prevent fungal issues.
The most common sign of trouble is rot, which usually indicates too much moisture or poor drainage. The leaves might turn yellow and mushy, or the whole cutting might just feel… limp. If you see this, try to dry out the soil a bit and ensure good airflow. Sometimes, a cutting that’s starting to rot can be saved by cutting away the mushy bits and replanting the healthy section, but more often than not, it’s a sign the conditions weren’t quite right. Don’t beat yourself up – it happens to the best of us!
A Encouraging Closing
Propagating Echinops exaltatus is a wonderfully tangible way to connect with your garden and build your collection of these delightful blue beauties. Be patient with your new plants, trust the process, and take joy in nurturing them. Soon, you’ll be rewarded with even more of those stunning globe thistles to admire. Happy gardening!
Resource:
https://identify.plantnet.org/k-world-flora/species/Echinops%20exaltatus%20Schrad./data