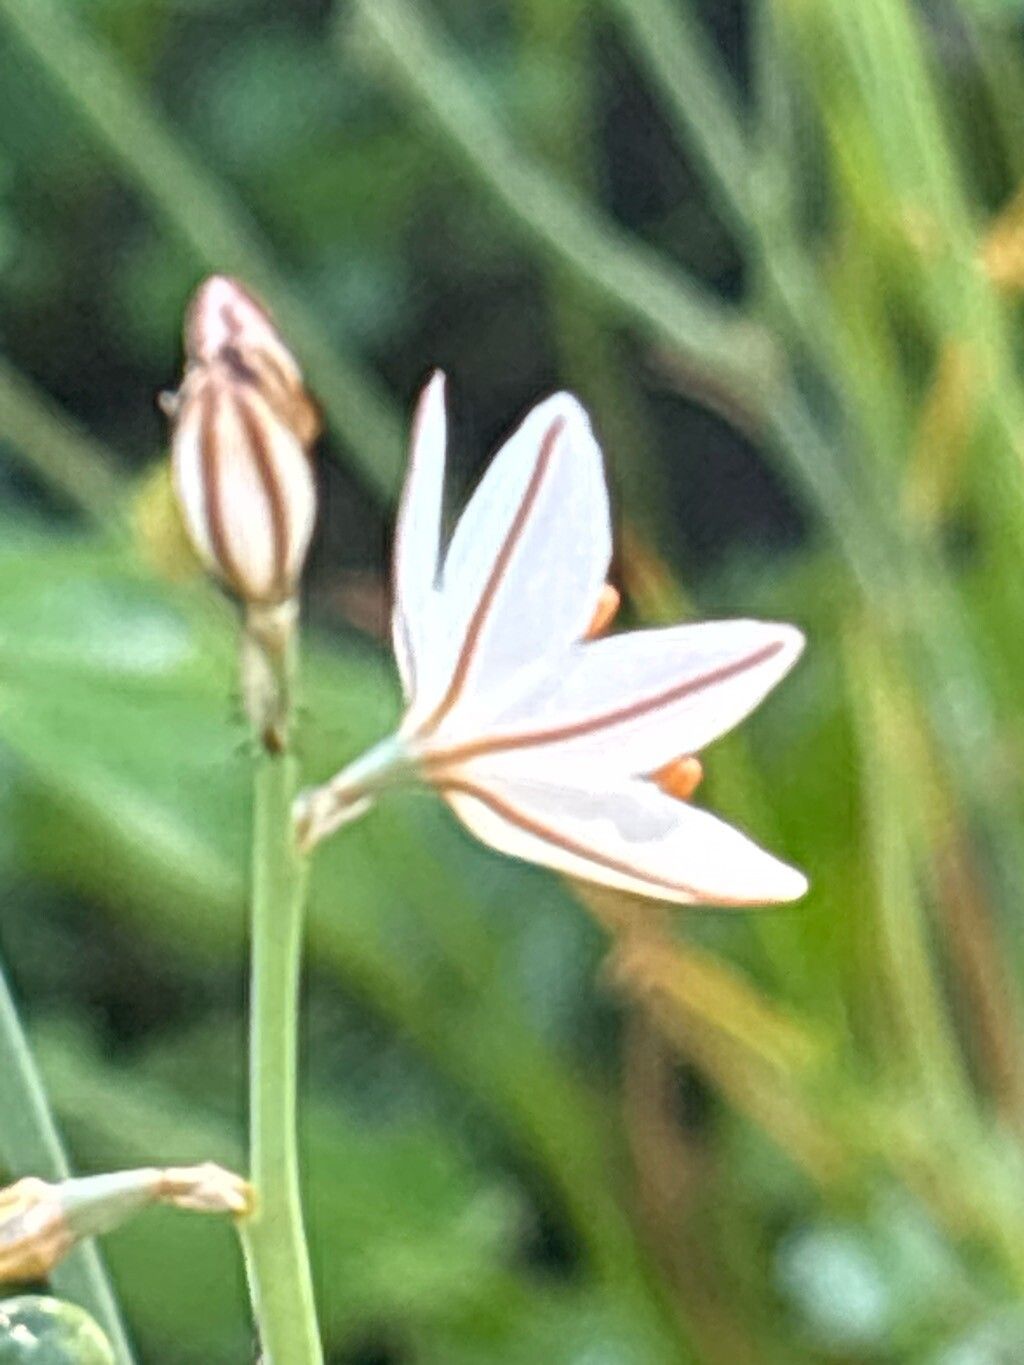
Oh, Asphodelus ayardii! Isn’t that a magnificent name for a plant? I’ve got a few of them gracing my garden, and honestly, they bring such a touch of architectural drama with their tall spires of starry white flowers. They’re particularly lovely when catching the late afternoon sun. Propagating them myself has been so incredibly rewarding, like growing a little piece of my garden from scratch. Now, let me be honest with you, Asphodelus ayardii isn’t the absolute easiest plant for a complete beginner, but with a little patience and a few key steps, you’ll be well on your way to success. Think of it as a delightful challenge that really pays off!
When to Get Your Hands Dirty
The absolute best time to think about propagating your Asphodelus ayardii is in the late spring or early summer. This is when the plant is really hitting its stride in terms of growth. You’ll see fresh, vigorous shoots emerging, and these are the ones we want to work with. Trying to propagate when the plant is dormant, like in the middle of winter, just won’t give you the best results. We want active growth, always!
Your Propagation Toolkit
Before we dive in, let’s gather our supplies. It’s always good to have everything ready so you don’t have to stop mid-process.
- Sharp, clean pruning shears or a sharp knife: Crucial for clean cuts that heal well.
- Potting mix: A well-draining mix is paramount. I like to use a blend of equal parts potting soil, perlite, and a bit of coarse sand. You can also find specific cactus and succulent mixes that work wonderfully.
- Small pots or seed trays: Clean ones, of course! Small terracotta pots are excellent as they allow the soil to breathe.
- Rooting hormone (optional but highly recommended): This gives your cuttings a real head start.
- Watering can or spray bottle: For gentle watering.
- Labels and a pen: So you don’t forget what you’ve propagated!
Getting More Asphodelus: Let’s Propagate!
For Asphodelus ayardii, the most reliable method is through division. These plants naturally form clumps, and separating them is a fantastic way to get new plants.
Method: Division
This is really the star of the show for Asphodelus.
- Gently excavate: In late spring or early summer, carefully dig around the base of your mature Asphodelus ayardii plant. Be gentle so you don’t damage the main root system. I like to lift the entire root ball out of the ground or container.
- Assess the clump: You’ll see that the plant has a central root structure with multiple shoots emerging. Look for sections where you can clearly see a distinct shoot with its own root system.
- Make the separation: Using your sharp, clean knife or shears, carefully divide the clump. You want to ensure each new section has at least one healthy shoot and a good portion of roots. If the roots are very tangled, you might need to gently tease them apart with your fingers or the tip of your knife.
- Prepare the new plants: If any of the roots look damaged or are excessively long, you can trim them back slightly.
- Plant them up: Fill your clean pots with your well-draining potting mix. Create a small hole in the center of the soil for each division.
- Place and backfill: Gently place each division into its hole, ensuring the roots are spread out. Backfill with soil, firming it lightly around the base of the plant. The top of the root ball should be at or slightly below the soil surface.
- Water lightly: Give your newly potted divisions a gentle watering to settle the soil.
The “Secret Sauce”: My Insider Tips
Here are a couple of things I’ve learned over the years that really make a difference:
- Let those divisions “hen and chick” for a day: After you’ve divided them, I sometimes let the sections sit out of soil for a day or two in a shady, protected spot. This allows any cut surfaces to callus over, which helps prevent rot when they’re replanted. It’s a small step, but I swear it reduces the risk of fungal issues significantly.
- Don’t overwater too soon: While you want the soil to be moist after planting, avoid waterlogging. These plants are quite drought-tolerant by nature, and their roots need to breathe. I usually wait until the soil has dried out a bit before watering again, checking the moisture level by sticking my finger a couple of inches down.
Aftercare and What to Watch For
Once your divisions are settled, place them in a spot with bright, indirect light. Avoid direct, scorching sun for the first few weeks as they establish.
- Watering: Water only when the top inch or two of soil feels dry. Overwatering is the most common mistake and can lead to root rot. You’ll see the leaves start to yellow or become soft if this is happening.
- Signs of success: Look for new growth appearing from the shoots! This is your biggest indicator that roots are forming and your plant is happy. It might take a few weeks, so give them time.
Keep Nurturing!
There you have it! Propagating Asphodelus ayardii through division is a wonderfully satisfying process. Remember to be patient – gardening is a journey, not a race. Enjoy watching your new plants unfurl and grow. Happy gardening!
Resource:
https://identify.plantnet.org/k-world-flora/species/Asphodelus%20ayardii%20Jahand.%20&%20Maire/data