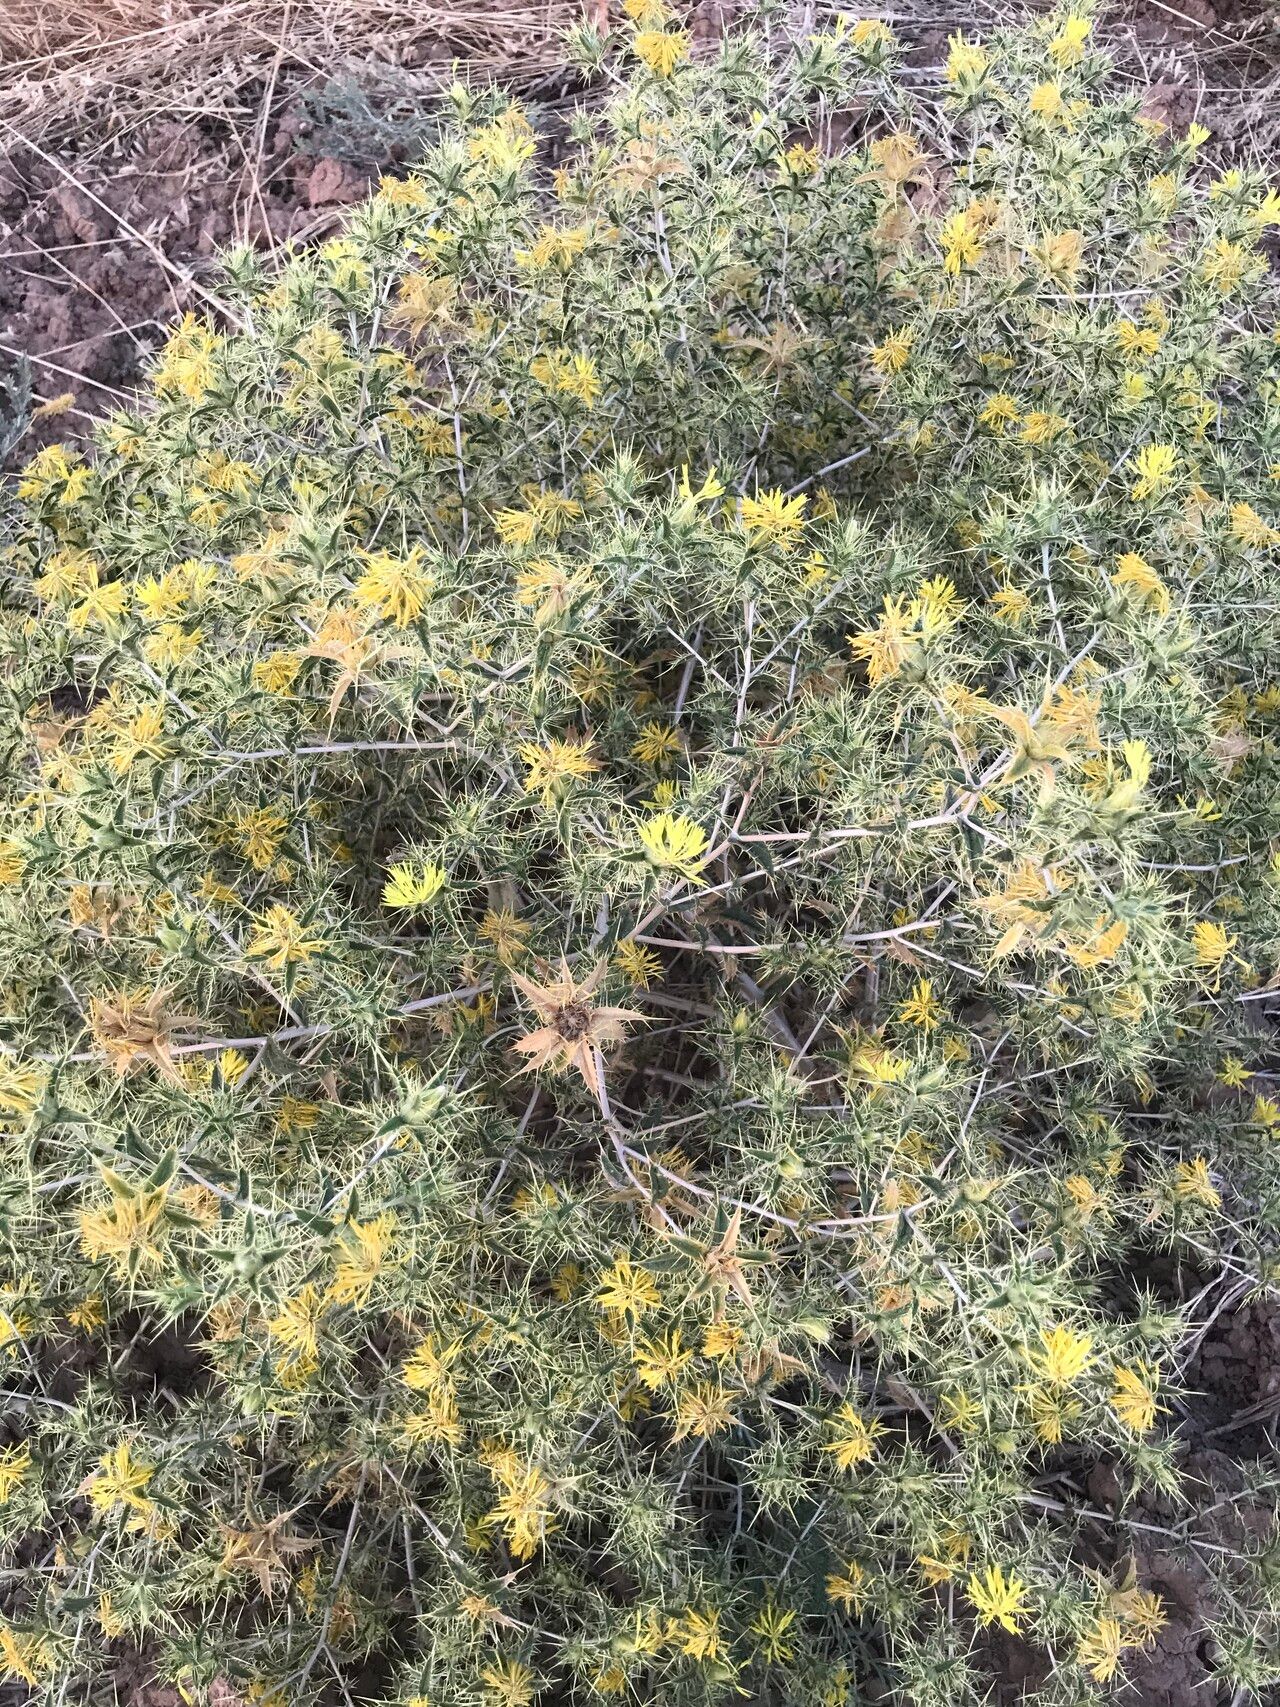
Hello fellow garden enthusiasts! Today, we’re diving into the wonderfully spiky world of Carthamus oxyacanthus, often known as Persian Safflower or simply Carthamus. I’ve always been drawn to its vibrant, thistle-like blooms – they bring such a pop of color and a touch of wild beauty to any garden. Plus, the satisfaction of coaxing a new plant from a tiny piece of its parent? Pure gardening magic! If you’re a beginner looking to try your hand at propagation, I’d say Carthamus is moderately easy. It’s not as straightforward as, say, a succulent cutting, but with a little attention, you’ll do wonderfully.
The Best Time to Start
For the highest success rate with Carthamus oxyacanthus, you’ll want to focus on late spring to early summer. This is when the plant is actively growing and has plenty of energy to put into developing new roots. Look for healthy, non-flowering shoots that are actively putting on new growth. Avoid trying to propagate from very old, woody stems or during a heatwave.
Supplies You’ll Need
Here’s what you’ll want to have on hand before you get started:
- Sharp, clean pruning shears or a razor blade: Cleanliness is key to preventing disease.
- Rooting hormone (optional but recommended): This little booster can significantly improve your chances of success.
- Well-draining potting mix: I recommend a blend of 50% peat moss or coir and 50% perlite or coarse sand. This ensures good aeration and prevents waterlogging.
- Small pots or seed trays: Whatever you have that’s clean and provides drainage.
- Plastic bags or a propagation dome: To create a humid environment.
- Watering can with a fine rose: For gentle watering.
- Labels: To remember what you’ve planted and when!
Propagation Methods
While Carthamus oxyacanthus can be grown from seed, propagating from cuttings is a fantastic way to get healthy, established plants more quickly.
Stem Cuttings
This is my go-to method for Carthamus.
- Take your cuttings: In the spring or early summer, select a healthy, vibrant stem. Look for a section that’s about 4-6 inches long and has not yet flowered. Using your sharp shears or razor, make a clean cut just below a leaf node (where a leaf attaches to the stem).
- Prepare the cuttings: Gently remove the lower leaves from the cutting, leaving only the top two or three. This reduces water loss and prevents leaves from rotting in the soil. If your stem is a bit sappy, you can let it air dry for a few hours until a callus forms over the cut end. This helps prevent rot.
- Apply rooting hormone: Dip the cut end of the stem into your rooting hormone, tapping off any excess. This is where that little boost can make all the difference.
- Plant your cuttings: Fill your pots or trays with your well-draining potting mix. Make a small hole in the center with your finger or a pencil. Insert the cut end of the stem into the hole, ensuring it makes good contact with the soil. Gently firm the soil around the base of the cutting.
- Water gently: Water thoroughly but carefully, using your fine-rose watering can. You want the soil to be moist, not soggy.
- Create a humid environment: Place a plastic bag over the pot, being careful not to let it touch the leaves of the cutting. Alternatively, use a propagation dome. This traps humidity, which is crucial for root development. Place the pots in a bright spot, but out of direct, harsh sunlight.
The “Secret Sauce” (Pro Tips)
Here are a few tricks I’ve learned over the years that can really help your Carthamus cuttings thrive:
- Bottom Heat is Your Friend: While not essential, placing your pots on a gentle seedling heat mat can dramatically speed up root formation. It mimics the warmth of spring soil and encourages those roots to get going.
- Don’t Drown Your Cuttings: It’s a common mistake! While humidity is important, sogging the soil is the fastest way to rot your cuttings. Allow the top inch of soil to dry slightly between waterings. It’s better to be a little dry than too wet.
- Air Circulation is Crucial: Once you see the first signs of roots (you might see a tiny bit of new leaf growth), gradually start to vent your plastic bag or propagation dome. Too much humidity for too long can still be problematic. Daily airing for a few minutes, increasing over a week, is a good approach.
Aftercare & Troubleshooting
Once your cuttings have developed a healthy root system – you’ll know this because they’ll feel a gentle resistance when you tug lightly, or you’ll see new growth – it’s time for them to become independent little plants.
Transplanting: Gently transplant your rooted cuttings into slightly larger pots filled with your regular potting mix. Continue to water them regularly, ensuring the soil stays consistently moist but not waterlogged.
Signs of Failure: The most common issue you’ll encounter with Carthamus cuttings is rot. This usually manifests as a blackening and mushy base of the stem, often accompanied by wilting. If you spot this, unfortunately, the cutting is likely lost. It’s usually a sign of too much moisture and not enough light or air circulation. If your cuttings just seem to be sitting there with no signs of growth after several weeks, they might not have rooted, or the conditions aren’t quite right. Don’t be discouraged! Gardening is a learning process.
A Little Patience Goes a Long Way
Propagating Carthamus oxyacanthus is a rewarding endeavor. It takes a little patience and a keen eye, but watching those tiny cuttings transform into mature plants is a joy. Don’t be afraid to experiment and learn from each attempt. Happy gardening!
Resource:
https://identify.plantnet.org/k-world-flora/species/Carthamus%20oxyacanthus%20M.Bieb./data