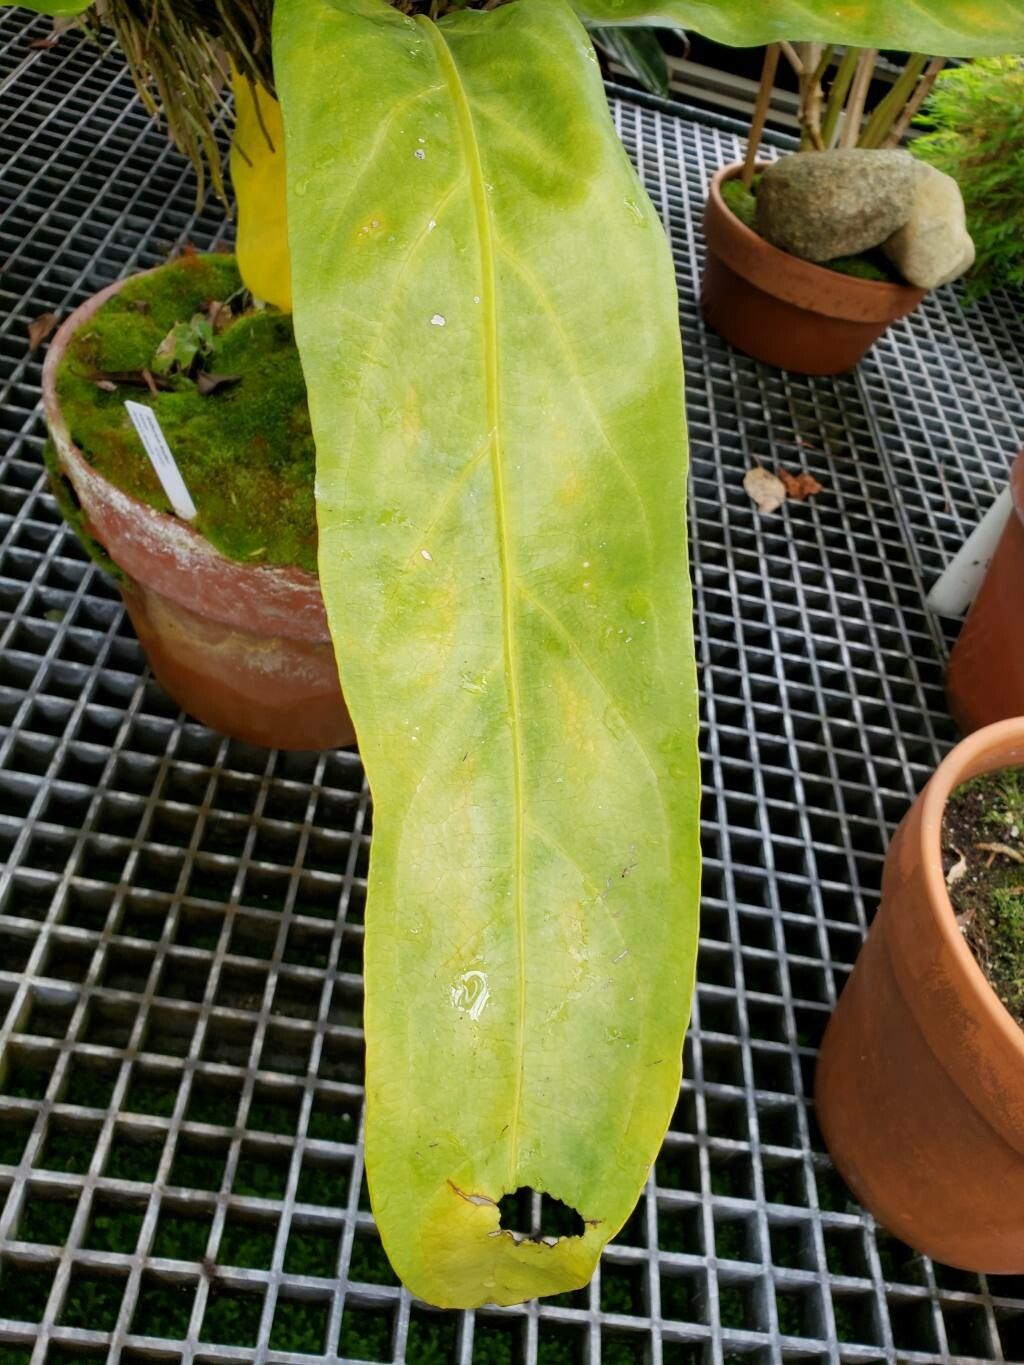
Oh, Anthurium fendleri! Isn’t it just a stunner? With those elegant, heart-shaped leaves and often a vibrant splash of color, they really do bring a touch of the tropics indoors. And the best part? Propagating them is a fantastic way to multiply that beauty. It’s a little like getting free plants, and trust me, that feeling of nurturing a new life from a small piece is incredibly rewarding. Now, for those who are just starting out, I won’t lie and say it’s the absolute easiest plant to propagate. It takes a bit of observation and a gentle touch, but with these tips, you’ll be well on your way!
The Best Time to Start
Generally, the spring and summer months are your best bet. This is when your Anthurium fendleri is actively growing and has the most energy to put into developing new roots. You want to be working with a healthy, vigorous plant. If your plant is looking a little sad or going through a period of rest, it’s probably best to wait for its next growth spurt.
Supplies You’ll Need
Before we dive in, let’s gather our tools. Having everything at hand makes the whole process smoother.
- Sharp, clean pruning shears or a knife: For making clean cuts.
- A well-draining potting mix: I like a blend of orchid bark, perlite, and coco coir for Anthuriums. You can also find specific Aroid mixes.
- Small pots or propagation trays: Clean ones are a must!
- Rooting hormone (optional but recommended): A powder or gel to give your cuttings a little boost.
- Clear plastic bag or a propagation dome: To create a humid environment.
- Water: For water propagation or keeping the propagation medium moist.
- Spray bottle: For misting.
Propagation Methods
Anthuriums can be a bit particular, but division is usually the most straightforward and successful method for Anthurium fendleri.
Method 1: Division (The Easiest Way!)
This is how you’ll increase your chances of success with this particular plant.
- Choose your plant: Select a mature, healthy Anthurium fendleri that has multiple stems or offsets growing from the base.
- Gently remove from pot: Carefully take the plant out of its current pot. It’s easier if the soil is slightly moist, but not soaking wet.
- Inspect the roots: You’ll see where the main plant and its offsets are joined by roots.
- Separate the offsets: Using your clean pruning shears or knife, carefully cut through the roots to separate an offset from the mother plant. Try to ensure each piece has at least one or two healthy roots and a few leaves. Don’t be afraid to make a clean cut; it’s better than tearing.
- Pot up: Plant each new division into its own pot filled with your well-draining potting mix. The goal is to bury the roots but keep the base of the plant just at soil level.
- Water gently: Water them lightly to settle the soil.
Method 2: Stem Cuttings (A Bit More Advanced)
This method can work, but it requires patience and a keen eye.
- Identify a stem: Look for a healthy stem with at least one node. Nodes are those little bumps on the stem where a leaf or root will emerge.
- Make the cut: Using your sharp, clean shears, cut the stem about an inch below a node. Aim for a cutting that’s at least 3-4 inches long and has a few leaves.
- Prepare the cutting: Gently remove any leaves that are too close to the cut end. If you choose to use rooting hormone, apply a little to the cut end.
- Choose your medium: You can either place the cutting directly into your well-draining potting mix or try water propagation.
- For soil: Insert the cut end about an inch into the potting mix.
- For water: Place the cutting in a jar of clean water, making sure the node(s) are submerged.
The “Secret Sauce” (Pro Tips)
Here are a couple of things I’ve learned over the years that can make a real difference:
- Don’t drown your cuttings in water: If you’re water propagating, a common mistake is to let too much of the stem submerge. Only the node(s) and the cut end should be in the water. Any leaves submerged will likely rot, which is the kiss of death for a cutting.
- Humidity is king: Anthuriums love a humid environment, and this is even more crucial for propagation. Once you’ve potted up your divisions or planted your cuttings, give them a good misting and then cover them with a clear plastic bag or a propagation dome. Pop a few holes in the bag for ventilation, or lift the dome for a few minutes each day. This creates a mini-greenhouse.
- Bottom heat is your friend: If you have a heat mat designed for seedlings, placing your pots or jars on it can really speed up root development. It mimics the warmth of tropical soil.
Aftercare & Troubleshooting
Once you’ve got your new plants potted up, give them some TLC. Keep them in a warm spot with bright, indirect light. Avoid direct sun, which can scorch those delicate new leaves. Water only when the top inch of soil feels dry to the touch. Don’t overwater!
The most common sign of trouble is rot. If you see your cutting turning black and mushy, or if the leaves start to yellow and drop off without any new growth appearing after a few weeks, it’s likely rot. This is usually caused by too much moisture and poor air circulation. If you suspect rot, gently remove the affected part and let the remaining section dry out a bit before trying again, perhaps in a slightly drier medium. Patience is key here; it can take several weeks, sometimes even a couple of months, for new roots to establish before you see new leaf growth.
A Encouraging Closing
Propagating Anthurium fendleri is a journey, not a race. There might be a few trial-and-error moments, and that’s perfectly okay. Celebrate the successes, learn from any setbacks, and most importantly, enjoy the process of bringing new life into your home. Happy gardening!
Resource:
https://identify.plantnet.org/k-world-flora/species/Anthurium%20fendleri%20Schott/data