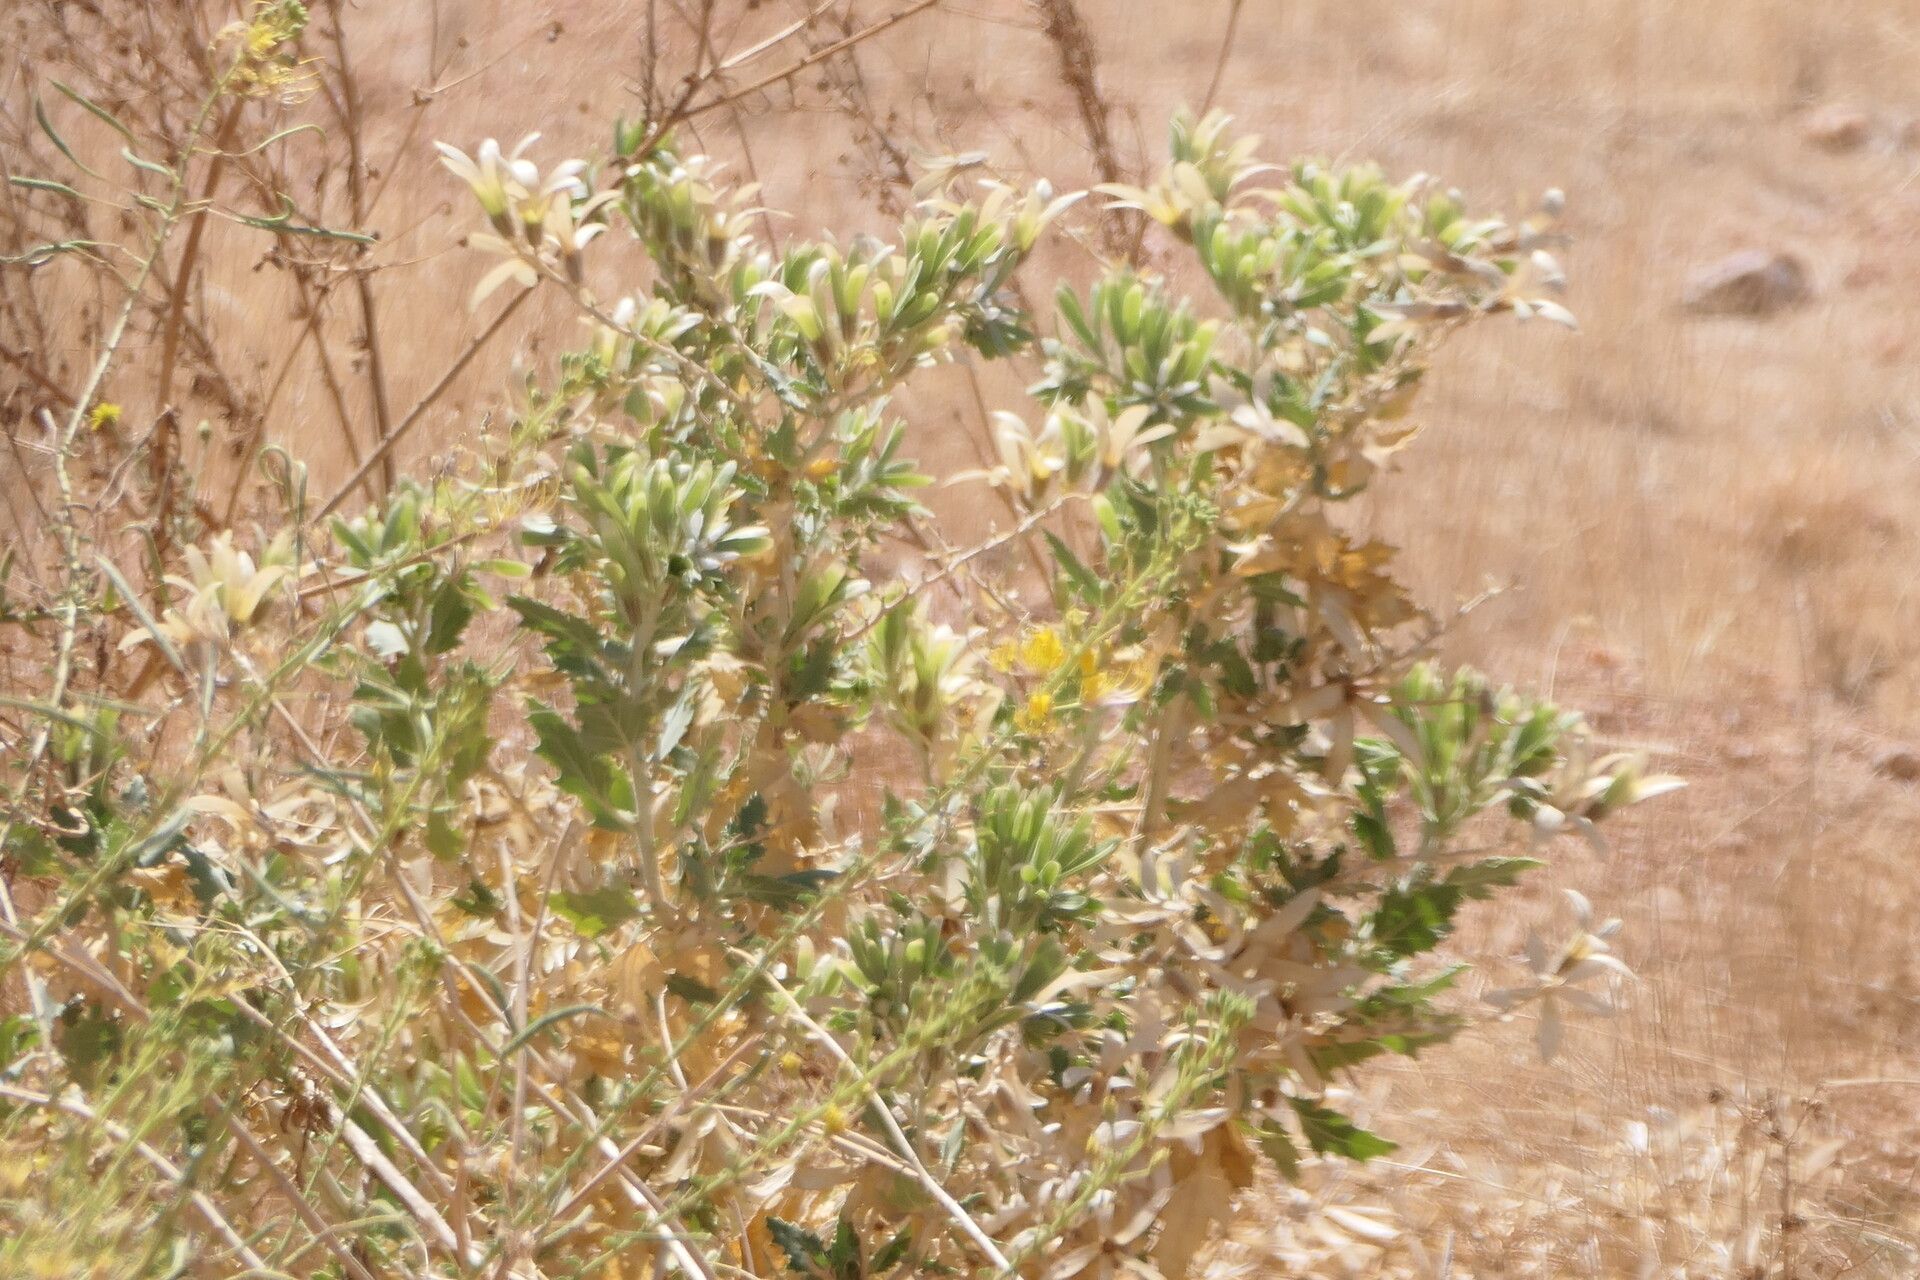
Ah, Kissenia capensis! If you’re anything like me, you were probably drawn in by those wonderfully unusual, almost architectural blooms. They have a certain je ne sais quoi, don’t they? And the thrill of bringing a new one to life from a tiny piece of the parent plant? It’s a feeling that never gets old. Now, if you’re wondering if this is a good one to start with for propagation, I’d say it’s moderately easy. It requires a little attention to detail, but with these tips, you’ll be well on your way.
The Best Time to Start
When it comes to getting the most bang for your buck in propagation, I’ve found that late spring into early summer is your sweet spot. This is when the plant is actively growing, fueled by those longer, warmer days. You’ll find the stems are more vigorous and receptive to rooting. Waiting until your plant has finished its main flush of flowering is also a good cue to start taking cuttings.
Supplies You’ll Need
Before we get our hands dirty, let’s gather our tools. Having everything ready makes the process so much smoother:
- Sharp pruning shears or a clean, sharp knife: For making clean cuts.
- Rooting hormone powder or gel: This is a real game-changer for encouraging root development, though some plants can manage without it.
- Well-draining potting mix: I like a mix of equal parts peat moss or coco coir and perlite or coarse sand. This ensures good aeration and prevents waterlogging.
- Small pots or trays: Clean ones, of course!
- Plastic bags or domes: To create a humid microclimate.
- Watering can or spray bottle: For gentle watering.
- Labels and a marker: To keep track of what you’ve propagated and when.
Propagation Methods
Kissenia capensis is quite amenable to stem cuttings. It’s my go-to method for this beauty.
- Take Your Cuttings: On a healthy, non-flowering stem, make a clean cut just below a leaf node. Aim for cuttings that are about 4-6 inches long. Remove the lower leaves, leaving just a few at the top. This prevents them from rotting in the soil.
- Dip & Pot: If you’re using rooting hormone, dip the cut end of the stem into the powder or gel. Tap off any excess. Then, gently insert the base of the cutting into your prepared potting mix. Don’t shove it in too hard; you want to avoid damaging the hormone coating.
- Create Humidity: Water your potting mix thoroughly but gently. Then, cover the pot with a plastic bag or a propagator lid. This is crucial for keeping the humidity high, which helps prevent the cuttings from drying out before they can root. A bit of condensation inside is a good sign!
The “Secret Sauce”
Here are a couple of things I’ve learned over the years that really make a difference:
- Don’t overcrowd your pots! Give each cutting a bit of breathing room. It reduces the risk of fungal diseases spreading if one gets into trouble.
- Bottom heat is your friend! If you can find a way to provide gentle warmth from below using a heat mat, your cuttings will establish roots much faster. It mimics the warmth of spring soil and really encourages them. Think of it as giving them a cozy start.
Aftercare & Troubleshooting
Once your cuttings have rooted (you’ll know when you see new growth or feel a gentle resistance when you try to tug on the cutting), it’s time to give them a bit more space.
Gradually acclimatize your new plants to normal room humidity by opening the plastic bag or propagator lid a little each day over a week. Then, you can transplant them into their own small pots. Water them regularly, allowing the top inch of soil to dry out between waterings.
The most common sign of trouble is rot. If your cutting turns mushy, black, or just wilts without any sign of rooting, it’s likely succumbed to rot. This usually means the conditions were too wet and not airy enough. Don’t be discouraged; just try again, perhaps with a slightly drier mix or more airflow.
A Gentle Farewell
Growing plants from cuttings is a journey of patience and observation. There will be successes, and there will be times when things don’t quite work out as planned, and that’s perfectly okay! Enjoy the process, learn from each attempt, and soon you’ll have a small army of these gorgeous Kissenia capensis to share or admire. Happy propagating!
Resource:
https://identify.plantnet.org/k-world-flora/species/Kissenia%20capensis%20Endl./data