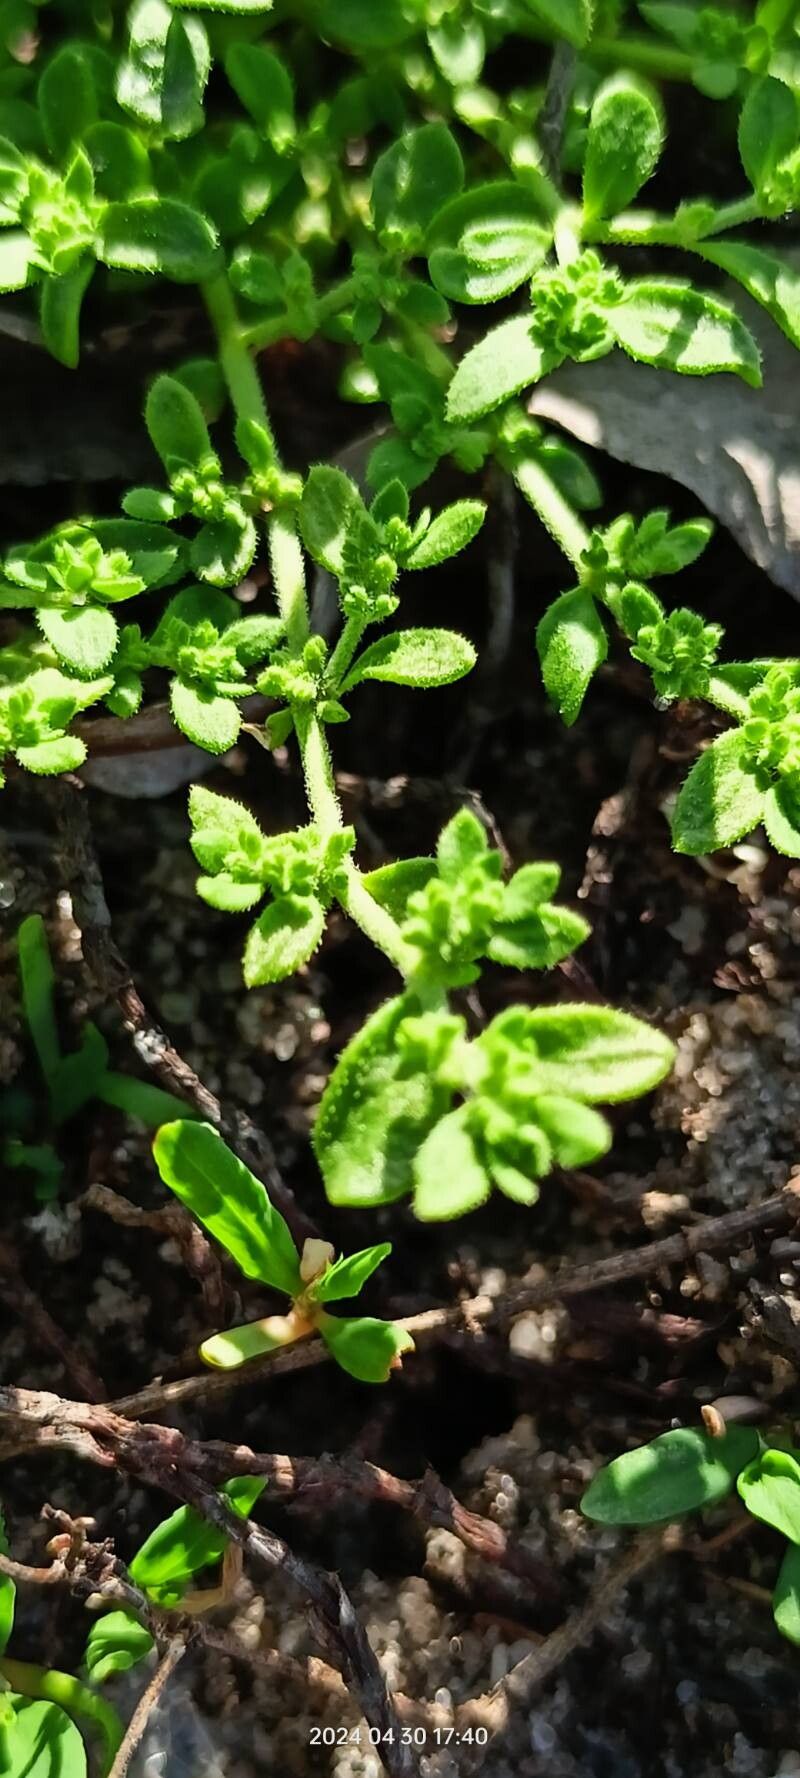
Hey there, fellow plant enthusiasts! Pull up a chair, let’s chat about a little gem that’s found a special place in my heart over the years: Herniaria polygama. You might know it by its common names, like creeping rupturewort or perhaps just your garden’s go-to for a lush, green carpet. It’s just so… useful. It spills over walls, fills in bare spots, and even has these charming tiny white flowers that dust it in summer.
Propagating this little beauty is incredibly rewarding. It’s a wonderful way to fill your garden, share with friends, or just satisfy that deep down urge to make more plants. And the good news? Herniaria polygama is surprisingly forgiving, even for those just dipping their toes into the world of propagation. You’ll be amazed at how easily you can multiply its charm!
The Best Time to Start
My favorite time to get started with Herniaria polygama is definitely late spring to early summer. This is when the plant is actively growing and buzzing with energy. New, soft, but not too flimsy growth is ideal. Think of it as the plant’s youthful vigor – prime time for taking cuttings that will root enthusiastically. Waiting until the plant has finished its main flush of growth in early autumn can also work, but I find spring and early summer give you the best bang for your buck.
Supplies You’ll Need
Before we get our hands dirty, let’s gather our trusty tools. Here’s what I usually have on hand:
- Sharp pruning shears or a clean craft knife: For making clean cuts.
- Small pots or seed trays: Anything that will hold your cuttings securely.
- A well-draining potting mix: I often use a 50/50 blend of seed-starting mix and perlite or horticultural sand. This is crucial to prevent rot.
- Rooting hormone (optional but recommended): A powder or gel can give your cuttings a helpful boost.
- A spray bottle: For misting.
- Plastic bags or a propagator: To create a humid environment.
- Labels: So you don’t forget what’s what!
Propagation Methods
Herniaria polygama is wonderfully adaptable, but stem cuttings are my go-to method.
Stem Cuttings
- Take Your Cuttings: When your plant is awake and growing (remember, late spring/early summer!), carefully select healthy, non-flowering stems. Using your clean shears or knife, take cuttings that are about 3-4 inches long. Make the cut just below a leaf node (where a leaf meets the stem).
- Prepare the Cuttings: Gently remove the lower leaves from the bottom half of each cutting. This prevents them from rotting in the soil.
- Apply Rooting Hormone (Optional): If you’re using rooting hormone, dip the cut end of each stem into the powder or gel. Tap off any excess.
- Plant Your Cuttings: Fill your small pots or trays with your well-draining mix. Create small holes in the soil with a finger or pencil. Insert the prepared cuttings into the holes, ensuring that at least one or two leaf nodes are below the soil surface. Gently firm the soil around them.
- Water Gently: Water the soil thoroughly but gently. You don’t want to dislodge the cuttings.
Water Propagation (Less Common for this Plant, but Possible)
While I find soil propagation more successful for Herniaria polygama, you can try water propagation if you’re feeling adventurous.
- Prepare Cuttings: Follow steps 1 and 2 above.
- Place in Water: Put the cuttings in a jar or glass of clean water. Make sure no leaves are submerged – this is key to preventing rot. Change the water every few days.
- Wait for Roots: Keep an eye out for tiny white roots forming. This can take a few weeks. Once the roots are about an inch long, you can pot them up into your well-draining soil mix.
The “Secret Sauce” (Pro Tips)
Here are a couple of things I’ve learned over the years that really make a difference:
- Humidity is King! Once your cuttings are planted, cover the pots with a clear plastic bag or place them in a propagator. This creates a mini-greenhouse, keeping the humidity high, which is essential for root development. Just make sure to open the bag for a few minutes each day to let in fresh air and prevent fungal issues.
- Bottom Heat is Your Friend: If you have a heat mat designed for propagation, this is where it shines. Placing your trays on a gentle heat source can significantly speed up root formation. It mimics the warmth of spring soil and really encourages those roots to get moving. Avoid excessive heat though; a gentle warmth is all you need.
Aftercare & Troubleshooting
Once you start seeing signs of new growth emerging from your cuttings, that’s a good indication that roots are forming!
- Signs of Roots: You might see tiny leaves unfurling or the plant itself looking a bit perkier and more secure in its pot. You can also gently tug on a cutting – if there’s resistance, it’s a good sign roots have taken hold.
- Gradual Acclimation: When you see roots, it’s time to gradually introduce your new plants to less humid conditions. You can start by opening the plastic bag for longer periods, then eventually remove it altogether. Keep the soil consistently moist but not waterlogged.
- Common Pitfalls: The most common problem you’ll encounter is rot. If your cuttings turn mushy or black, it’s usually a sign of too much moisture and not enough air circulation. Make sure your soil mix is truly well-draining, and don’t overwater. If you notice a cutting looking limp and sad, it might not have rooted or could be suffering from too much drying out.
A Encouraging Closing
There you have it! Propagating Herniaria polygama is a simple yet deeply satisfying gardening practice. Don’t be discouraged if your first few tries aren’t perfect. Every gardener has their learning curve. Be patient, observe your cuttings, and enjoy the magical process of bringing new life into your garden. Happy planting!
Resource:
https://identify.plantnet.org/k-world-flora/species/Herniaria%20polygama%20J.Gay/data