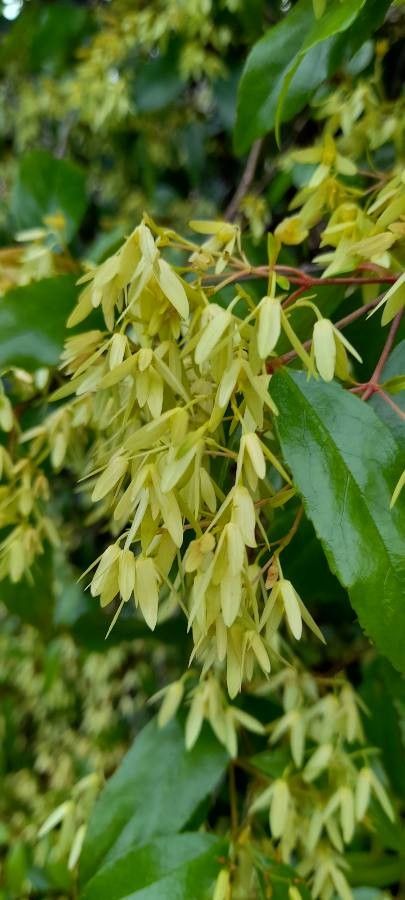
Hello fellow garden enthusiasts! Today, we’re diving into the wonderful world of propagating Aphanopetalum resinosum, or as many of us affectionately call it, the native Star Flower. If you’ve ever admired its delicate, star-shaped white flowers, followed by lovely reddish-brown berries, you know it’s a real charmer in any garden. And the best part? Getting more of these beauties for yourself is incredibly satisfying! Now, I wouldn’t call Aphanopetalum resinosum an absolute beginner plant, but with a little patience and these tips, you’ll be well on your way to success.
The Best Time to Start
My go-to time for propagating Aphanopetalum resinosum is late spring through early summer. This is when the plant is actively growing, producing plenty of new, semi-hardwood stems. You’ll want to select stems that are flexible but no longer completely soft and floppy. Trying to propagate from very new, tender shoots can be tricky, and older, woody growth often takes much longer to root.
Supplies You’ll Need
Before we get our hands dirty, let’s gather our tools:
- Sharp, clean pruning shears or a sharp knife: Essential for taking clean cuttings.
- Rooting hormone (optional but recommended for beginners): A powder or gel can significantly improve your success rate.
- Small pots or propagation trays: Clean ones, of course!
- A well-draining potting mix: I like to use a blend of equal parts perlite and peat moss or coco coir. You can also find specialized seed starting or propagation mixes.
- Watering can with a fine rose or a spray bottle: For gentle watering.
- Small plastic bags or a propagator lid: To create a humid environment.
- Labels and a pen: To keep track of what you’ve done and when!
Propagation Methods: Stem Cuttings
Stem cuttings are my favorite method for Aphanopetalum resinosum. It’s straightforward and usually yields great results.
- Take the Cuttings: Head out to your plant with your clean shears. Look for healthy, current-season stems that are about 10-15 cm long. Make a clean cut just below a leaf node (where a leaf attaches to the stem). Remove the bottom leaves, leaving just two or three at the very top.
- Prepare the Cuttings: If you’re using rooting hormone, dip the cut end of each stem into the powder or gel. Tap off any excess.
- Plant the Cuttings: Fill your pots or trays with your prepared potting mix. Make a small hole with your finger or a pencil, then gently insert the cutting, ensuring the leaf nodes are buried in the soil. Firm the soil gently around the base of the stem.
- Water and Cover: Water the soil thoroughly but gently. Then, cover the pot with a plastic bag or place it inside a propagator. This will help maintain the high humidity the cuttings need to root.
The “Secret Sauce” (Pro Tips)
Here are a couple of things I’ve learned over the years that can make a real difference:
- Don’t let those lovely leaves touch the sides of the plastic bag. If they do, they can sit in moisture and encourage rot before roots even have a chance to form. I often prop the bag up with little stakes or trim any leaves that are getting too close.
- Bottom heat is your friend. If you have a heating mat designed for propagation, placing your pots on it can really speed up root development. The warmth encourages the roots to emerge from the base of the cutting.
Aftercare & Troubleshooting
Once your cuttings are potted up, place them in a bright spot with no direct sunlight. Keep the soil consistently moist but not waterlogged. You’ll want to open the plastic bag or propagator lid for a few minutes each day to allow for air circulation and prevent fungal diseases.
You’ll know your cuttings are rooting when you see them start to push out new growth or feel a slight resistance when you gently tug on them. This can take anywhere from 4 to 8 weeks, so don’t be disheartened if it takes a while!
What if things go wrong? The most common problem is rot. If you see your cuttings turning black and mushy at the base, it’s usually a sign of too much moisture and not enough air circulation. Unfortunately, at that point, they are usually beyond saving. If you have a few cuttings in a pot and one rots, try to remove it immediately to prevent it from spreading to others.
A Encouraging Closing
Propagating plants is like a little bit of gardening magic. It requires patience and a willingness to learn, but the reward of nurturing a new life from a simple stem is truly special. Be patient with your Aphanopetalum resinosum cuttings, give them a good environment, and enjoy the process. Happy propagating!
Resource:
https://identify.plantnet.org/k-world-flora/species/Aphanopetalum%20resinosum%20Endl./data