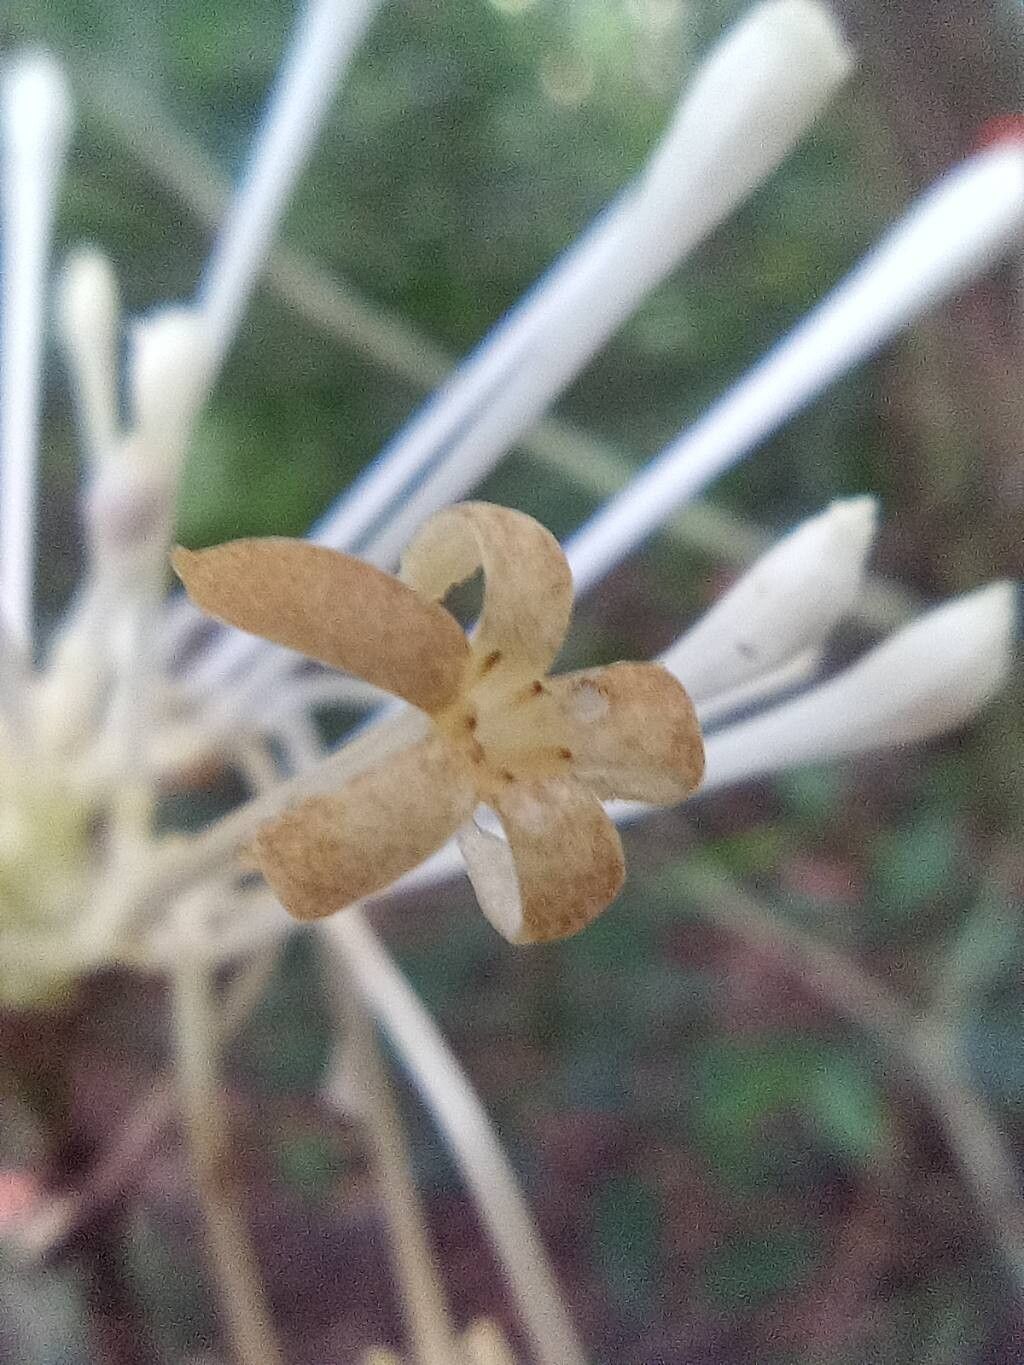
Oh, hello there! Grab yourself a mug of whatever makes you happy – mine’s usually a strong black tea – because we’re going to talk about a truly special plant today. We’re diving into the wonderful world of Rudgea graciliflora.
The Allure of Rudgea Graciliflora
I’ve been captivated by Rudgea graciliflora for years. Its delicate, star-shaped flowers, often in shades of soft white or blush pink, are simply breathtaking. And the fragrance! It’s subtly sweet, the kind that wafts through the air on a warm evening and makes you pause just to breathe it in. Propagating this beauty yourself is incredibly rewarding. It’s a chance to share its charm, fill your own garden with more of it, or even gift a little piece of botanical magic to a friend.
Now, if you’re new to the plant propagation game, you might be wondering if Rudgea graciliflora is a gentle giant or a bit of a diva. Honestly, with a little know-how and patience, it’s quite manageable. It’s not the absolute easiest plant to start from cuttings, but certainly not the most challenging either. Think of it as a plant that appreciates being understood.
When to Begin Your Propagation Adventure
The sweet spot for propagating Rudgea graciliflora is generally late spring to early summer. This is when the plant is actively growing, or in its “softwood” or “semi-hardwood” stage. New growth is pliable and has a better chance of forming roots. Trying to take cuttings when the plant is dormant in winter is usually a recipe for disappointment.
Your Propagation Toolkit
Before we get our hands dirty, let’s make sure you have everything you need. It’s not a long list, but each item plays its part.
- Sharp Pruning Shears or a Knife: Clean cuts are paramount to prevent disease.
- Rooting Hormone: A powdered or gel form helps encourage root development.
- Well-Draining Potting Mix: I like a blend of perlite, peat moss (or coco coir for a more sustainable option), and a little coarse sand. Think airy!
- Small Pots or Propagation Trays: With drainage holes, of course.
- Clear Plastic Bags or a Propagation Dome: To keep humidity high.
- Watering Can with a Fine Rose: For gentle watering.
- Optional: Heat Mat: Especially helpful in cooler climates.
Bringing New Rudgea to Life: Stem Cuttings
This is my go-to method for Rudgea graciliflora. It’s efficient and usually yields great results if done correctly.
- Select Your Cuttings: Look for healthy, non-flowering stems. Choose pieces that are about 4-6 inches long. You want stems that are flexible but not yet woody. You can usually tell by gently bending the stem – if it snaps easily, it’s too soft; if it’s stiff and woody, it’s too mature.
- Make the Cut: Using your sterilized pruning shears or knife, make a clean cut just below a leaf node (where a leaf attaches to the stem). This node is where root growth is most likely to start.
- Prepare the Cutting: Gently remove the lower leaves from the bottom 2-3 inches of the stem. This prevents them from rotting when buried in the soil. You can leave the top 2-3 leaves intact, but if they are very large, you might want to cut them in half. This reduces water loss through transpiration while still allowing the cutting to photosynthesize.
- Apply Rooting Hormone: Dip the cut end of the stem into your rooting hormone, tapping off any excess.
- Plant Your Cuttings: Fill your pots with your prepared potting mix. Make a small hole with a pencil or your finger, and insert the cutting. Gently firm the soil around the base of the stem.
- Water Gently: Water the potting mix thoroughly but carefully. You don’t want to disturb the cutting.
- Create a Humid Environment: Cover the pot with a clear plastic bag, propped up with sticks so it doesn’t touch the leaves, or place it under a propagation dome.
My Little “Secret Sauces”
Now, while the steps above are solid, here are a couple of tricks I’ve picked up that really make a difference for Rudgea graciliflora:
- “Bottom Heat is Your Best Friend”: Rudgea graciliflora absolutely loves a bit of warmth from below. Placing your pots on a heated propagator mat, set to around 70-75°F (21-24°C), will dramatically speed up root formation. It mimics that lovely, warm soil of their natural habitat.
- Hygiene is King (and Queen!): Before you even pick up your shears, make sure everything is sparkling clean. Sterilize your tools with rubbing alcohol. Rinse your pots thoroughly. Even the propagation mix can harbor microscopic nasties. A clean start significantly reduces the risk of fungal infections and rot.
Nurturing Your New Sprouts
After about 4-6 weeks, you should start to see signs of life!
- Checking for Roots: Gently tug on a cutting. If you feel resistance, roots have formed. The best way to be sure is to carefully inspect the roots by gently shaking off some soil. You can also look for new leaf growth.
- Acclimating to Life: Once roots have developed, it’s time to gradually introduce your new plant to less humid conditions. Slowly open the plastic bag or propagation dome over a few days. Remove it completely once the plant seems to be thriving in its new environment.
- Repotting: When your new plant has a good root system and is growing actively, you can carefully transplant it into a slightly larger pot with fresh potting mix.
Troubleshooting: Keep an eye out for a few common hiccups. If your cuttings turn yellow and mushy at the base, or develop black spots, it’s likely rot. This is often due to overwatering or poor drainage. If a cutting simply wilts and never recovers, it might not have been healthy to begin with, or the conditions weren’t quite right. Don’t be disheartened if some don’t make it; that’s part of the learning process.
A Little Patience, A Lot of Joy
Propagating plants is a journey of observation and gentle nurturing. It teaches you so much about the rhythms of nature. The first time you see those tiny roots emerge, or a new leaf unfurl on a cutting you started yourself, it’s pure magic. Be patient with your Rudgea graciliflora, be kind to yourself, and most importantly, enjoy the process. Happy propagating!
Resource:
https://identify.plantnet.org/k-world-flora/species/Rudgea%20graciliflora%20Standl./data