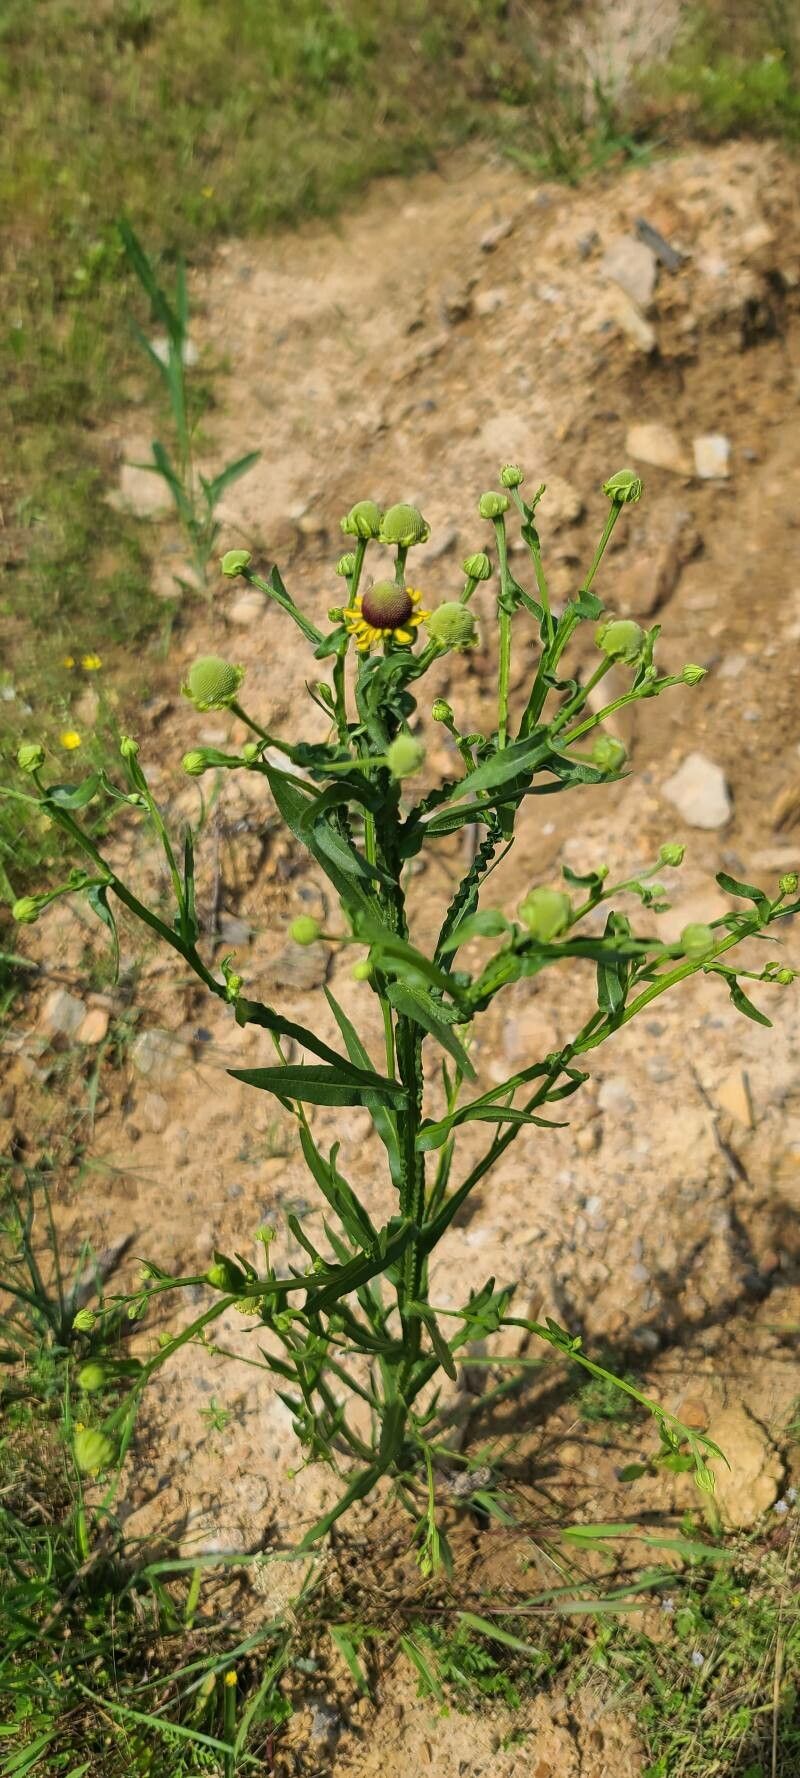
Hey there, fellow garden enthusiasts! I’m so excited to talk to you today about a plant that has brought me so much joy over the years: Helenium microcephalum. Those cheerful, sunny little flowers are like confetti for the garden, especially in late summer and fall. They’re a magnet for pollinators, and honestly, who doesn’t love a garden that buzzes with life? The best part? Propagating them is a wonderfully rewarding endeavor, and the good news is, it’s quite achievable, even for beginners!
The Best Time to Start
For Helenium microcephalum, I find the magic window for propagation is early spring, as soon as the soil is workable and the plant is bursting with new growth. You’re looking for those fresh, tender shoots that haven’t yet started to thicken and become woody. This is when they have the most energy and are eager to establish themselves. Trying to take cuttings later in the season, when things are drier and hotter, can be more of a gamble.
Supplies You’ll Need
Before we get our hands dirty, let’s gather our arsenal. You won’t need a whole lot, but having the right tools makes all the difference:
- Sharp pruning shears or a clean, sharp knife: For taking clean cuts.
- Seedling or propagation mix: A light, well-draining mix is crucial. I usually opt for a blend of perlite and peat moss.
- Small pots or seed trays: Clean ones, of course!
- Rooting hormone (optional but recommended): A powder or gel will give your cuttings a helpful boost.
- Watering can with a fine rose attachment: To mist gently.
- Plastic bags or a propagation dome: To create a humid environment.
- Labels and a marker: To keep track of your efforts!
Propagation Methods
Let’s dive into the how-to! For Helenium microcephalum, I’ve had the most success with stem cuttings and division.
Stem Cuttings:
- Select your stem: Find healthy, non-flowering stems from your established plant. Look for shoots that are about 4-6 inches long.
- Make the cut: Using your clean shears or knife, take a cutting just below a leaf node (where a leaf attaches to the stem). This is where the plant is most likely to produce roots.
- Prepare the cutting: Gently remove the lower leaves, leaving just a couple of sets at the top. This prevents them from rotting in the soil and encourages the plant to focus its energy on root development.
- Apply rooting hormone (optional): Dip the cut end into your rooting hormone, tapping off any excess.
- Plant the cutting: Make a small hole in your potting mix with a pencil or your finger. Insert the cut end of the stem into the hole and gently firm the soil around it. Don’t bury it too deep – just enough for it to stand upright.
- Create humidity: Water the soil gently. Then, cover the pot or tray with a plastic bag or propagation dome. This traps moisture and creates a mini-greenhouse effect. Make sure the leaves aren’t touching the plastic.
- Find a good spot: Place your cuttings in a bright location that receives indirect light. Avoid direct, hot sun, which can scorch them.
Division:
- This is a fantastic method, especially when your Helenium microcephalum plant has grown a bit too large and is looking a bit leggy in the center.
- Gently dig up the plant: In early spring, carefully dig around the base of the plant and lift the entire clump from the soil.
- Clean off the soil: Gently shake or wash off excess soil so you can clearly see the root structure and individual crowns.
- Divide the clump: You can do this by hand, gently pulling the sections apart. If it’s a bit stubborn, a clean spade or sharp knife can help. Aim for sections that have a good amount of roots and at least one or two leafy shoots.
- Replant immediately: Plant the divided sections into their new homes, either back in the garden or in pots. Water them well.
The “Secret Sauce”
Now, for a couple of my little secrets that have helped me achieve consistent success:
- Bottom heat is your friend: If you’re serious about getting cuttings to root, investing in a seedling heat mat can make a significant difference. A gentle warmth from below encourages root development much faster than ambient room temperature alone.
- Don’t let those leaves touch the water (for stem cuttings): If you’re tempted to water-propagate, be vigilant! Any leaves submerged will quickly rot, which can infect the rest of the stem and prevent rooting. Always trim them off. Better yet, I find soil propagation to be more reliable for Helenium.
Aftercare & Troubleshooting
Once your cuttings have developed a decent root system (you’ll know they’re ready when you see new growth and feel some resistance when gently tugging on the stem), it’s time to move them on.
- Acclimatize them: Gradually remove the plastic bag or dome over a few days to let the new plants get used to the drier air.
- Potting up: Replant them into slightly larger pots with a good quality potting mix. Continue to keep them well-watered but not waterlogged.
- Watch for rot: The most common sign of failure is rot. If your cuttings turn mushy or black, it’s usually a sign of too much moisture and poor air circulation. If you see this happening, remove the affected cuttings and try to improve aeration around the remaining ones. Sometimes, it’s just a matter of finding the right balance of moisture.
A Encouraging Closing
Propagating plants is a journey, and there will be times when things don’t go exactly as planned. Don’t be discouraged! The beauty of gardening is the learning process. Be patient with your new Helenium microcephalum babies, give them a little love, and before you know it, you’ll have a whole garden full of these sunshine-yellow wonders to share. Happy propagating!
Resource:
https://identify.plantnet.org/k-world-flora/species/Helenium%20microcephalum%20DC./data