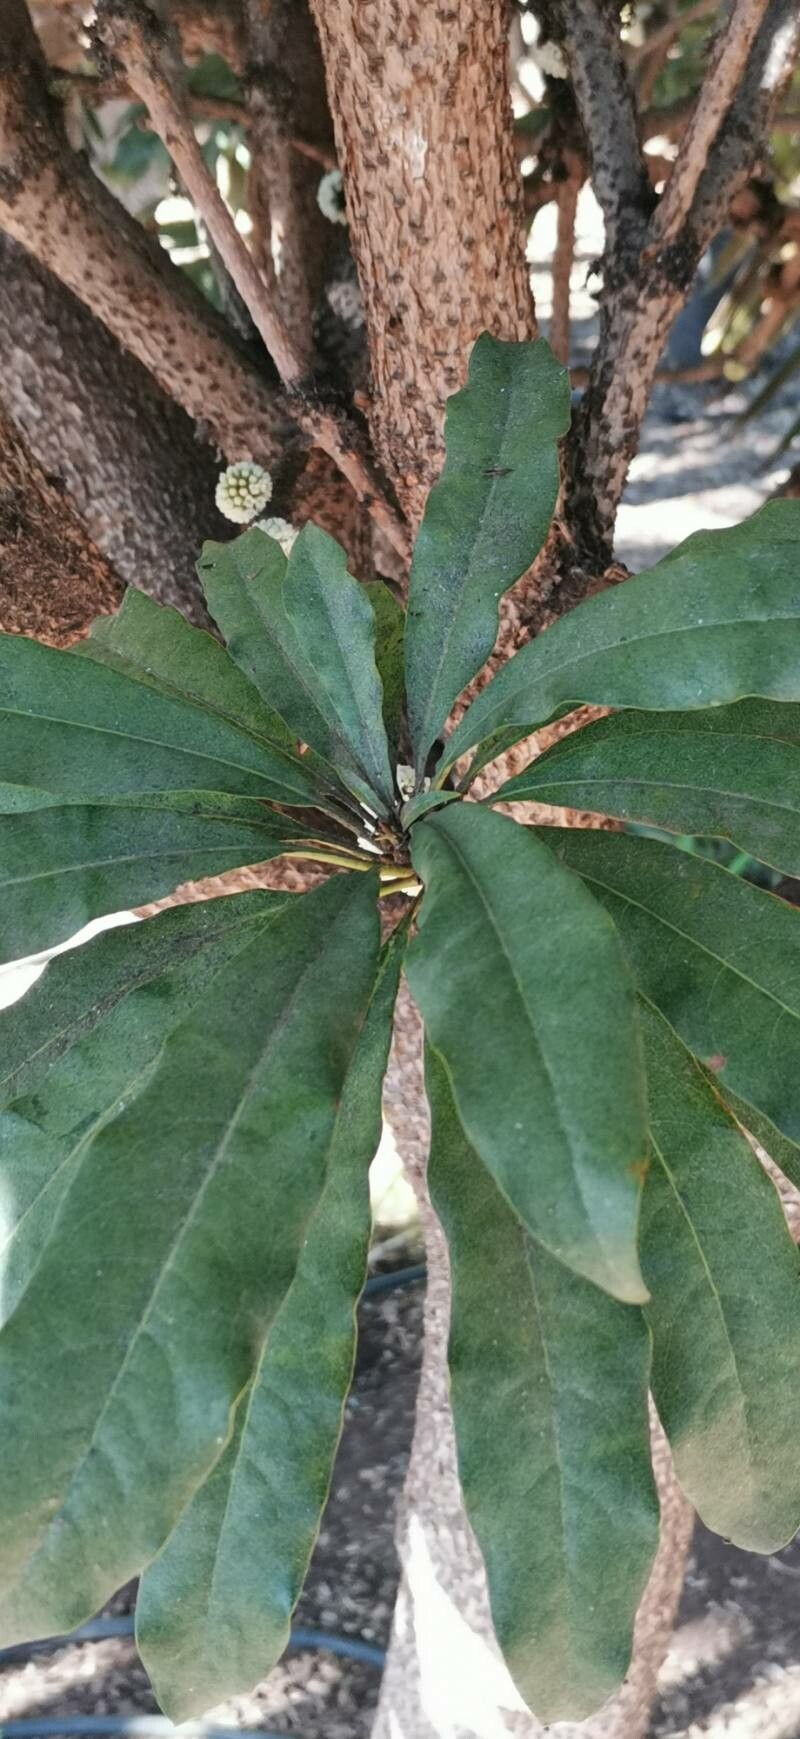
Oh, hello there! Come on in, pull up a chair. I’m so glad you’re interested in Pittosporum malaxanii. It’s truly a gem, isn’t it? The way its glossy leaves catch the light, and that subtle, sweet fragrance on a warm evening… I could just sit and admire it for hours.
And you know what’s even better? Growing your own Pittosporum malaxanii! There’s a special kind of joy in nurturing a brand-new plant from a tiny piece of an established one. It feels like unlocking a gardening superpower. Now, before you worry, this isn’t a plant that’s going to make you tear your hair out. I’d say it’s a pretty rewarding project for most home gardeners, even if you’re just finding your green thumb.
The Best Time to Start
My rule of thumb for most woody plants, including our friend Pittosporum malaxanii, is to work with semi-hardwood cuttings. This means you’re looking for stems that are neither brand new and floppy nor old and woody. The best time to find these is usually in the late spring to early summer, once the plant has put on some growth but before it gets too hot and dry. Keep an eye out for stems that bend slightly when you try to snap them – that’s your sweet spot.
Supplies You’ll Need
Before we get our hands dirty, let’s gather our tools. Having everything ready makes the process so much smoother.
- Sharp Pruning Shears or a Clean Knife: We want to make clean cuts to avoid damaging the stem. Sterilize them with rubbing alcohol before you start!
- Rooting Hormone (Optional but Recommended): This stuff is like a little boost for your cuttings. Look for one with IBA (indole-butyric acid).
- Well-Draining Potting Mix: A mix of equal parts perlite and peat moss or coco coir works beautifully. You can also use a specific seed-starting mix if you have it.
- Small Pots or Trays: Clean pots are key! Small ones are perfect for starting cuttings. Make sure they have drainage holes.
- Plastic Bag or Humidity Dome: This will create a mini-greenhouse environment for your cuttings.
- Watering Can or Spray Bottle: For gentle watering.
Propagation Methods
While you could try dividing them, I find that stem cuttings are the most reliable way to get new Pittosporum malaxanii plants. It’s straightforward and typically yields the best results.
Taking Stem Cuttings:
- Select Your Stems: As I mentioned, look for those semi-hardwood stems. They should feel firm but still a bit flexible. Aim for cuttings that are about 4-6 inches long.
- Make the Cut: Using your clean shears, make a clean cut just below a leaf node. A leaf node is where a leaf attaches to the stem; roots tend to form most readily there. Remove the leaves from the bottom half of the cutting, leaving just a few at the very top to help with photosynthesis.
- Apply Rooting Hormone (If Using): Dip the cut end of the stem into your rooting hormone powder. Tap off any excess.
- Potting Them Up: Fill your small pots with your prepared, moist potting mix. Make a hole in the center with your finger or a pencil.
- Insert the Cutting: Gently push the cut end of the stem into the hole, making sure it makes good contact with the soil. Firm the soil around the base.
- Water Gently: Water thoroughly but carefully. You don’t want to dislodge your cuttings.
- Create a Humid Environment: Place the pots inside a plastic bag or cover them with a humidity dome. Make sure the leaves aren’t touching the plastic if you’re using a bag. We want to trap moisture, but too much direct contact can lead to rot.
The “Secret Sauce” (Pro Tips)
Here are a few tricks I’ve picked up over the years that can really make a difference:
- Bottom Heat is Your Friend: If you can, place your pots on a heat mat designed for seedlings. A consistent, gentle warmth from below encourages root development much faster and more reliably. It’s not strictly essential, but it’s a game-changer.
- Patience with Patience: I know it’s tempting to keep digging around to see if roots have formed, but resist the urge to disturb them too much. Give them at least 4-6 weeks, and often longer, before you even think about gently tugging to check for resistance.
- The “Don’t Drown Them” Rule: While they need moisture, soggy soil is the enemy of new cuttings. Ensure your pots have excellent drainage and water only when the top inch of soil starts to feel dry.
Aftercare & Troubleshooting
Once you start to see signs of new growth—tiny new leaves emerging or that gentle resistance when you very carefully tug—it’s a good sign that roots have formed!
- Acclimatize Them Slowly: Gradually remove the plastic bag or dome over a few days. You want to slowly introduce them to the drier greenhouse air.
- Move to a Brighter Spot: Once they’re actively growing, move them to a location with bright, indirect light.
- Transplanting: When the new plants are robust enough to handle it (usually when they have a good root system visible through the drainage holes), you can pot them up into slightly larger containers with your regular potting soil.
Now, what if things aren’t going as planned?
- Rotting: This is the most common problem. It usually means too much moisture and not enough air circulation. Make sure your soil is draining well and ease up on the watering. If you catch it early, you might be able to cut away the rotten part and try again, but often, it’s beyond saving. A clean cut and dry conditions are key from the start.
- No Growth: Sometimes, they just take their sweet time. As I said, patience is paramount. If after a couple of months, there’s absolutely no sign of life, the cutting might not have been viable or the conditions weren’t quite right. Don’t be discouraged; just try again!
A Little Encouragement
See? It’s not rocket science, and it’s definitely not something to shy away from. Watching those first tiny roots emerge, then unfurl into a whole new, beautiful plant… it’s just one of life’s simple, profound pleasures. So, gather your supplies, find a good stem, and give it a go. Be patient, enjoy the process, and soon you’ll be surrounded by the lovely scent of your very own Pittosporum malaxanii. Happy gardening!
Resource: