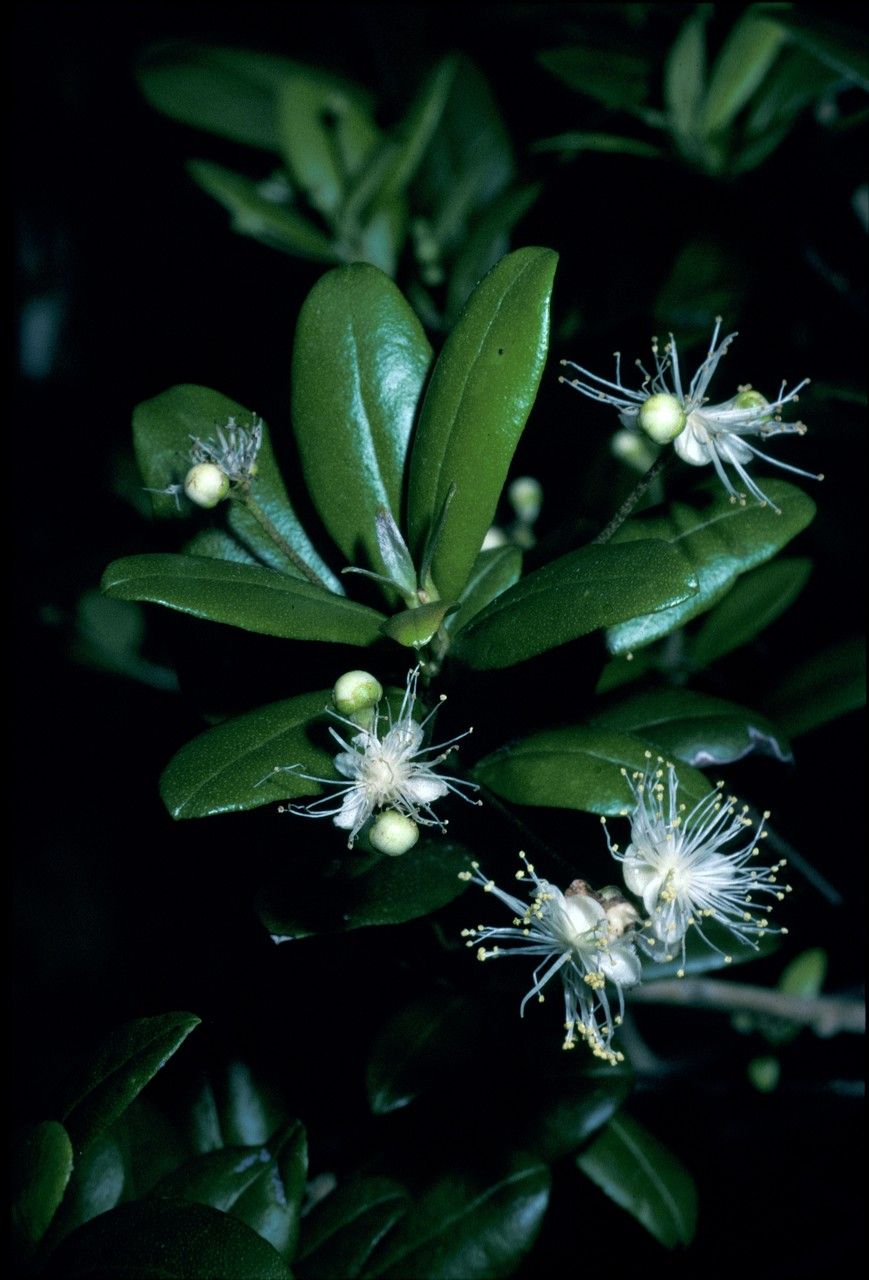
Hey there, fellow plant lovers! Today, we’re diving into the wonderful world of Crossopetalum rhacoma, a truly enchanting plant that deserves a spot in more gardens and homes. You might know it by its other common names, like Florida holly or coco plum (though it’s not a true coco plum, the seeds can be a bit similar!). I’ve been growing and fussing over these beauties for years, and I can tell you, their glossy, dark green leaves and often subtle yet lovely blooms are just stunning.
This isn’t a plant that craves constant attention, which is part of its charm. And the best part? Propagating your own Crossopetalum rhacomais incredibly rewarding. It’s a fantastic way to fill your space with more of this gorgeous foliage, share cuttings with friends, or even start a whole new landscaping project if you’ve got a bit of a green thumb already. For beginners, I’d say it’s moderately easy; a little patience goes a long way, but it’s certainly achievable with these tips.
The Best Time to Start
For the highest chance of success with your Crossopetalum rhacoma cuttings, I always recommend working during its active growing season. This usually falls in the spring and early summer, after the risk of frost has passed. The plant is bursting with energy then, meaning your cuttings are more likely to establish roots quickly. You’re looking for healthy, new growth that’s firm but not woody.
Supplies You’ll Need
Before we get our hands dirty, let’s gather our tools. Having everything ready makes the whole process smoother and more enjoyable.
- Sharp Pruning Shears or a Knife: Cleanliness is key! Sterilize your tools with rubbing alcohol before you start.
- Rooting Hormone (Optional but Recommended): This isn’t strictly necessary for all plants, but it gives those cuttings a wonderful boost. Look for a powder or gel.
- Well-Draining Potting Mix: I personally love a mix of equal parts peat moss or coco coir, perlite, and a bit of regular potting soil. This ensures good aeration and prevents waterlogging.
- Small Pots or Seed Trays: Clean, small pots (like 3-4 inch) are perfect for individual cuttings.
- Plastic Bags or a Humidity Dome: To create a mini-greenhouse effect.
- Watering Can or Spray Bottle: For gentle watering.
Propagation Methods
The most reliable way I’ve found to propagate Crossopetalum rhacoma is through stem cuttings. It’s straightforward and yields great results.
Stem Cuttings:
- Select Your Cuttings: Look for healthy, non-flowering stems. Snip off sections that are about 4-6 inches long. Make your cut just below a leaf node (where a leaf attaches to the stem).
- Prepare the Cuttings: Gently remove the lower leaves from the cutting, leaving just a few at the top. This prevents them from rotting in the soil. If the leaves are very large, you can even cut them in half to reduce water loss.
- Apply Rooting Hormone (Optional): Dip the cut end of the stem into your rooting hormone, tapping off any excess.
- Plant Your Cuttings: Fill your small pots with your prepared potting mix. Make a small hole in the center with your finger or a pencil. Insert the cutting into the hole, ensuring the leaf nodes are buried. Gently firm the soil around the stem.
- Water Gently: Water the soil thoroughly but gently. You don’t want to disturb the cuttings.
- Create a Humid Environment: Cover the pot with a clear plastic bag (supported by a stick or skewer so it doesn’t touch the leaves) or place it under a humidity dome. This will help keep the cuttings from drying out while they root.
- Placement: Place the potted cuttings in a bright spot but out of direct sunlight. A warm location is ideal.
The “Secret Sauce” (Pro Tips)
Now for a few little tricks I’ve learned over the years that can make all the difference.
- Think “Bottom Heat”: If you can, place your pots on a heating mat designed for propagation. This gentle bottom warmth encourages root development significantly faster than just ambient room temperature. It’s like giving them a cozy little foot rub!
- Refresh Your Water (If Using): While stem cuttings in soil are my go-to, some folks try water propagation. If you do, change the water every few days to keep it fresh and oxygenated. And remember, don’t let those lower leaves sit in the water – they’ll just rot and invite disease. Snip them off!
- Be Patient with the “Springy” Test: You’ll know your cutting has rooted when it feels firm and slightly resistant when you gently tug on it. It won’t be loose and wobbly anymore. This can take anywhere from 4 weeks to a couple of months, so hang in there!
Aftercare & Troubleshooting
Once you see those roots appearing – hooray! It’s time to transition to a bit more of an adult watering schedule.
- Gradual Acclimation: Once you’re confident your cuttings have rooted, slowly start removing the plastic bag or dome over a week or two. This helps them adjust to normal humidity levels without shocking them.
- Watering: Water when the top inch of soil feels dry. Avoid letting the soil stay soggy, as this is a prime invitation for root rot.
- Signs of Trouble: The most common issue you’ll see is rot. If a cutting turns black or mushy, it’s likely gone too far. This usually means too much moisture and not enough air circulation. If you see a leaf yellowing and dropping, it might be a sign of stress or that the cutting isn’t quite making it. Sometimes, a cutting just doesn’t get the message and fails to root; that’s okay too! Just pull it out and try again.
A Quick Encouraging Note
Propagating plants is a journey, not a race. There will be times when cuttings don’t take, and that’s a natural part of the process. Don’t get discouraged! Think of each attempt as a learning experience. Celebrate your successes, and when you finally see those new roots anchoring themselves, you’ll feel such a wonderful sense of accomplishment. Happy propagating, and enjoy watching your Crossopetalum rhacoma babies grow!
Resource:
https://identify.plantnet.org/k-world-flora/species/Crossopetalum%20rhacoma%20Crantz/data