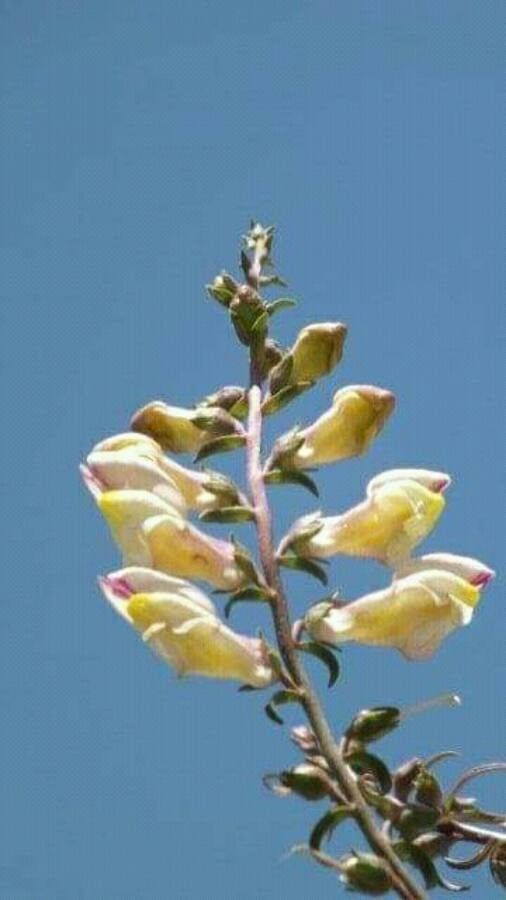
Oh, Fumaria kralikii! If you’ve ever spotted this delicate beauty gracing a sunny garden, you’ve likely been smitten by its airy, fern-like foliage and those charming little pops of pinkish-lilac flowers. It brings such a whimsical, almost ethereal quality to a border. And the best part? Sharing that magic by propagating it yourself is incredibly rewarding. Now, I wouldn’t call Fumaria kralikii a total beginner plant, but it’s certainly not an insurmountable challenge. With a little patience and these tips, you’ll be well on your way to a whole patch of these delightful blooms.
The Best Time to Start
For the highest success rate with Fumaria kralikii, I always recommend working with softwood cuttings in late spring or early summer. This is when the plant is actively growing, and its stems are pliable and full of life. Waiting until after the main flush of flowering has passed also gives the plant a chance to recover and put its energy into new growth.
Supplies You’ll Need
Here’s what I keep on hand when I’m ready to propagate:
- Sharp pruning shears or a clean knife: For making precise cuts.
- Rooting hormone powder or gel: This really gives cuttings a helpful boost.
- A well-draining potting mix: I like a blend of peat moss, perlite, and a little bit of compost. You want something that holds moisture but doesn’t get waterlogged.
- Small pots or seed trays: With drainage holes, of course!
- A clear plastic bag or a propagator lid: To create a humid environment.
- Watering can with a fine rose setting: For gentle watering.
Propagation Methods
I’ve found stem cuttings to be the most reliable method for Fumaria kralikii.
- Take Your Cuttings: Gently select healthy, non-flowering stems from your established plant. Using your sharp shears or knife, cut stems about 3-4 inches long. Make the cut just below a leaf node (where a leaf attaches to the stem).
- Prepare the Cuttings: Remove the lower leaves from the cutting, leaving just a few at the top. This prevents them from rotting when buried in the soil. If your cuttings have tiny flower buds, pinch those off too – we want all the energy to go into root development.
- Apply Rooting Hormone: Dip the cut end of each stem into rooting hormone powder or gel. Tap off any excess.
- Plant Your Cuttings: Fill your pots or trays with your prepared potting mix. Make small holes using a pencil or your finger, and gently insert the stemmed ends of your cuttings. Firm the soil gently around each cutting to ensure good contact.
- Water Well: Water the soil thoroughly using your fine rose watering can. You want the soil to be moist but not soggy.
- Create Humidity: Cover the pots with a clear plastic bag or place them inside a propagator. This traps moisture and keeps the humidity high, which is crucial for preventing the cuttings from drying out. You can secure the bag with a rubber band around the rim of the pot.
The “Secret Sauce” (Pro Tips)
Here are a few little tricks I’ve learned along the way:
- Don’t let the lower leaves touch the soil. This is the quickest way to invite rot. If your cuttings are a bit long, trim off more of those lowest leaves.
- Consider bottom heat. If you have a propagation mat, placing your pots on it can significantly speed up root formation. The gentle warmth encourages those roots to get going. It’s like a cozy little spa day for your cuttings!
- Be patient with water propagation. While cuttings can root in water, I find it trickier with Fumaria kralikii. If you do try it, make sure absolutely none of the leaves are submerged – only the cut stem. Otherwise, you’ll likely end up with mushy, rotten stems.
Aftercare & Troubleshooting
Once your cuttings have rooted – you’ll know by gently tugging on them and feeling resistance, or by seeing new leafy growth – it’s time to transition them to more regular care.
Carefully remove the plastic covering. Water them when the top inch of soil feels dry. You can start feeding them with a diluted liquid fertilizer every few weeks during the growing season. Once they have a good root system and are growing strongly, you can pot them up into larger containers or plant them out in the garden.
The most common issue you’ll encounter is rot. If you see your cuttings turning black and mushy, it’s usually a sign of too much moisture and not enough air circulation. Make sure your soil mix is draining well and that you’re not overwatering. If you see mold, increase ventilation. Don’t be discouraged if some cuttings don’t make it. It’s part of the gardening process!
A Encouraging Closing
So there you have it – a little guide to coaxing more of this charming Fumaria kralikii into your garden. Remember, gardening is a journey, and propagation is one of its most delightful aspects. Be patient with your little green babies, observe them, and enjoy the magic of watching them grow. Happy propagating!
Resource:
https://identify.plantnet.org/k-world-flora/species/Fumaria%20kralikii%20Jord./data