Hello there, fellow garden enthusiasts!
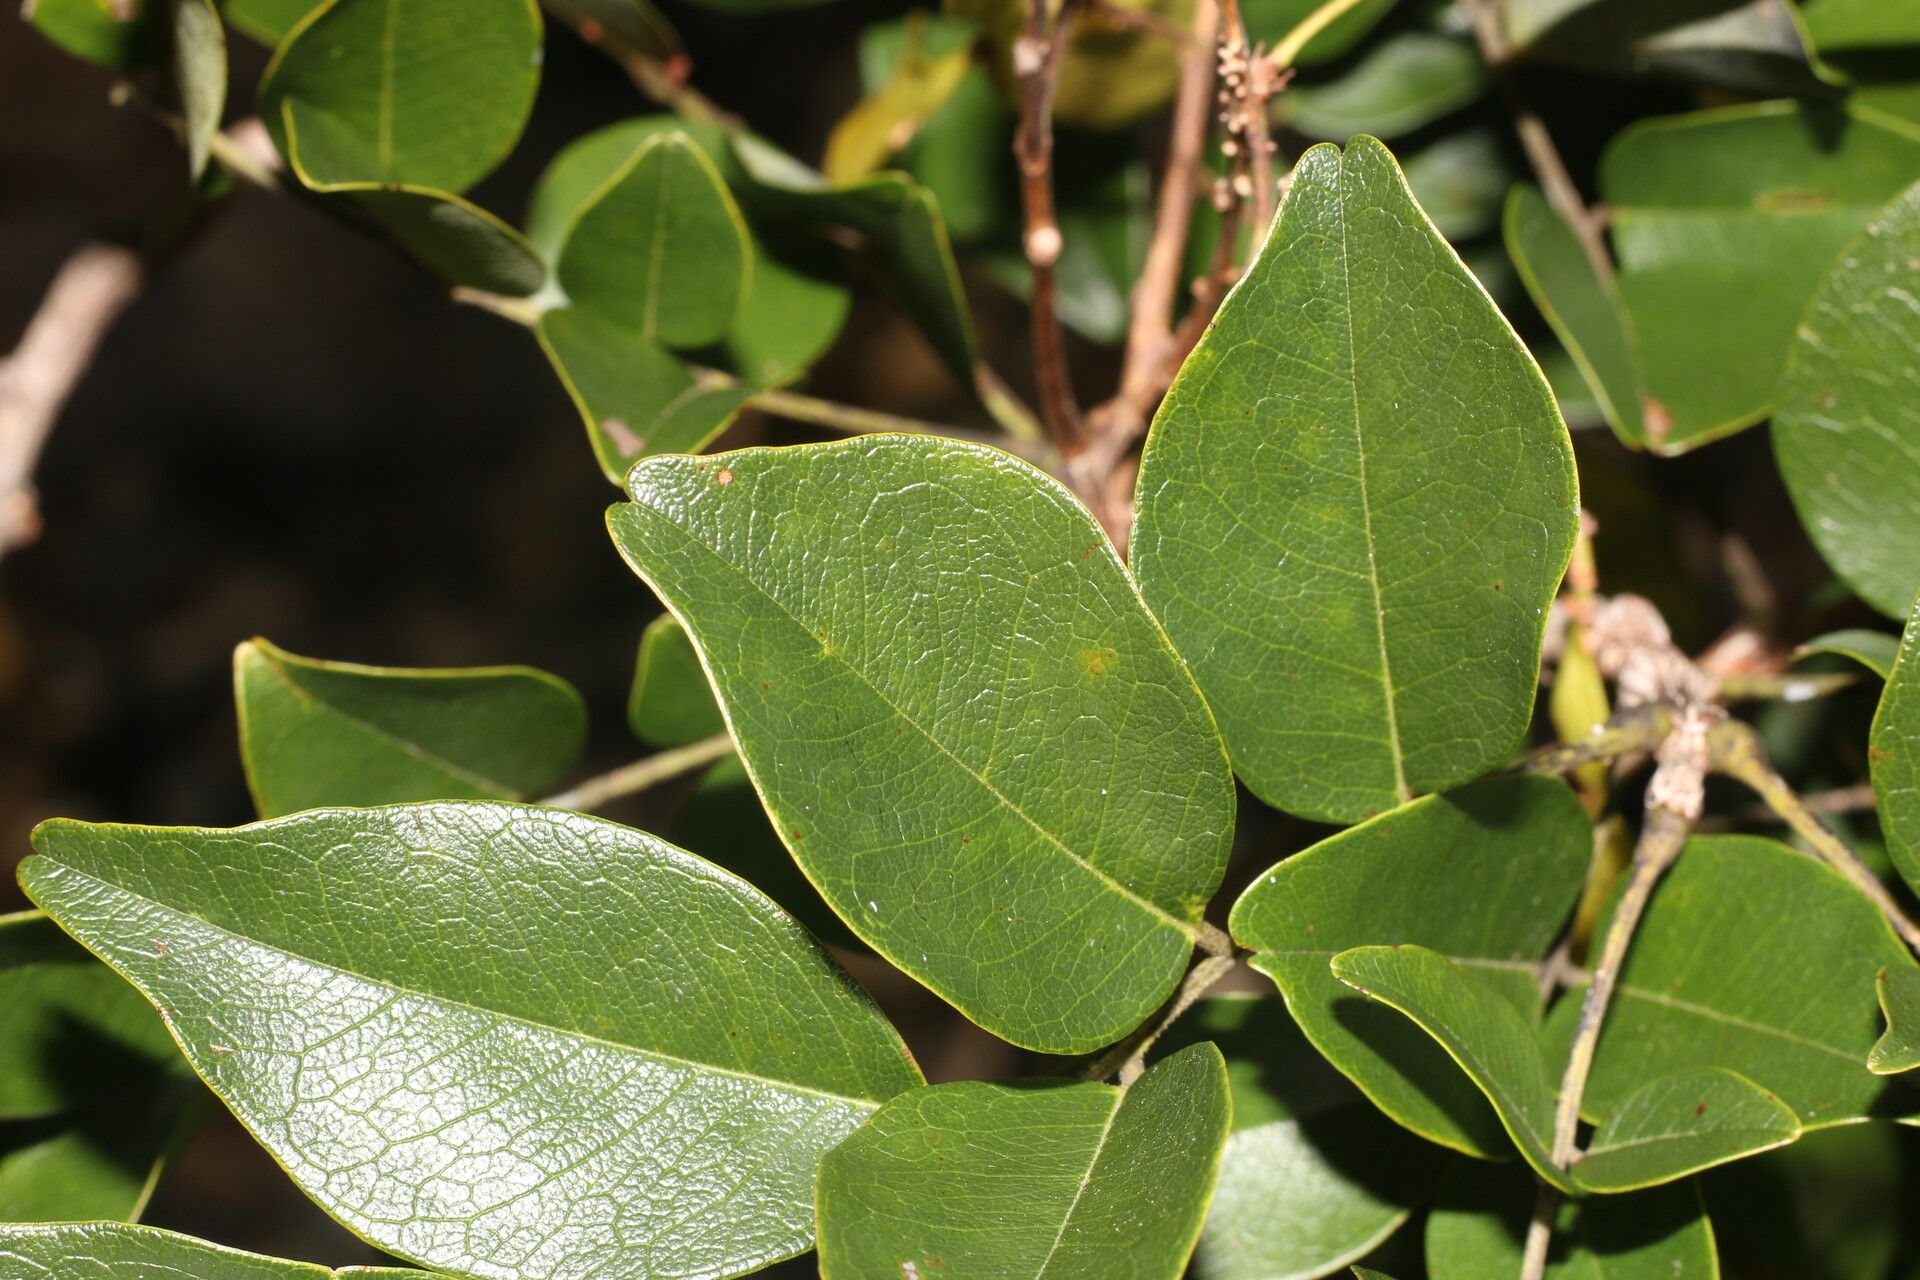
Today, I want to chat about a plant that brings a splash of cheerful yellow and a tropical feel to any space: Leptolobium panamense, often called Sydney golden wattle or the Panama gold flower. Its delicate, yet vibrant, blooms are such a joy, and the reward of creating more of this beauty from a single plant is truly special. Now, for the real talk – is it a beginner-friendly propagation project? I’d say it’s moderately easy. With a little patience and these pointers, you’ll be well on your way to success!
The Best Time to Start
When it comes to getting new Leptolobium panamense plants started, timing is everything. You’ll have the best luck during its active growing season. For most of us, this means late spring through early summer. You’re looking for healthy, new growth that hasn’t yet become tough and woody. Think of it like taking cuttings from a plant that’s just bursting with life – it’s got all the energy it needs to root!
Supplies You’ll Need
Before we dive in, let’s gather our tools:
- Sharp Pruning Shears or a Clean Knife: For making clean cuts.
- Rooting Hormone (Optional but Recommended): Especially helpful for encouraging faster root development.
- Potting Mix: A well-draining mix is crucial. I like a blend of equal parts peat moss or coco coir, perlite, and a bit of compost.
- Small Pots or Seed Trays: Clean and with drainage holes!
- Plastic Bags or a Propagator: To keep humidity high around your cuttings.
- Watering Can or Spray Bottle: For gentle watering.
- Labels: To remember what you’ve propagated!
Propagation Methods
The most reliable way I’ve found to propagate Leptolobium panamense is through stem cuttings. Here’s how we do it:
- Select Your Cuttings: Choose healthy stems that are about 4-6 inches long. Look for stems that are actively growing, not old and woody. Make your cut just below a leaf node (where a leaf attaches to the stem). This is where roots are most likely to form.
- Prepare the Cuttings: Gently remove the lower leaves, leaving just a couple at the very top. This prevents them from rotting once planted. If you’re using rooting hormone, dip the cut end into it, tapping off any excess.
- Plant Your Cuttings: Fill your small pots or trays with your prepared potting mix. Make a small hole in the center with your finger or a pencil. Insert the cut end of the stem into the hole, making sure the leaf nodes are below the soil surface. Gently firm the soil around the cutting.
- Water and Cover: Water the soil thoroughly but gently. You want it moist, not soggy. To create a mini-greenhouse effect, cover the pot with a clear plastic bag (use a skewer or two to keep it from touching the leaves) or place it inside a propagator.
The “Secret Sauce”
Alright, here are a few things I’ve learned over the years that really make a difference:
- Don’t Let Those Leaves Touch Water: If you decide to try water propagation (which can work, but I find soil more successful for this one), make absolutely sure that no leaves are submerged in the water. They’ll rot, and that’s a fast track to losing your cutting.
- Bottom Heat is Your Friend: Leptolobium panamense loves a bit of warmth from below. Placing your pots on a heated propagator mat can significantly speed up root formation. It mimics the conditions of warm soil in summer.
Aftercare & Troubleshooting
Once your cuttings are planted, place them in a bright spot with indirect light. Avoid direct sun, as this can scorch the young leaves and dry out your cuttings too quickly. Keep the soil consistently moist but not waterlogged. You should start to see signs of new growth within a few weeks. The best indicator that your cutting has rooted is when you try to gently tug on it, and you feel a bit of resistance.
What if things go wrong? The most common issue is rot. If you notice your cutting going soft, mushy, or developing dark spots, it’s likely rot. This is usually caused by too much moisture and poor air circulation. Sometimes, you can salvage a cutting by cutting off the rotten part and trying again in fresh, drier medium, but often it’s best to start fresh.
A Little Patience Goes a Long Way
Propagating plants is a beautiful dance with nature. It requires a bit of faith and a whole lot of patience. Don’t get discouraged if your first few attempts aren’t perfect. Each cutting is a lesson learned. Enjoy the process of nurturing these tiny new lives, and soon you’ll have a whole collection of your own cheerful Leptolobium panamense to brighten your garden or home! Happy propagating!
Resource: